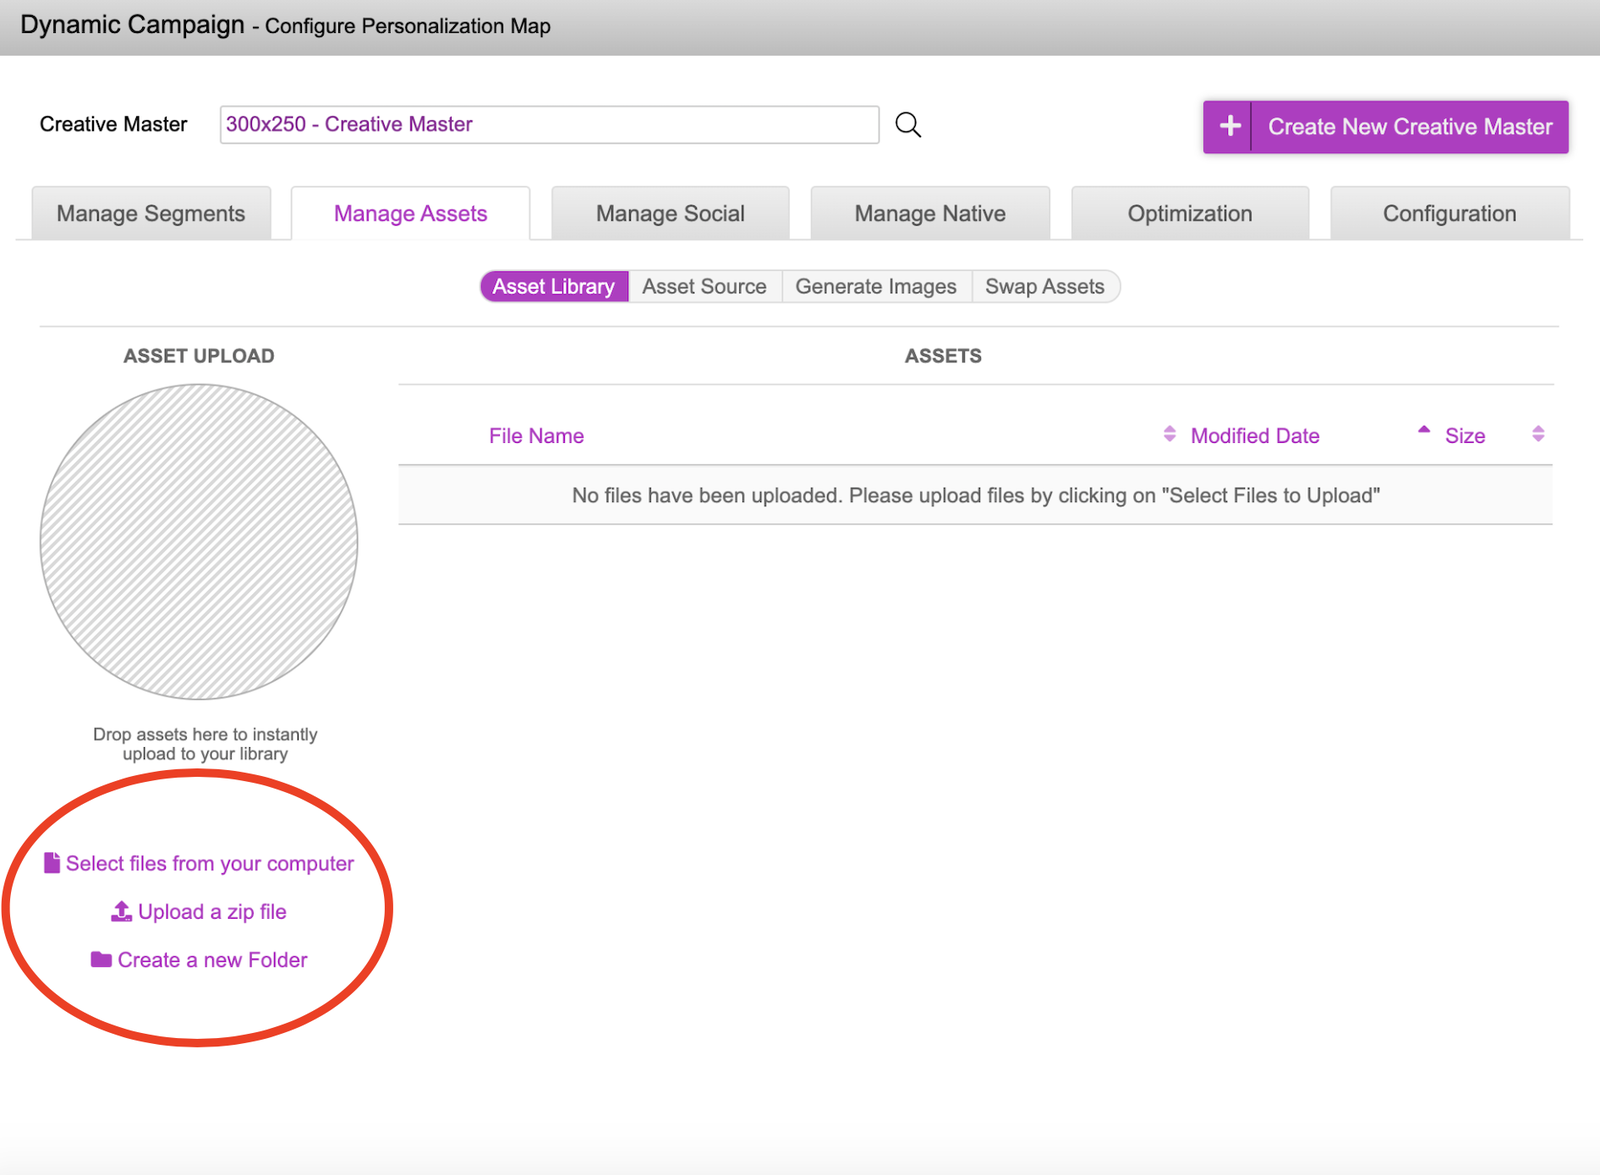
The first tab within ‘Manage Assets’ is the Asset Library. This is where you will upload all of your various ad components (images/videos) so that they are served by Jivox CDN. Inside the asset library, you have the below options to upload these components:
Select files from your computer - This allows you to upload selected files from your computer
**Upload a zip file - **Any zip files (including folders) will be extracted and uploaded, retaining the folder structure inside (if there are any subfolders). This is a recommended approach as you can configure your file structure on your computer and once uploaded, it will maintain that folder/file structure.
**Create a new folder - **You can create folders inside the asset library and upload files into the folder of your choice. It’s recommended to have folders in order to better organise the files in the asset library. The asset library can be accessed by any campaign within the account.
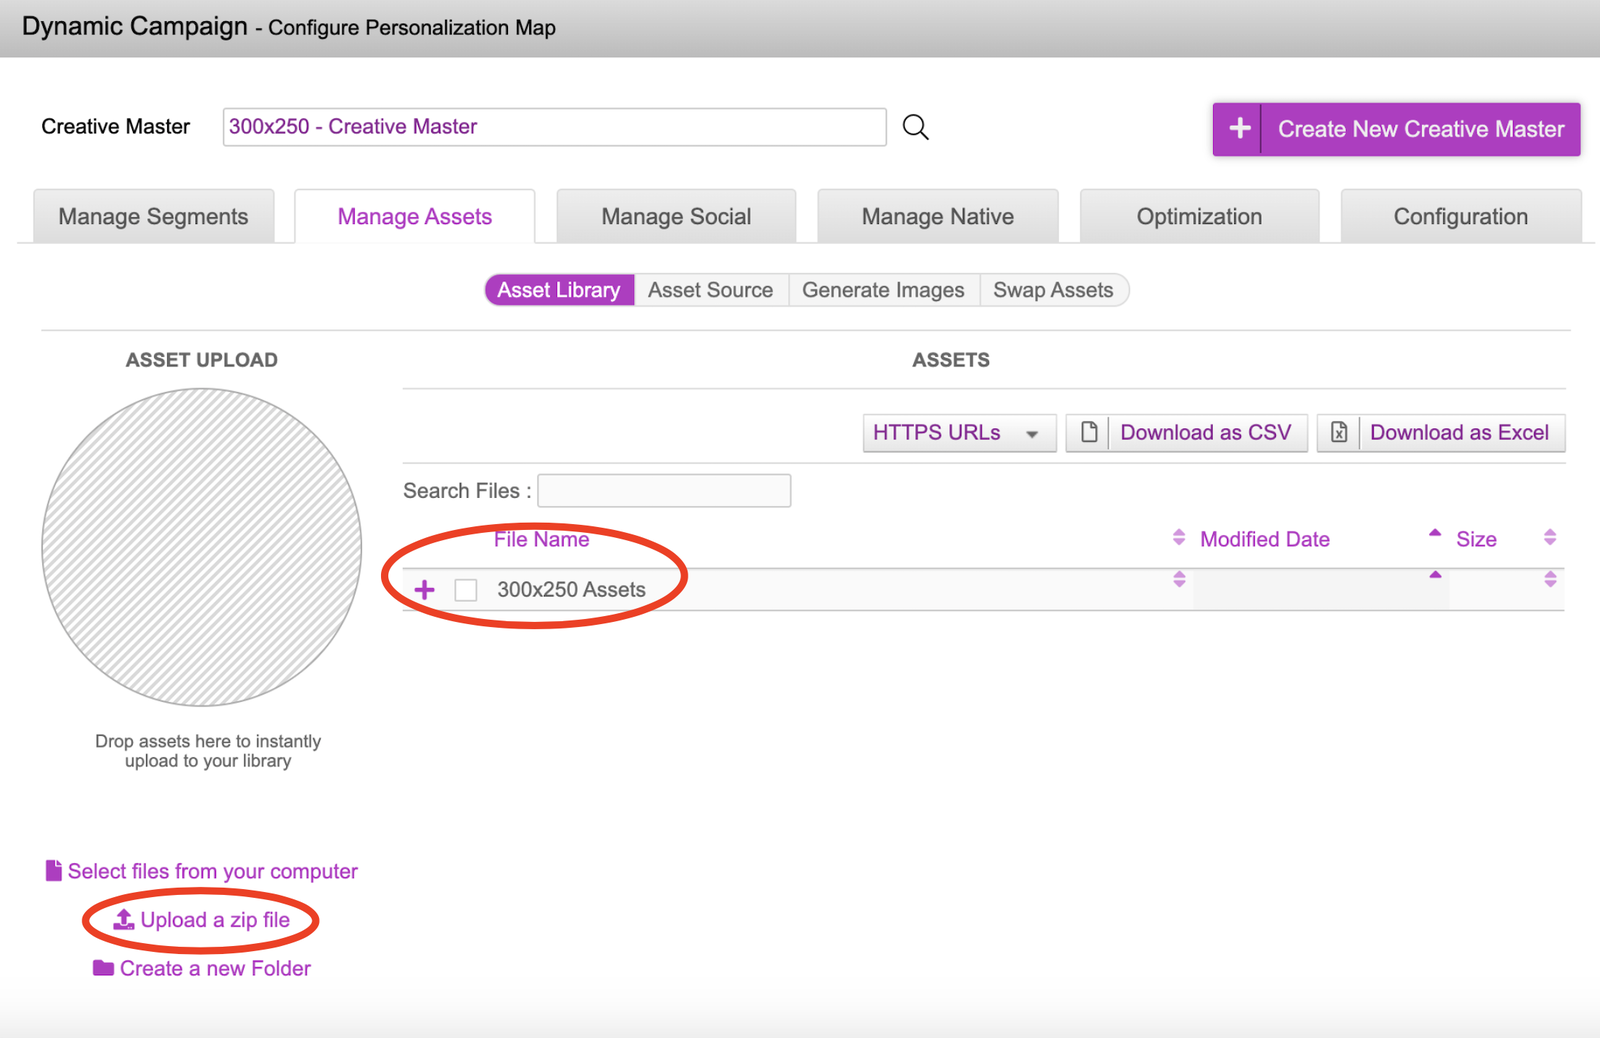
In this example, we will be uploading a zip file containing various component assets (background images and product images). See File: 300x250 Assets
Click onto the ‘Upload a zip file’, select the zip file from your system and upload it. You will now see a ’300x250 Assets’ folder. This means that your files have been successfully uploaded into the Jivox Asset Library
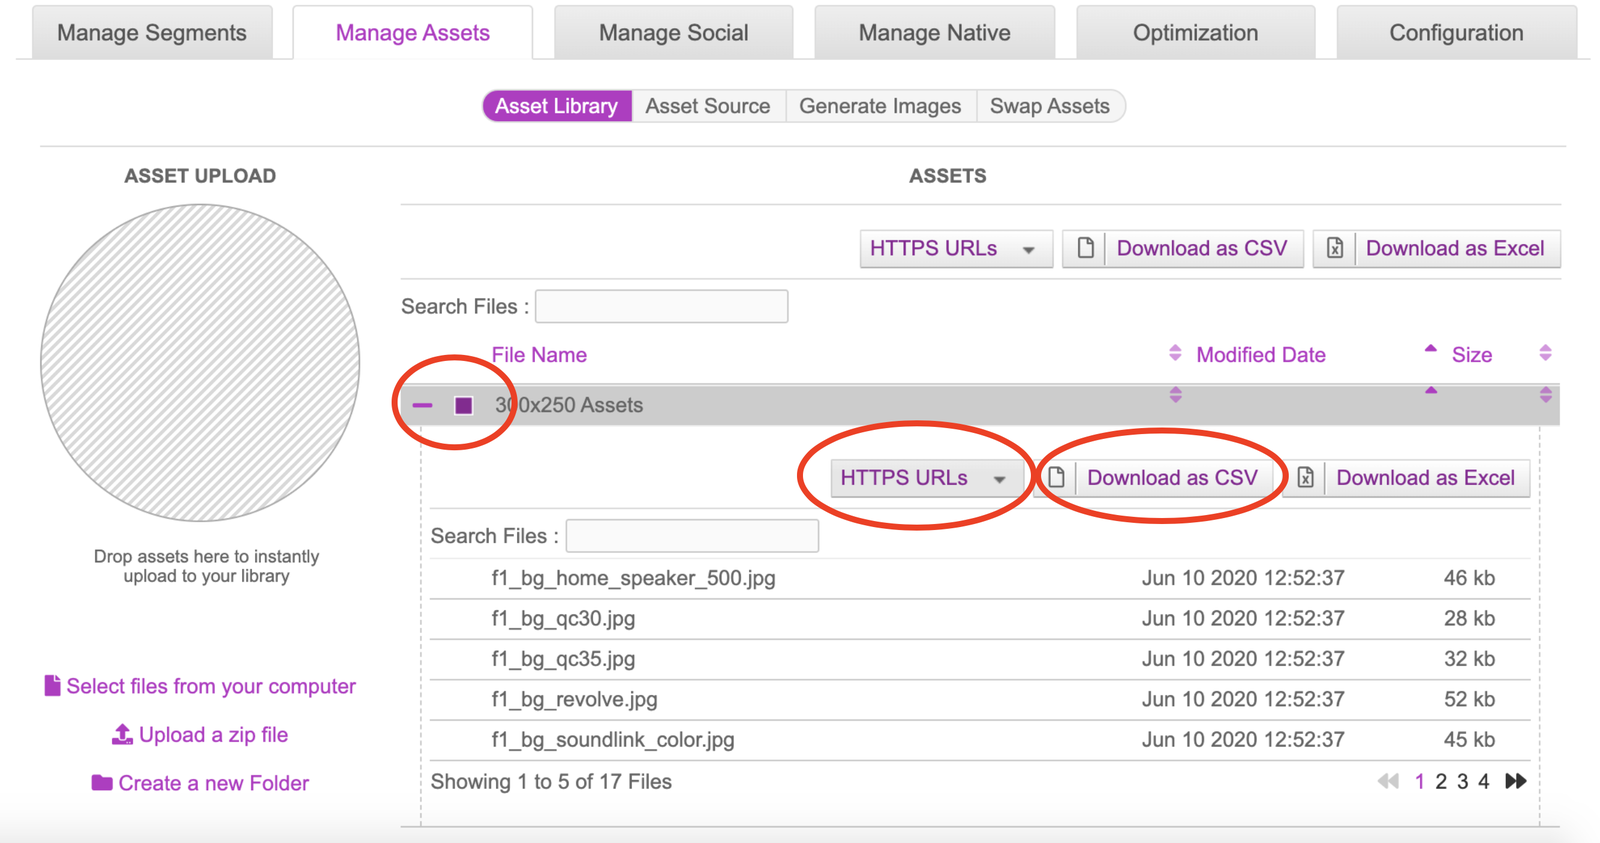
To view the contents of the folder, click onto the + icon to expand the folder. You can now view the contents within the folder.
Once the component assets have been uploaded, we can download the CDN URLs associated to these assets. You can do this by selecting the folder by checking the box next to the name and clicking onto ‘Download as CSV’ or ‘Download as Excel’. Do make sure that you have ‘HTTPs URLs’ selected before you download.
Ensure that you have checked the right box and click onto the ‘Download as CSV/Excel’ buttons within that box. Our asset library follows a hierarchical structure, so checking the a box outside will download the layer on top.
Once downloaded, open the file. There will be four columns however we’re only concerned with the File Name & File URL columns. The File URLs will be used to create the Asset Source. Copy any one of the CDN links and paste it into a browser of your choice. You should be able to preview your assets that are stored in the asset library.

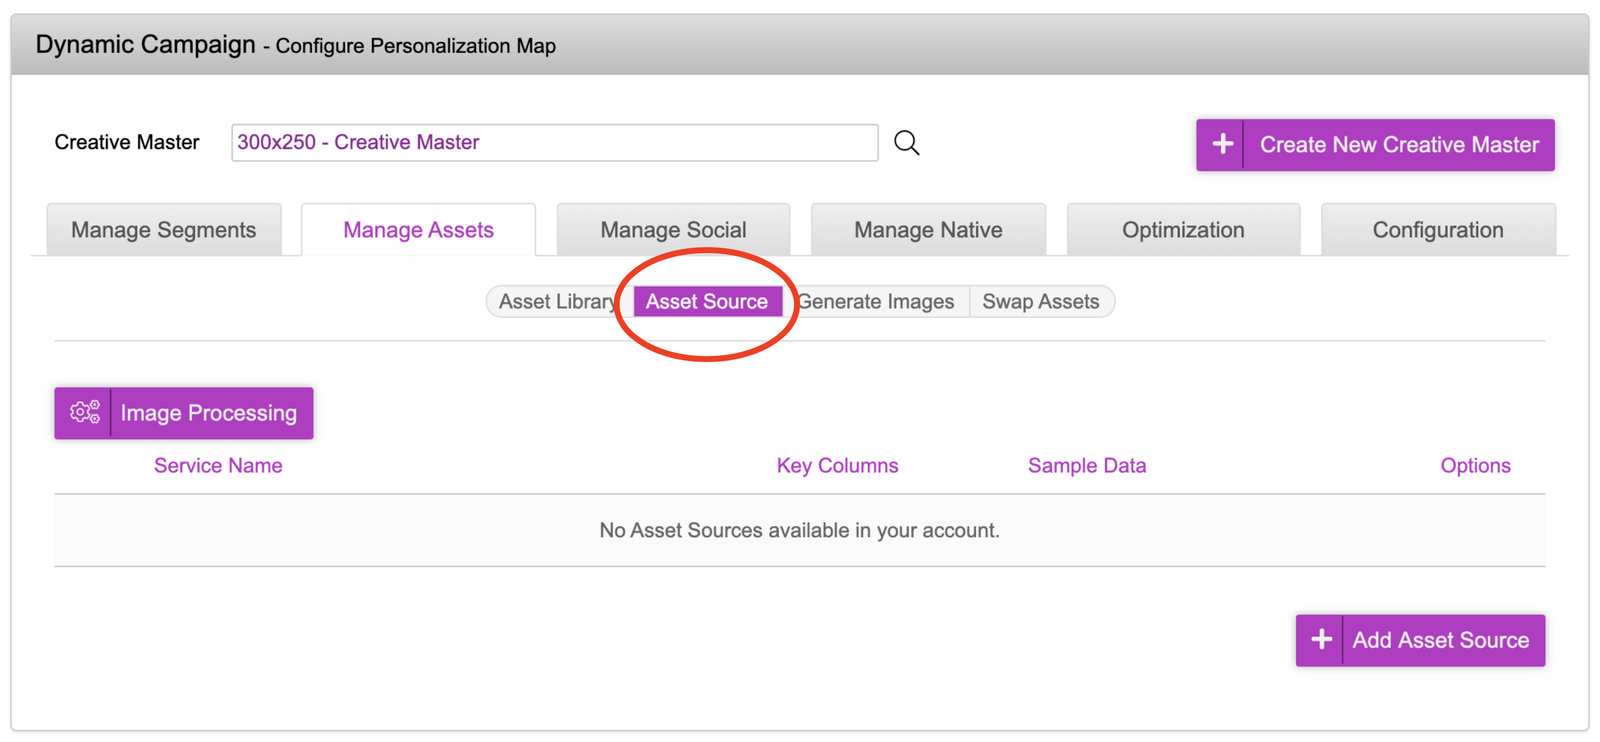
We will now move onto the next tab in which we will be uploading our ‘Asset Source’.