1- The Manage Ad Sets screen displays four sub-tabs- Budget, Placements, Page and Audience.
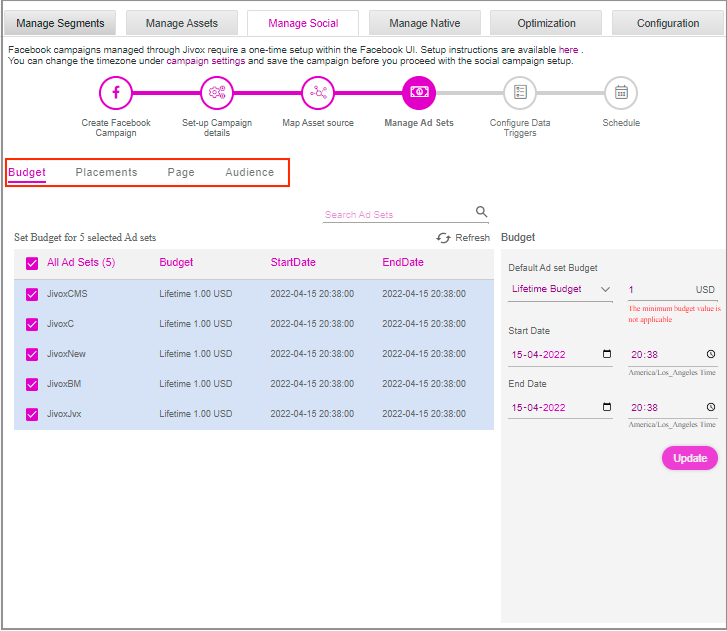
2- Under the Budget sub-tab, configure the Start Date, the End Date and the Budget. After configuring, click on the Update button.
Only the Lifetime Budget type is supported for a Reach and Frequency buying type campaign. You can define different configurations for different Ad sets, individual Ad sets or for all the Ad sets.
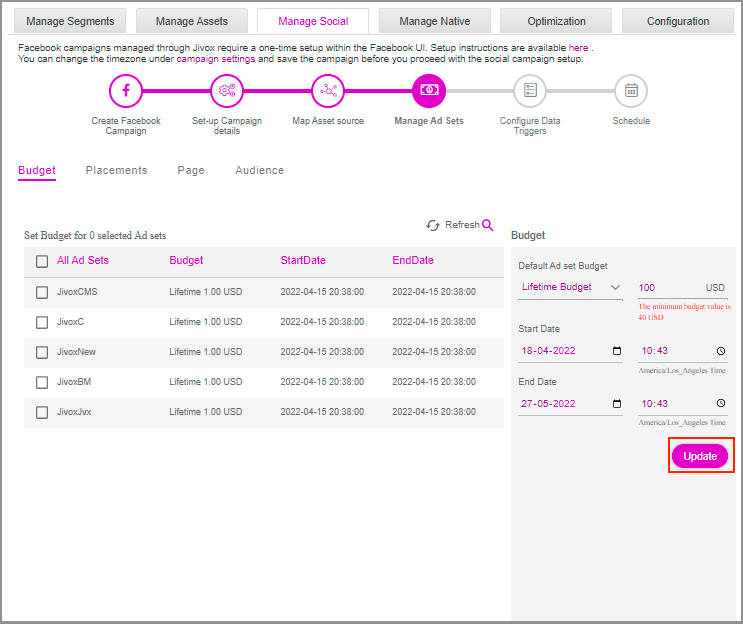
If you do not click on the update button, a warning message will be displayed.
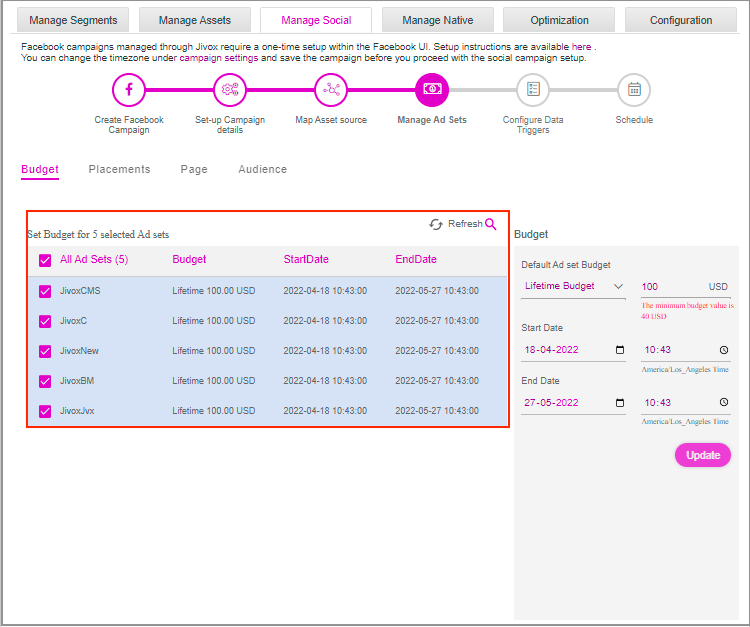
3- After updating, the configured details will appear in the respective columns under Set Budget.
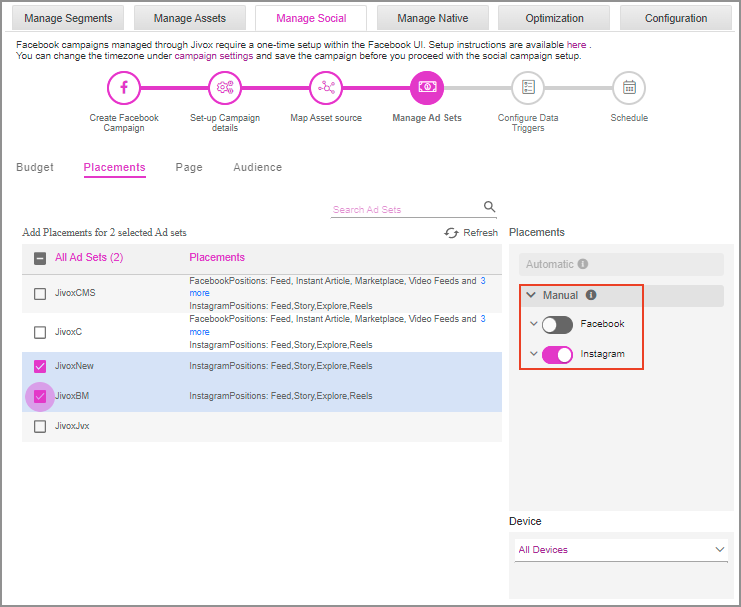
4- Click on the Placements sub-tab. Here, you have the option to provide the Facebook or Instagram placement positions.
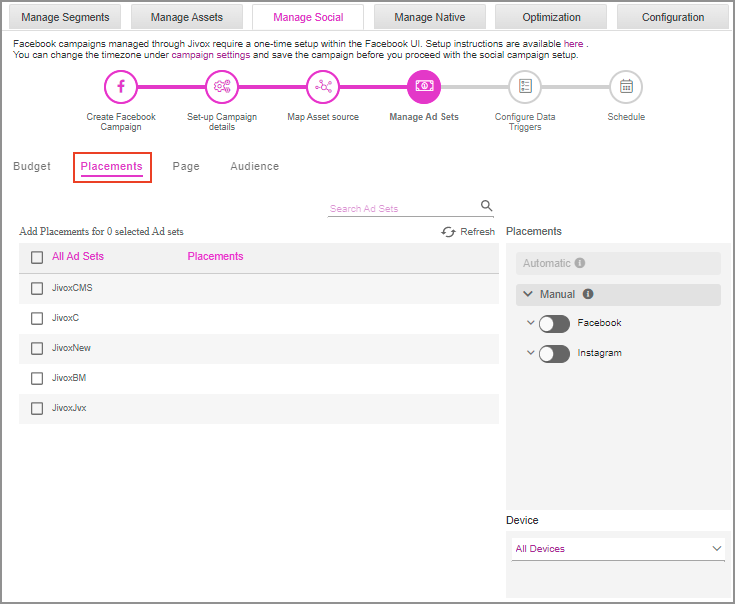
5- The Ad sets placements data is empty in the Add Placements table by default. To make a manual placement, click on the toggle switch for Facebook and/or Instagram and the corresponding data gets added in the Add Placements table.
Automatic placements are not supported for the Reach and Frequency buying type campaigns.
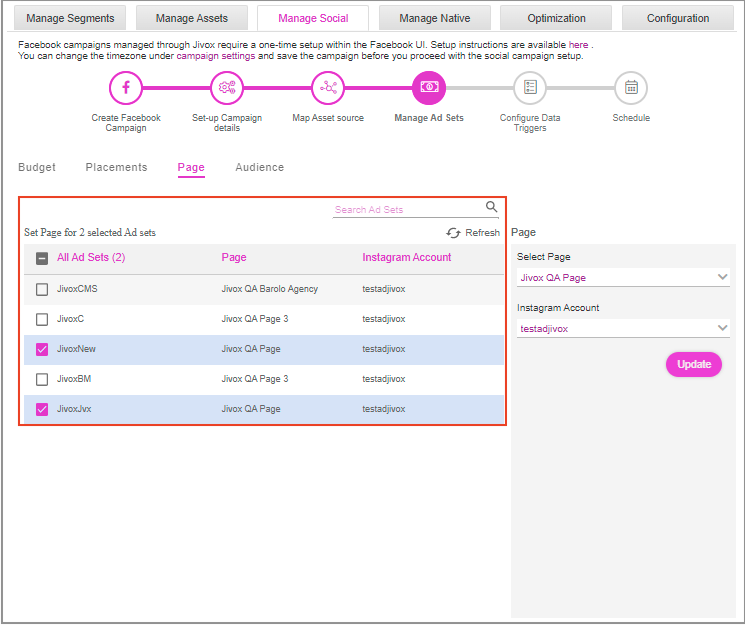
6- Click on the Page sub-tab. Here, you have the option to provide the Facebook page and/or Instagram Account details. Select the relevant Facebook page from the Select Page dropdown list and the Instagram Account from the Instagram Account dropdown list.
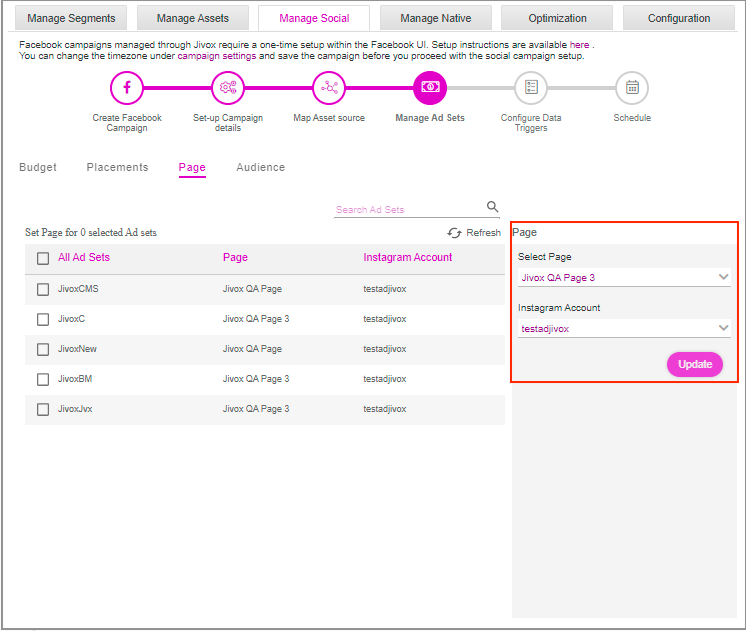
By default, the Facebook page provided in the Set-up Campaign details tab is selected.
7- Click on the Update button and the configured details will appear in the respective columns under Set Page.
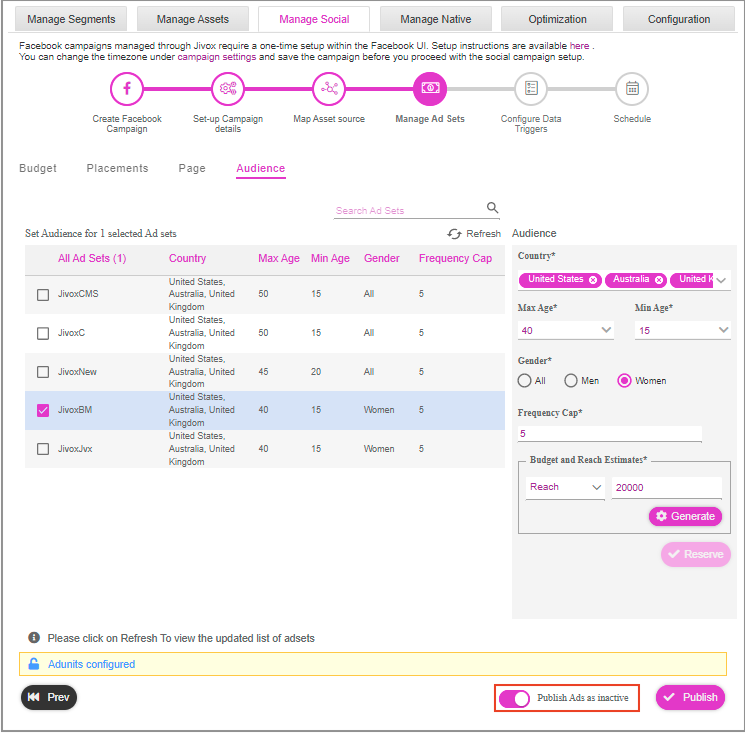
8- Click on the Audience sub-tab. Here, you have the option to provide the target audience details. By default, the first Ad set under the Set Audience table is selected and the default data under the Audience section is auto-populated in the respective columns.
You can select and configure the audience details for only one Ad set at a time.
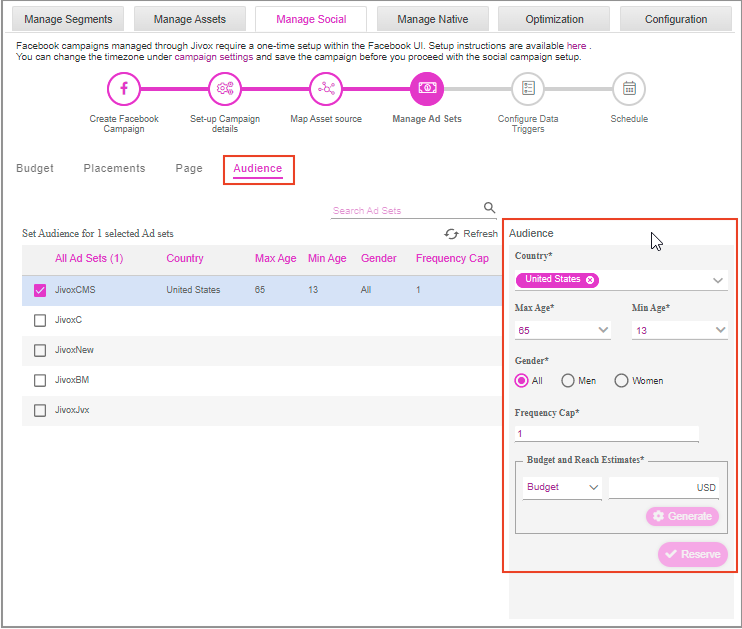
9- Under the Audience section, specify the following details for your target audience:
Country: Select the country/countries from the dropdown list to target the Facebook Ads by country. The dropdown lists all the countries associated with the Business ID that you have provided.
Max Age: Set the upper age limit for the target audience. The maximum age limit is 65 years.
Min Age: Set the lower age limit for the target audience. The minimum age limit is 13 years.
Gender: Select the gender of the target audience.
Frequency Cap: Allows to adjust the number of times, on average, an ad is shown to the person within a set period of time. The frequency cap impacts on how many people the ad would reach and how frequently the ads are viewed by these people
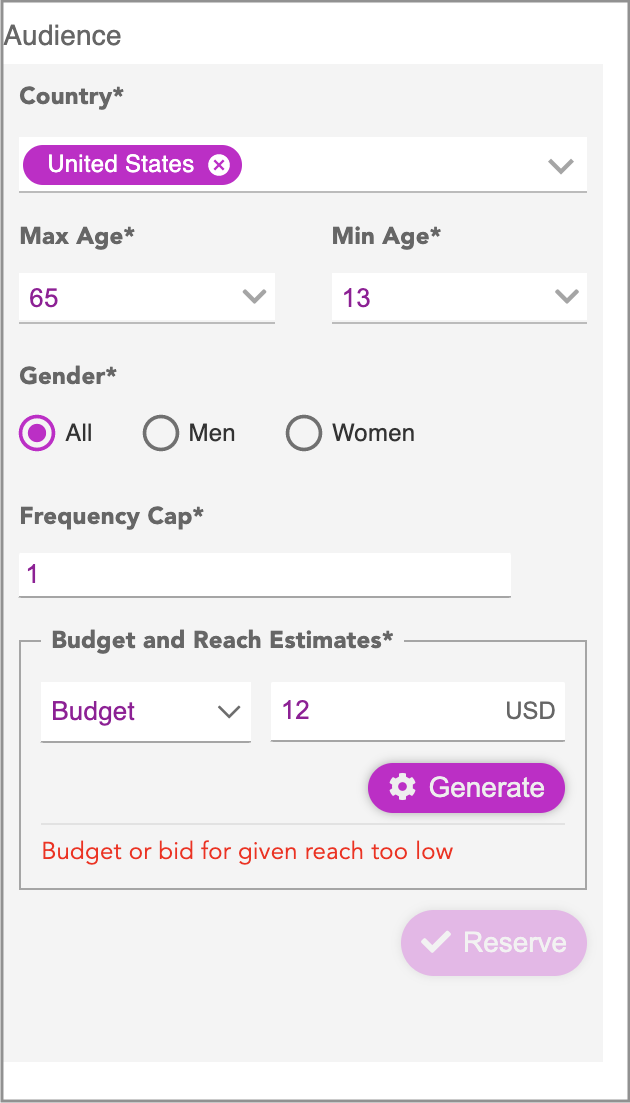
Budget and Reach Estimates: Under the Budget dropdown, select Budget or Reach for the audience based on the campaign strategy. Enter the corresponding budget or reach value in the next field. If the budget entered is low, then a warning gets displayed "Budget or bid for given reach too low"
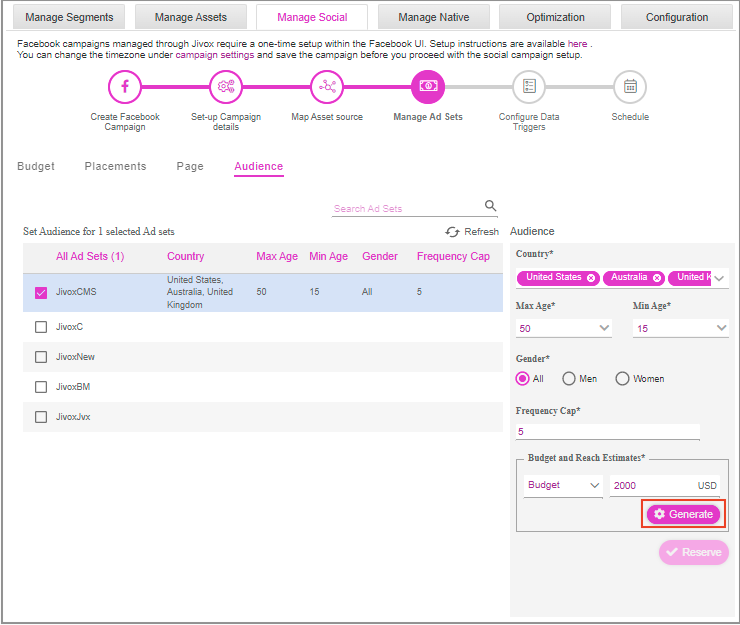
10- Click on the Generate button to generate and view the budget or reach estimations, based on your selections in the previous step. The same estimations will be shown on Facebook Business Manager.
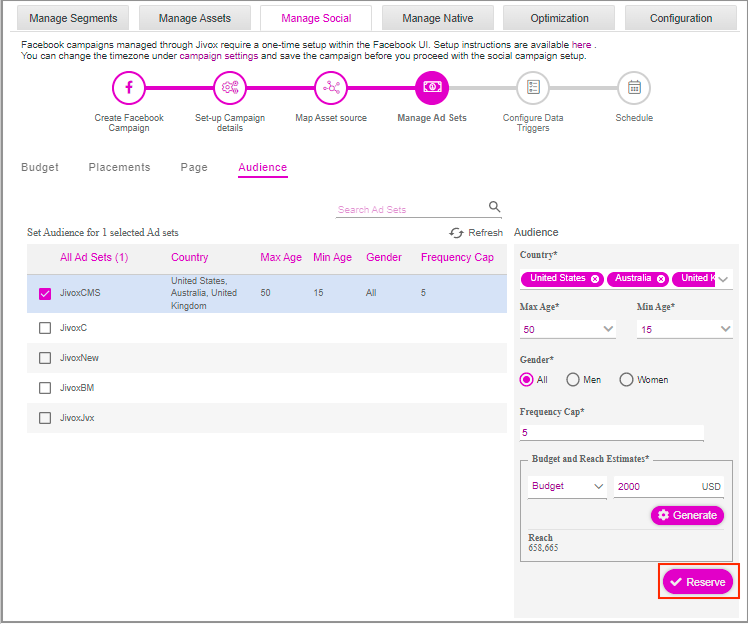
11- After the estimations are generated, the Reserve button is enabled. Click on the Reserve button to reserve the audience.
12- You will see a warning message, as shown below. Click on the OK button to proceed. Once the audience data is reserved, the previously selected Ad sets will be de-selected.
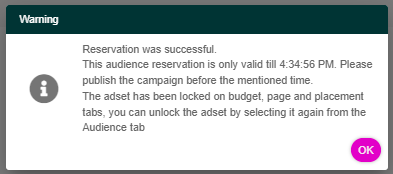
The audience data will be valid for a specific time, before which you have to publish the campaign.
13- You can also edit the existing audience data by doing the following:
Selecting the Ad set(s) that you want to modify and update.
A warning message is displayed, as shown below.

Make all the required changes to the Audience data.
Click on the Generate button and then the Reserve button.
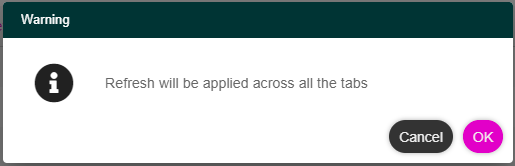
14- You can clear the data across all the sub-tabs under the Manage Ad Sets tab, by clicking on the Refresh icon. A warning message is displayed, as shown in the image below. Click on the OK button to proceed.
15- Click on the Publish button to publish the campaign.
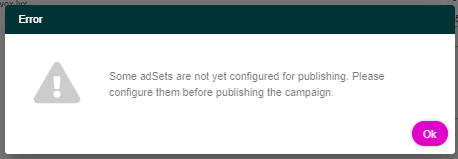
If you try to publish the campaign without configuring the Audience data for all the Ad sets, an error message will be displayed, as shown in the image below.
16- If the toggle switch Publish Ads as inactive is enabled and you click on the Publish button, then all the ads in the Facebook Business Manager will be in a deactivated state. You will be allowed to publish the campaign only after configuring and reserving all the audience data for all the Ad sets.
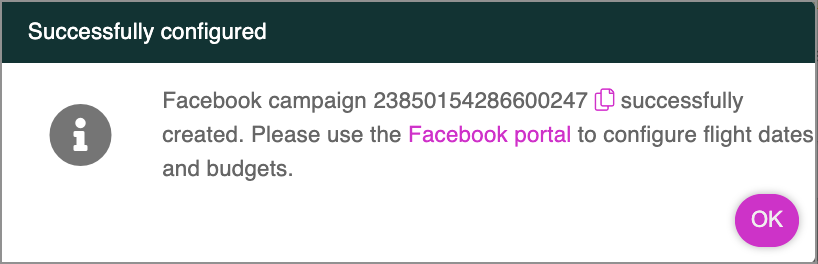
17- Once you click the Publish button, the platform successfully builds the ads and pushes them to Facebook. Now your ads will get published on Facebook. Click on the Ok button.