To set up a Facebook campaign using Jivox’s Dynamic Creative Optimization (DCO) capabilities, Jivox must have access to the brand’s Business Manager ad account, page and pixel. This can be set up in two ways:
Jivox's Integration is directly with a brand, and the brand owns the ad account, the page, and the pixel.
Jivox's Integration is with a brand and an agency (employed by the brand). While the brand owns the page, the pixel and the agency, an agency employed by the brand owns the ad account for the brand.
In both cases, the decision to provide access is completely based on the discretion of the brand. You can configure Facebook dynamic campaigns in your Facebook ad account after one-time setup. The Jivox Facebook Business Manager needs to be added as a partner to the brand’s Business Manager account.
Prerequisites
Follow these steps to allow Jivox to access the brand's Business Manager account:
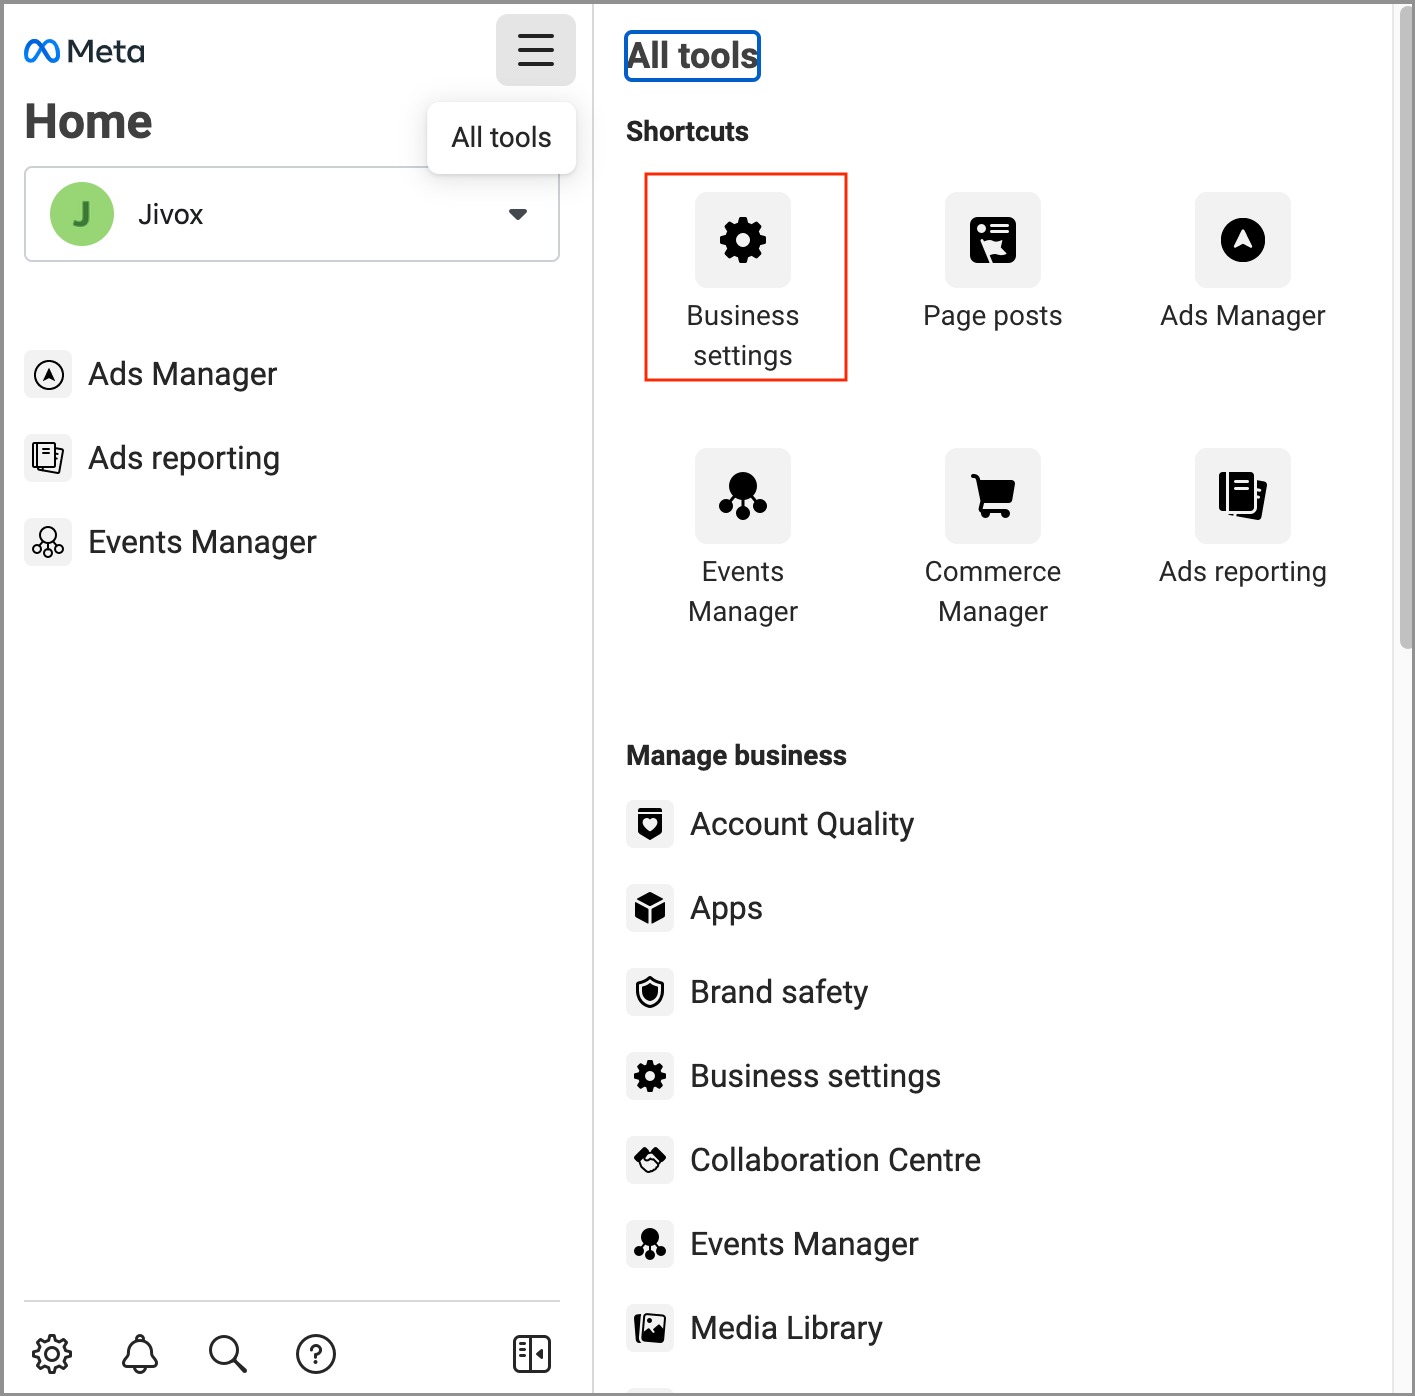
1- Log in to your Facebook business account from business.facebook.com.
2- Go to the Business Settings of your Business Manager.
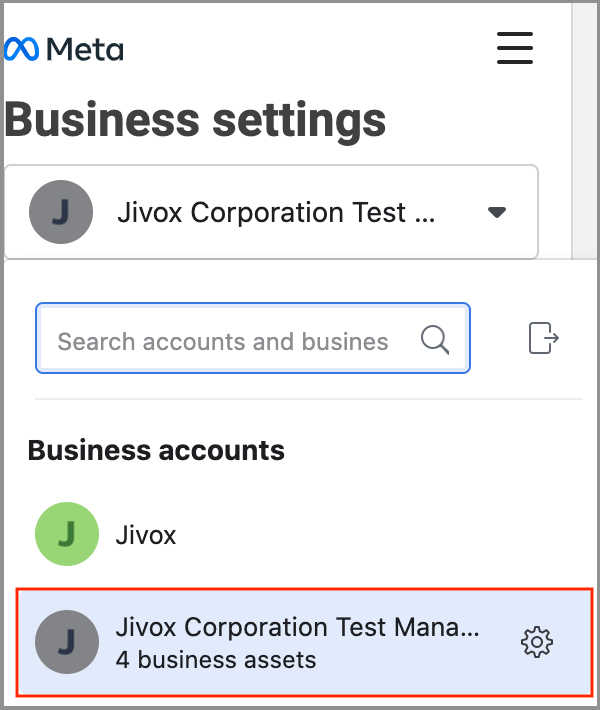
3- Select the client/agency that you represent from the drop down in the left navigation as shown below.
4- Go to the left navigation pane and click on Ad Accounts under Accounts.
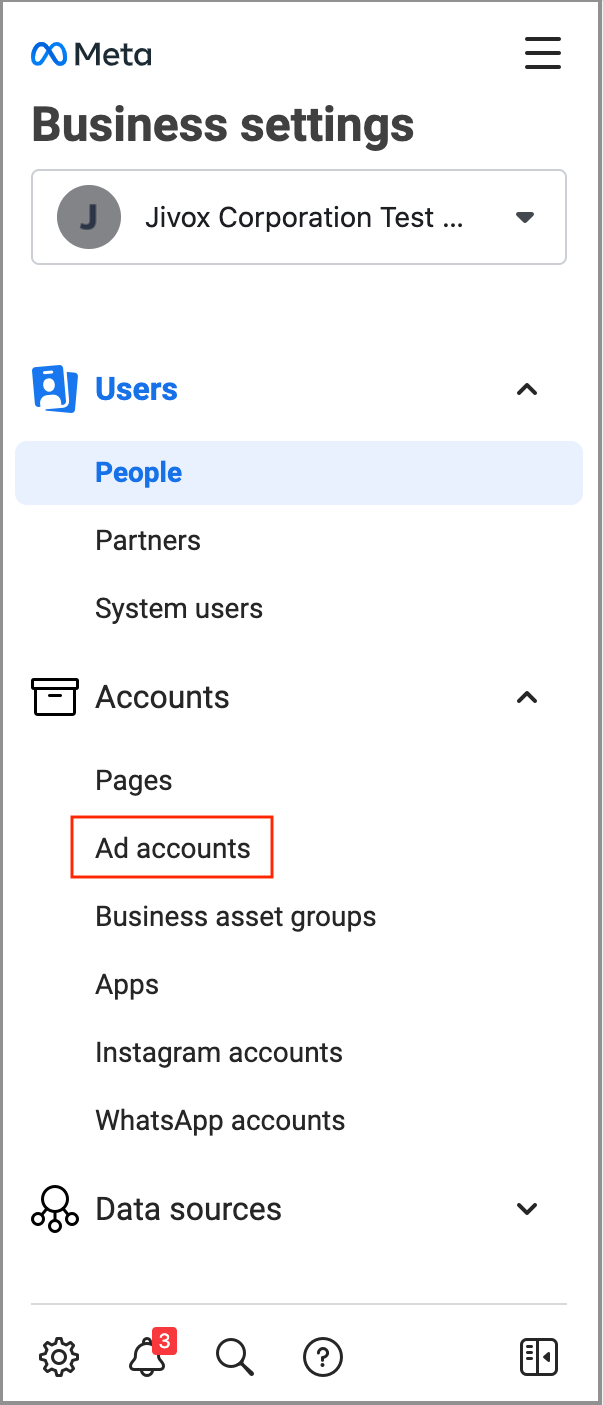
Select the ad account from which you run your campaigns through Jivox.
Assigning Partners
1- On the right-hand side window, you will see the Ad Accounts page. Click on the Assign Partners tab to add Jivox as a partner.

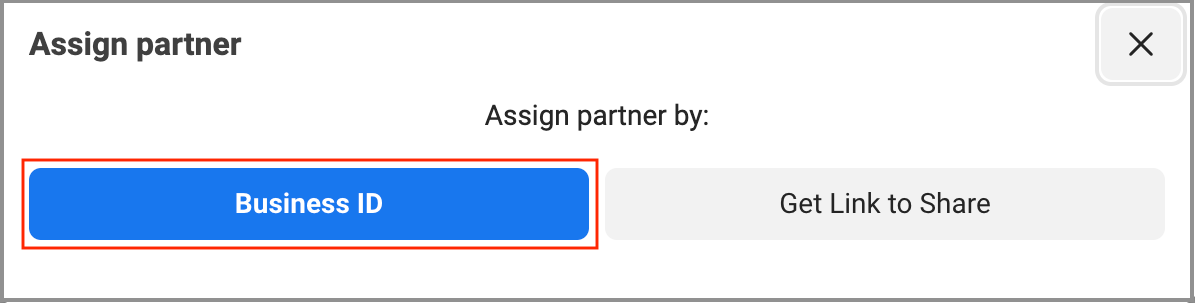
2- The Assign Partner pop-up window will appear. Here, you can assign the partner using a Business ID. To enter the business ID, click on the Business ID option.
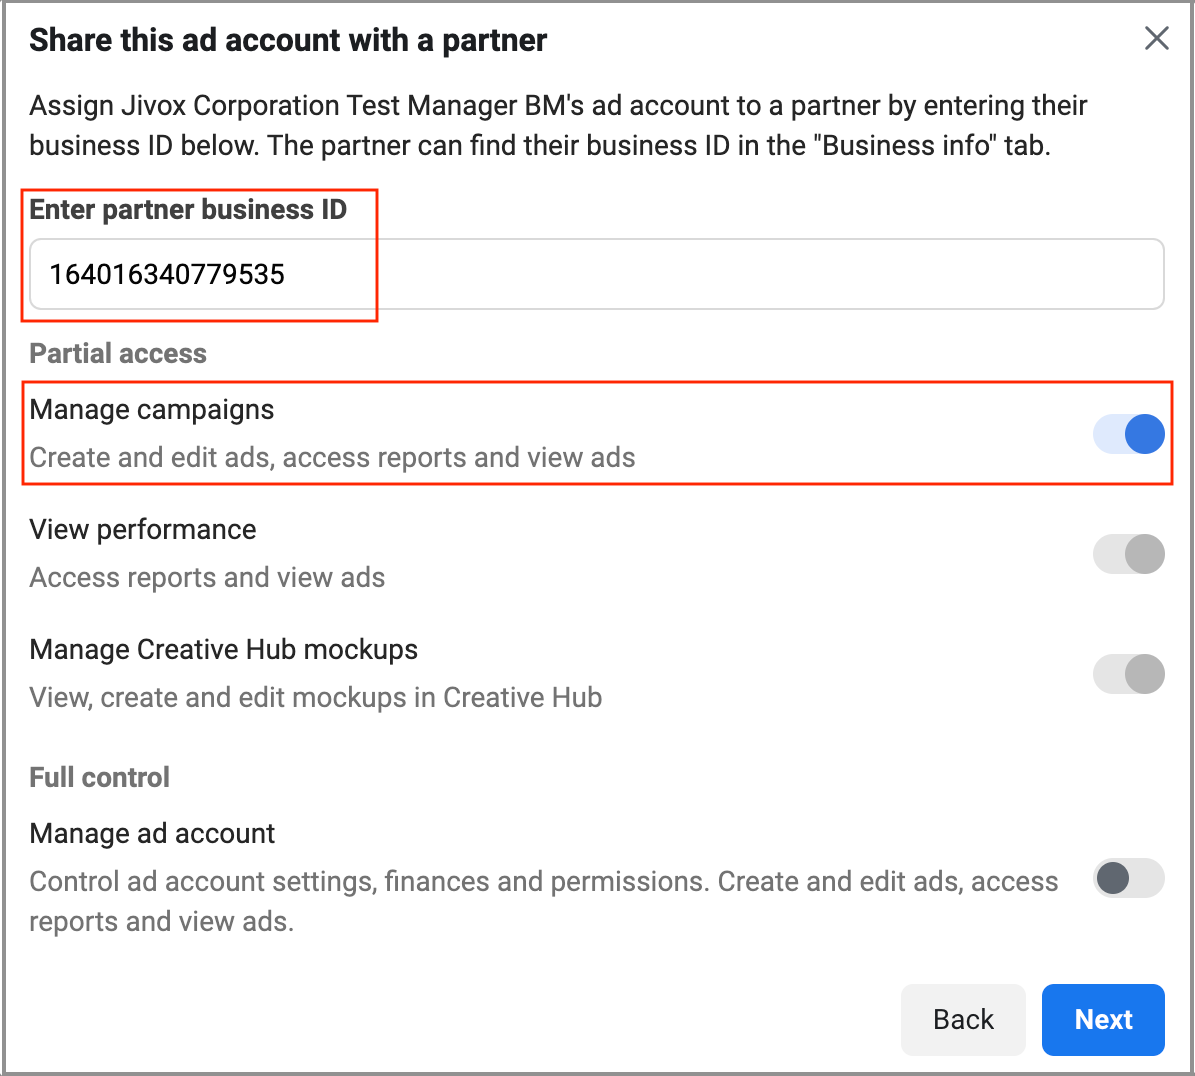
3- Enter 164016340779535 in the Enter partner business ID field. Under Partial access, provide Manage campaign access by clicking on the toggle switch. Click on the Next button.
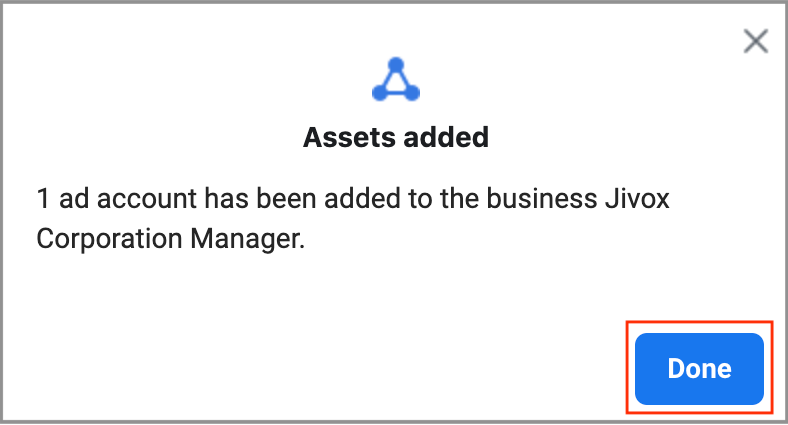
4- A confirmation message will appear as shown below. Clink on the Done button.
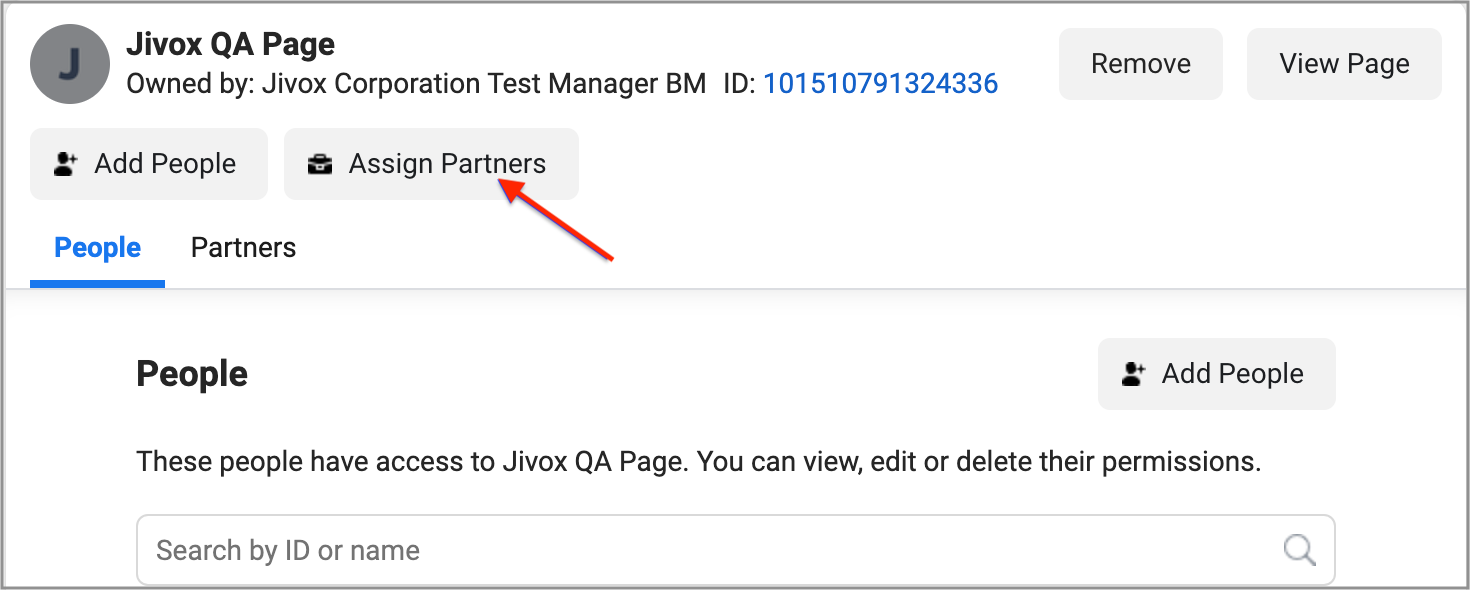
Pages
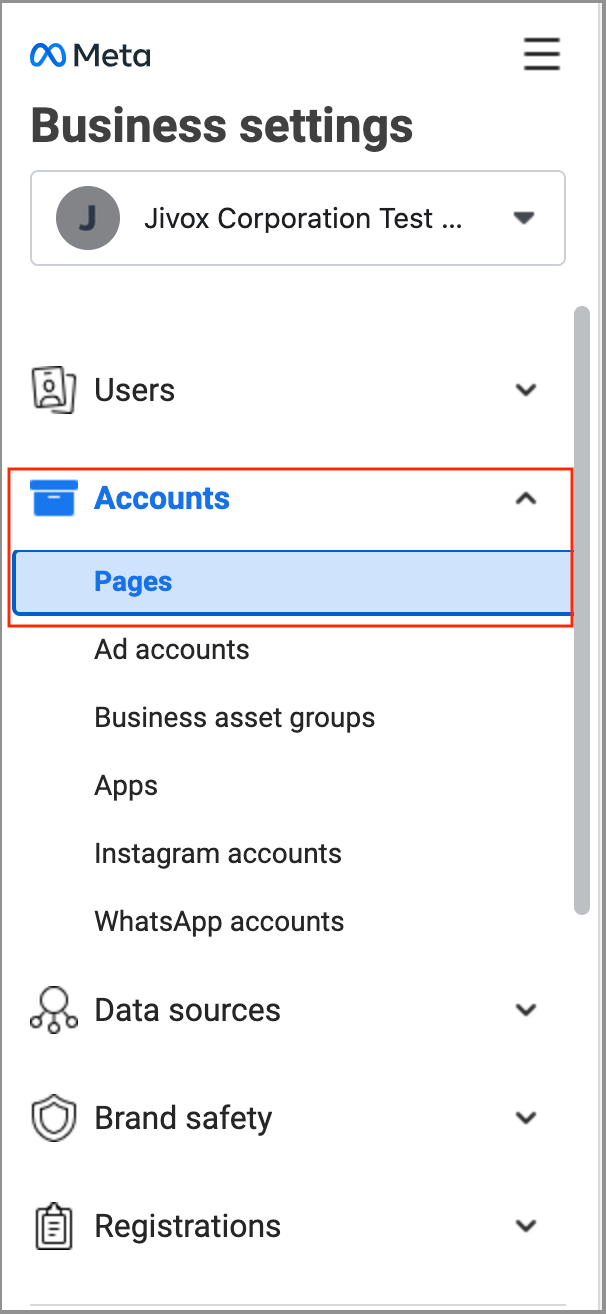
1- Go to the navigation pane on the left and click on Pages under Accounts.
2- On the right-hand side window, you will see the Page details screen. Click on the Assign Partners tab.
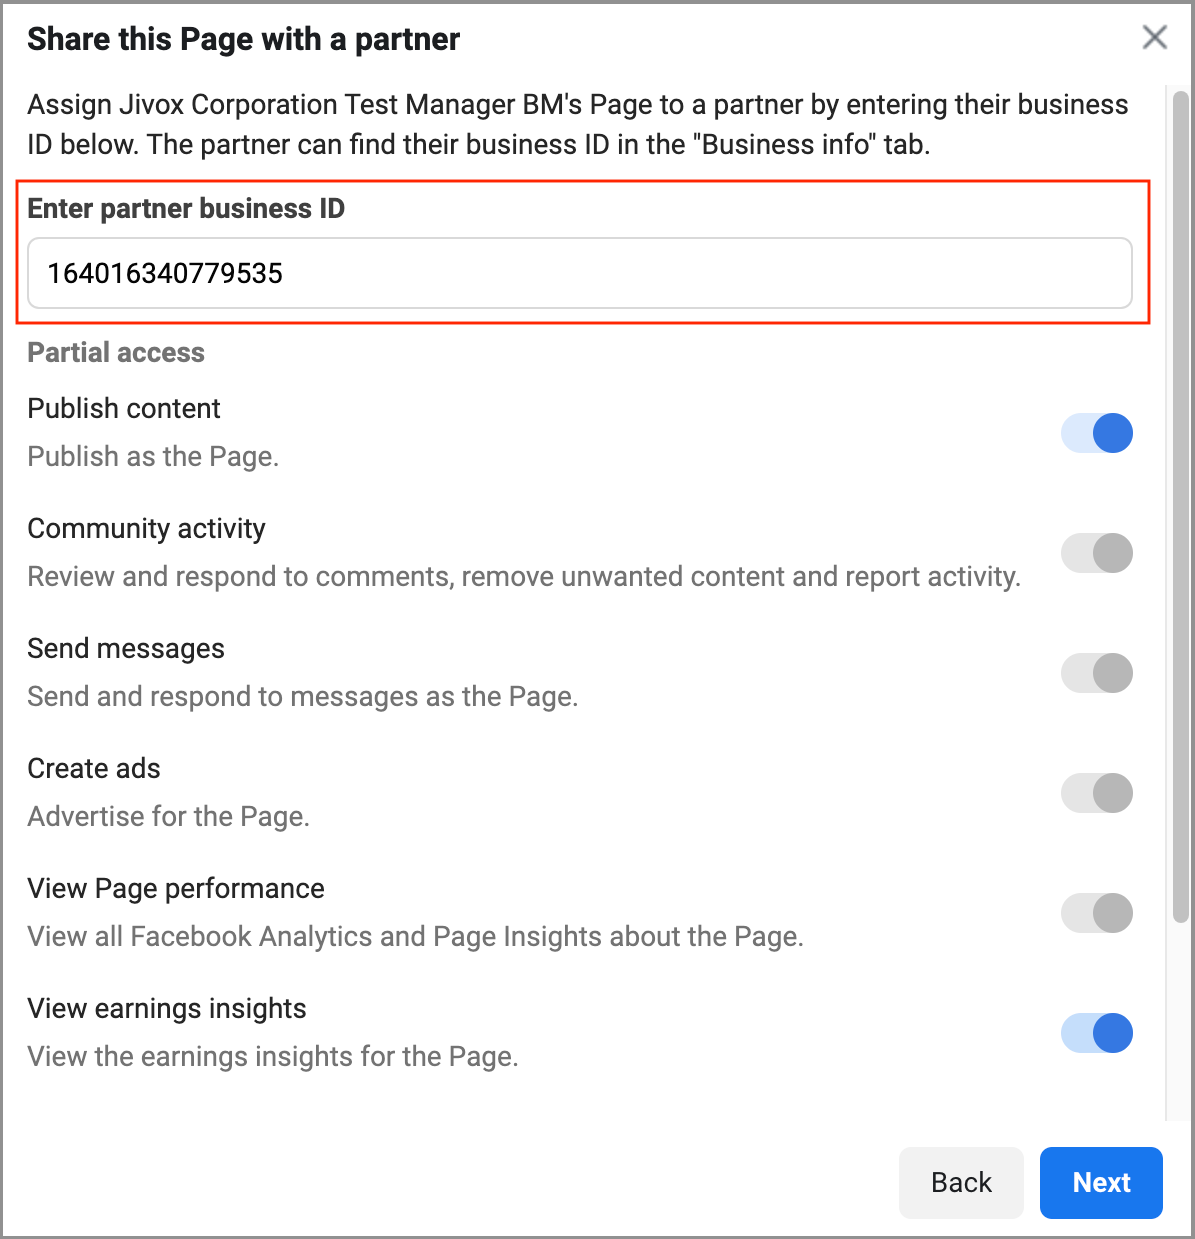
3- The Assign Partner pop-up window will appear. Here, you can assign the partner using a Business ID. To enter the business ID, click on the Business ID option.

4- Enter the business ID 164016340779535 in the Enter partner business ID field.
If you are creating canvas or collection ads, provide access to Publish content. If you are creating non-canvas ads, provide access to Create ads and View Page performance.
5- A confirmation message will appear. Clink on the Done button.
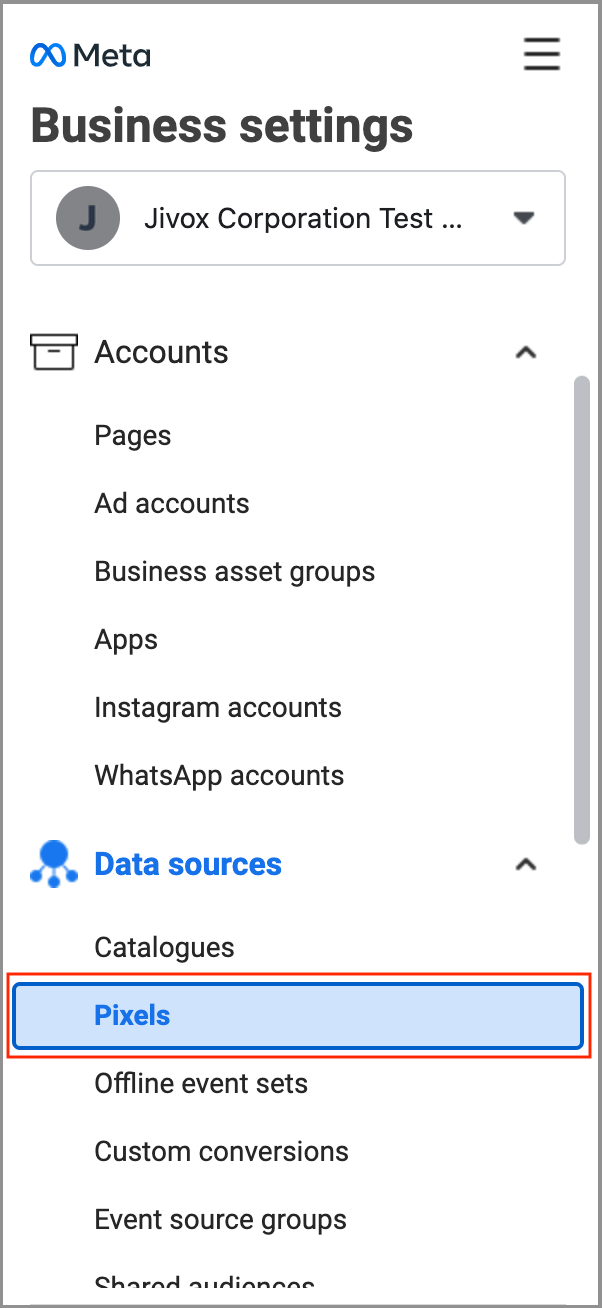
Pixels
We will now assign Jivox Business Manager as an advertising partner in the Pixels section.
1- Go to the navigation pane on the left and click on Pixels under Data sources.
2- On the right-hand side window, you will see the Pixel details screen. Click on the Assign Partners tab.
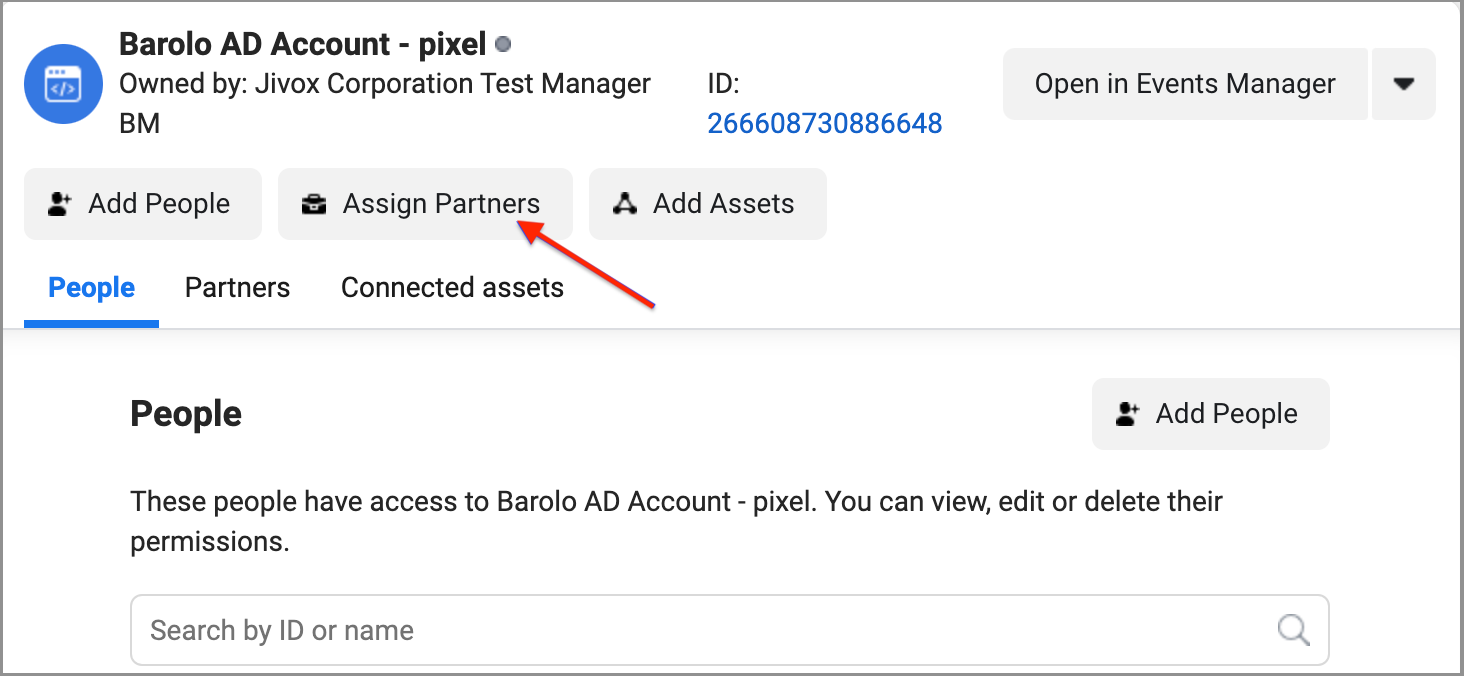
3- To assign the pixel with a partner, enter the Business ID 164016340779535 in the Enter partner business ID field. Provide the View pixels access by clicking on the toggle switch against it under Partial Access. Click on the Next button.

4- A confirmation message will appear. Clink on the Done button.
Adding Pixels to the Ad Account
1- To link pixels to the ad account, click on the Add Assets tab.
2- Select the ad account(s) from the list under Name. Click on the Add button.
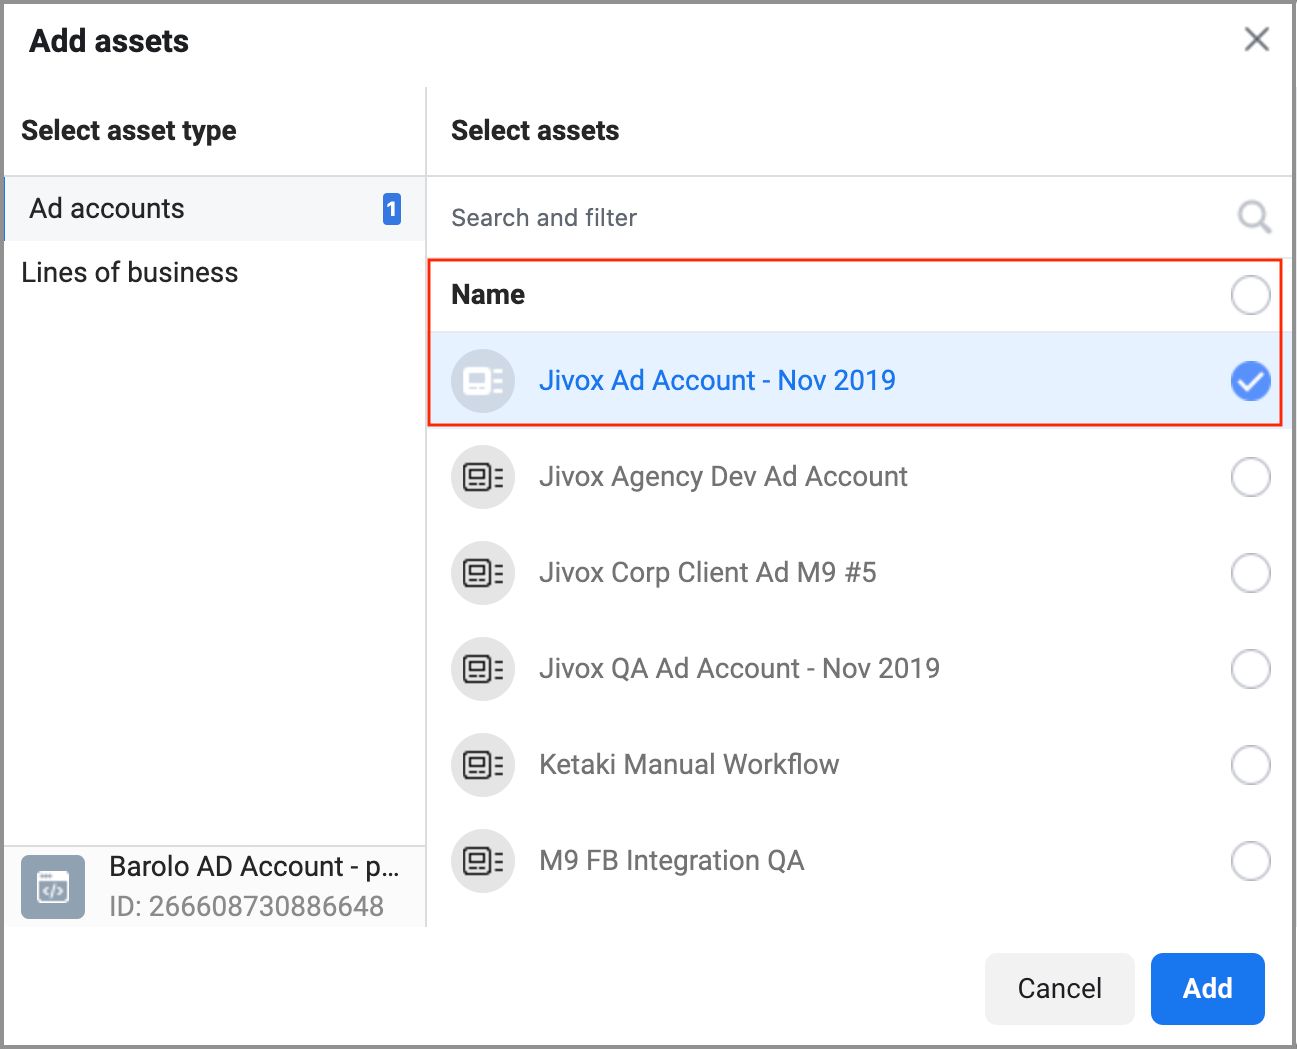
3- A confirmation message will appear. Clink on the Done button.
Adding Instagram to Ad Accounts
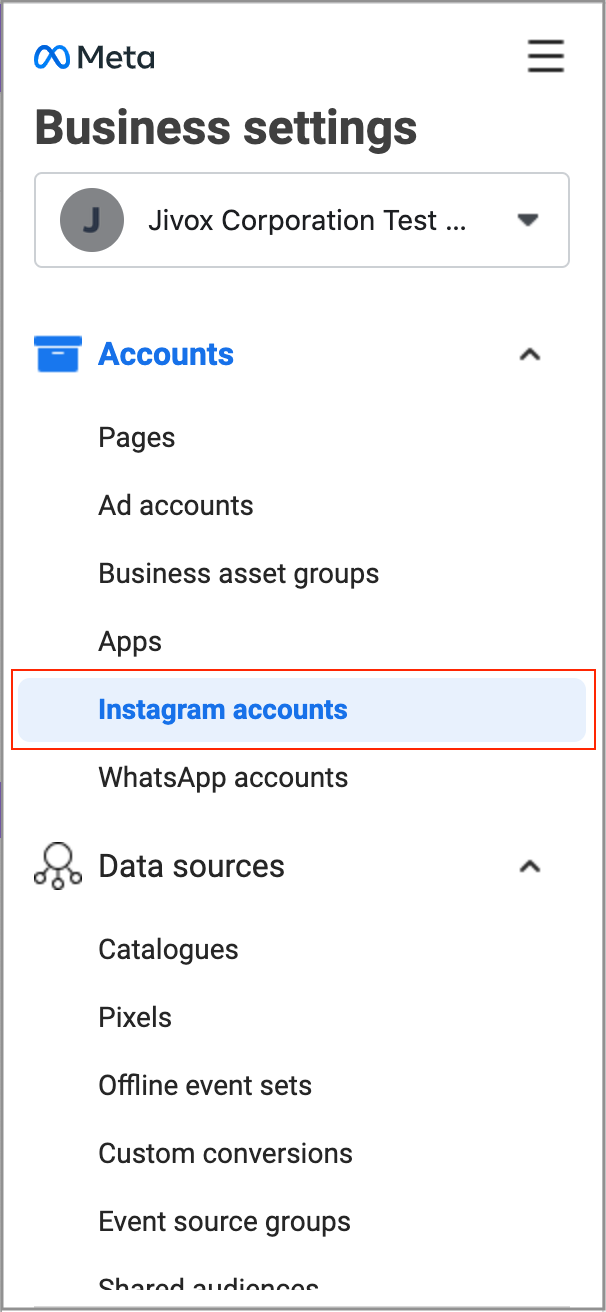
1- Go to the navigation pane on the left and click on **Instagram account **under Accounts.
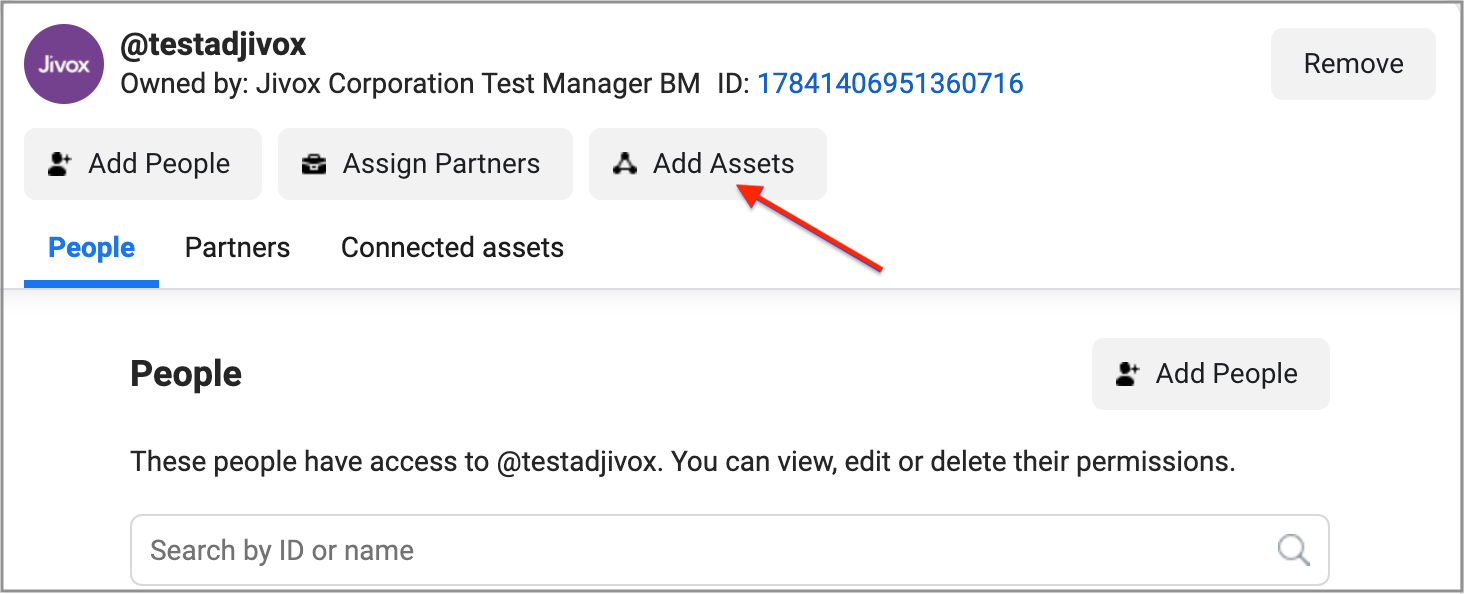
2- On the right-hand side window, click on the Add Assets tab.
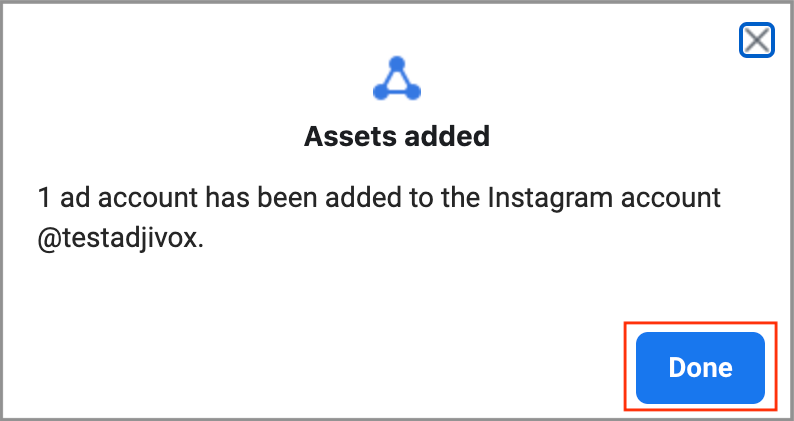
3- Select the ad account(s) from the list under Name. Click on the Add button.
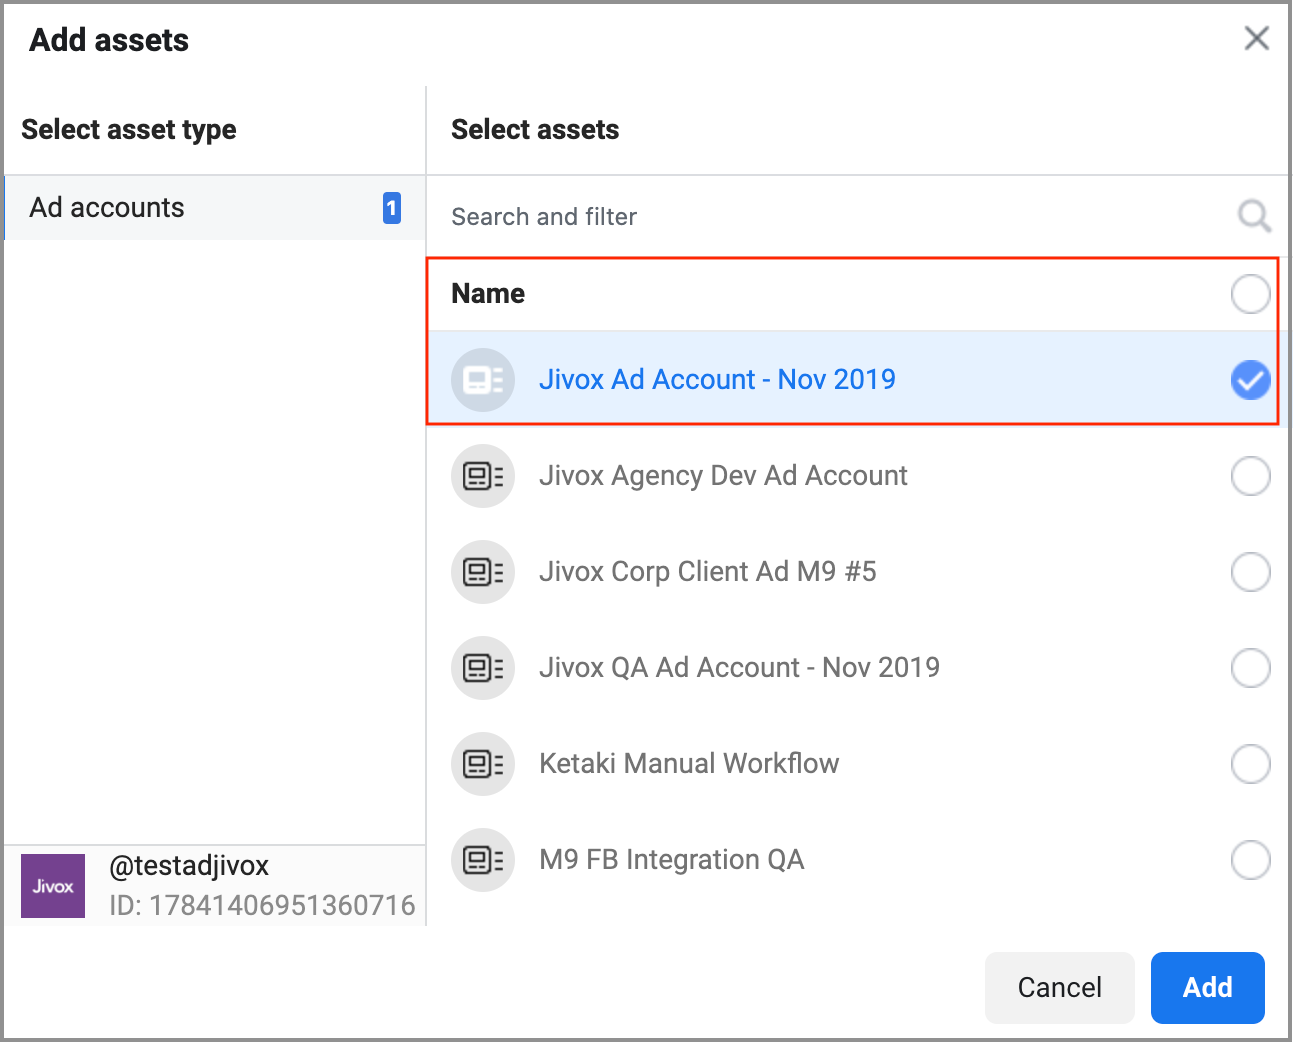
4- A confirmation message will appear. Click on the Done button.