Another way to generate creative variations is by uploading an asset source file created outside of Jivox platform. The Jivox platform allows you to download an Asset Source template that includes the column headers named as per the Creative Master. To ensure that the Asset Source file has the correct column headers, we recommend to download the template from the platform.
So far we have:
Created a Carousel Ad Unit
Uploaded a Creative Master File
Generated an Asset Source
In this section, we will cover the following:
We will cover the following:
Downloading Asset Source Template
You can download the Asset Source template and then fill the columns outside the platform. The Download Asset Source option is available only when you save the ad.
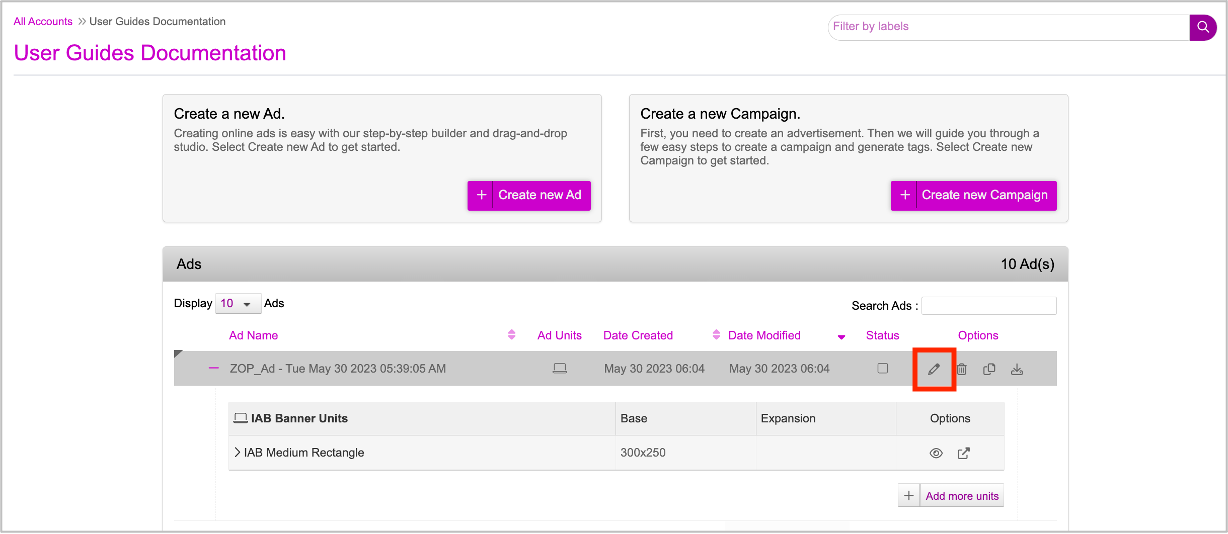
To download the Asset Source Template, first you must save the ad.
Next, on the ads and campaigns dashboard, select your Ad and click the pencil icon. This will take you to your Ad unit.
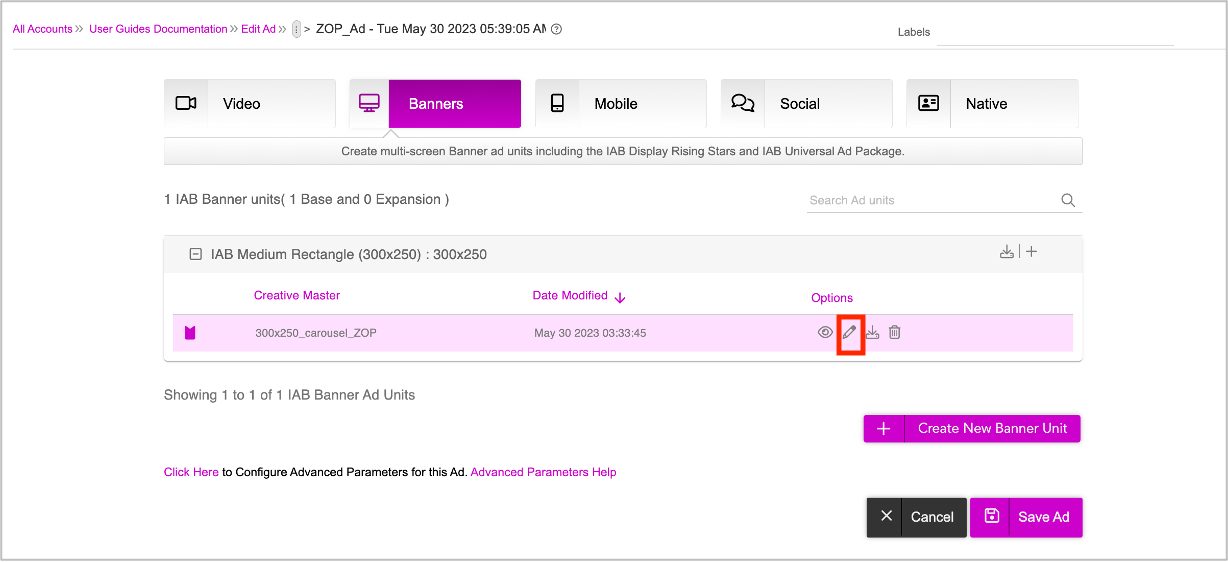
Click the pencil icon as shown in the image below. This will allow you to view the Ad in DCS UI.
As you can see, the download button is now available.
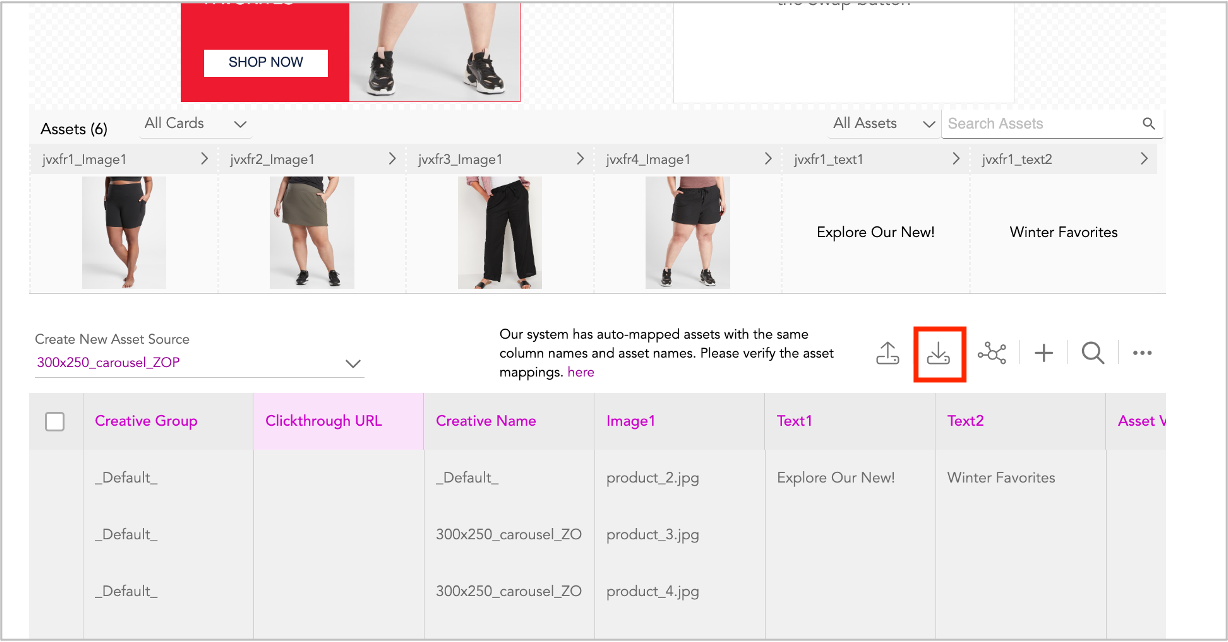
Click the Download Asset Source button. This will download the Asset Source template onto your computer in zip file format.
Select the .zip file from your system and extract to get the .csv file. Open the .CSV file that contains all the column names as well as the Default rows. If no conditions are met, the system will serve the default creative variation.
You cannot modify the assets in the default creative variation.
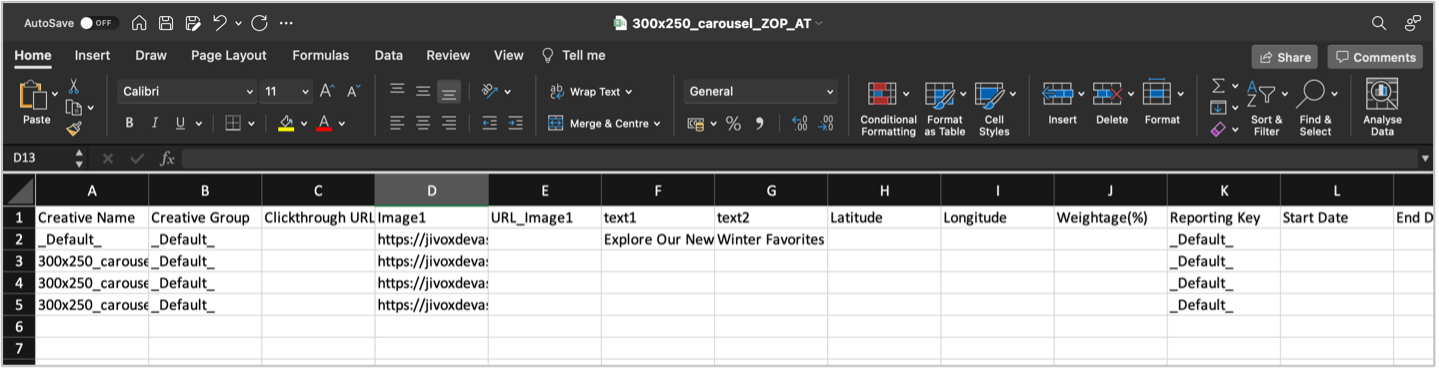
Enter the data across all rows and columns. You can enter data for any number of rows. Once you are done, save the file. For detailed instructions to update the Asset Source file see Downloading Asset Source Template.
Uploading Asset Source File
Now let’s go ahead and upload the Asset Source file. Click the Upload Asset Source icon highlighted below. On the Upload window, you can either drag and drop or browse and select the required file from your computer.
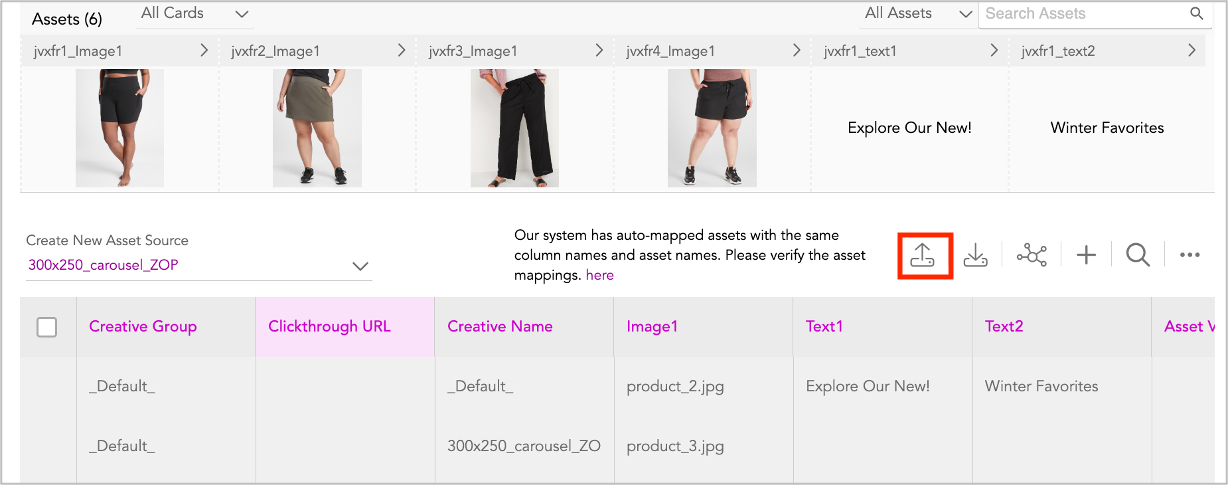
Once the Asset Source above has been uploaded, you can see the rows in the Interactive Asset Source populated. The maximum number of rows shown in the UI is 50, however there is no limit on the number of rows that the Asset Source can have.

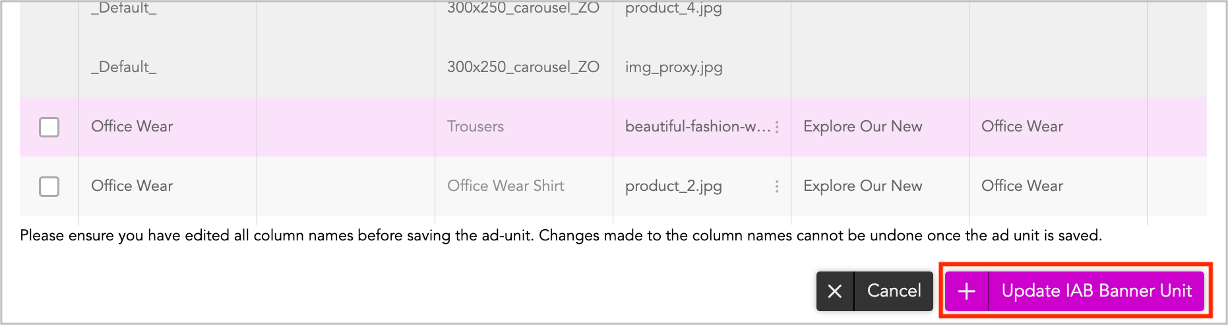
After uploading the Asset Source, if you want to make any changes to image and text assets, you can use the Interactive Asset Source.
Once you're done, click Update IAB Banner Unit.
In the next screen, click Save Ad. This will save the Ad**.**
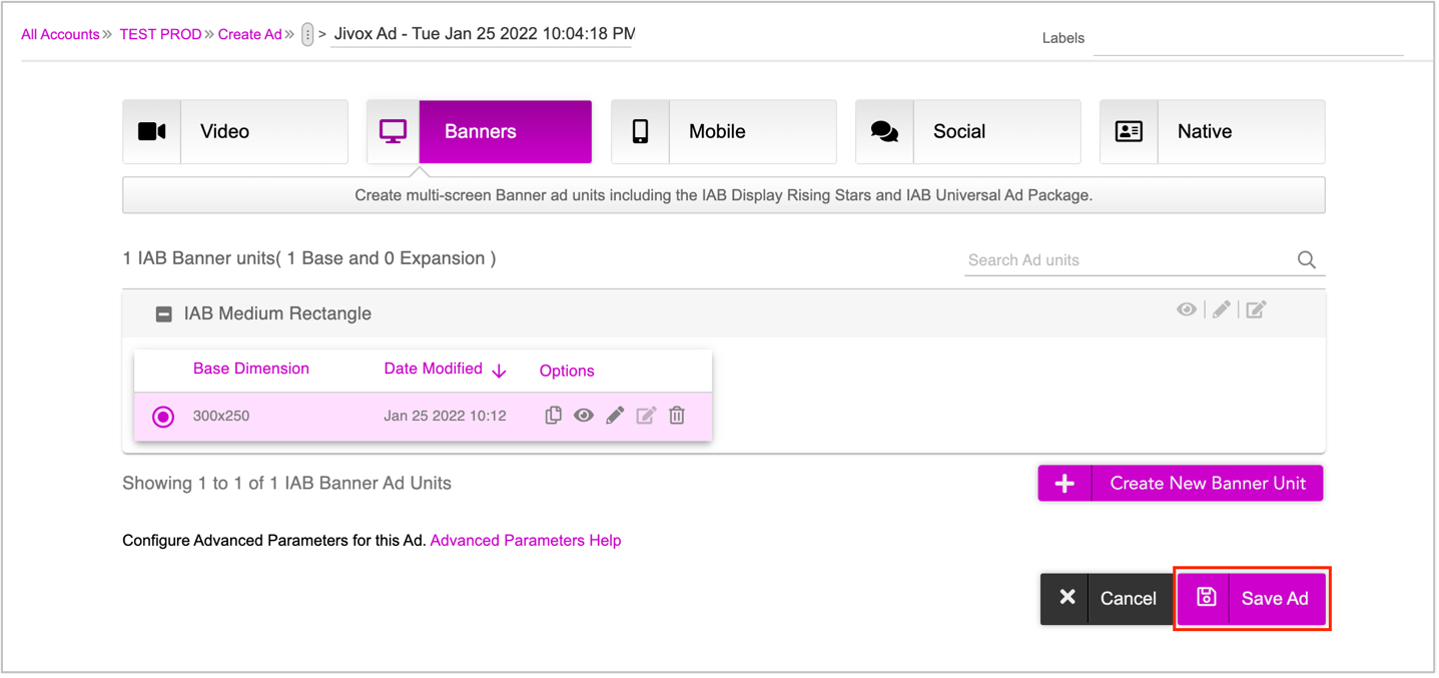
You will be redirected to the Ads and Campaigns Dashboard.
Next Steps
Here's what you must do next:
Generate the Creative Preview and send it for approvals if required.
If you want to generate multiple tags at once, use the Bulk Tag Generation feature.