Now that we have uploaded the creative master, let's go ahead and create the Asset Source.
Every time a new creative master is uploaded, the system creates an Asset Source template and names it as per the creative master file by default. You can change this default name, by entering an appropriate name in the Asset Source field.
Let's scroll down and make sure Create New Asset Source is selected in the Asset Source field. Here, you can enter an appropriate name for the Asset Source.
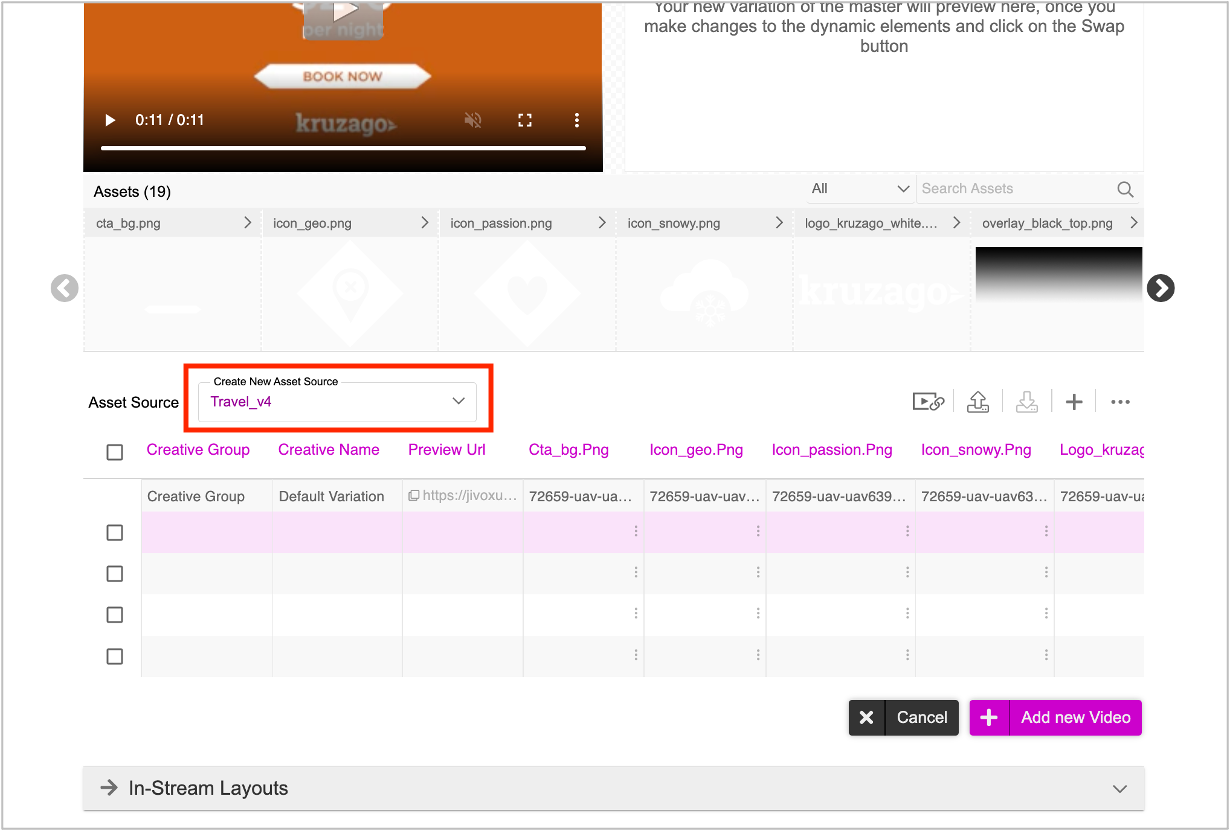
The first row is the default row and is an auto-mapped list of assets, based on the creative master uploaded.
To know more about the Asset Source, see Creating the Asset Source.
It is important that you follow the steps detailed in Adding Rows and Columns and add three additional columns.
Title: Enter the title which you want to be displayed on youtube.
Description: Enter a suitable description.
Video URL: This is the URL for the video that will be generated after you create the videos and save the ad.
Ensure that you add the two columns with headers - Title and Description - in the Asset Source and enter appropriate details for each creative variation. This will be useful when we configure the Youtube Setup while setting up the campaign. The title and description that you enter here in the Asset Source will be displayed with the video on Youtube.
Once the Asset Source is created, you can go ahead and generate the Creative Variations. You can generate creative variations in two different ways.
Using the DCS UI - You can create variations manually by swapping dynamic assets using the asset carousel. Follow this method if you want to generate limited number of creative variations (10-15).
Uploading an Asset Source File - You can create an Asset Source file outside of the Jivox platform and upload the file in DCS to generate and preview the creative variations. Follow this method if you want to generate hundreds of creative variations.
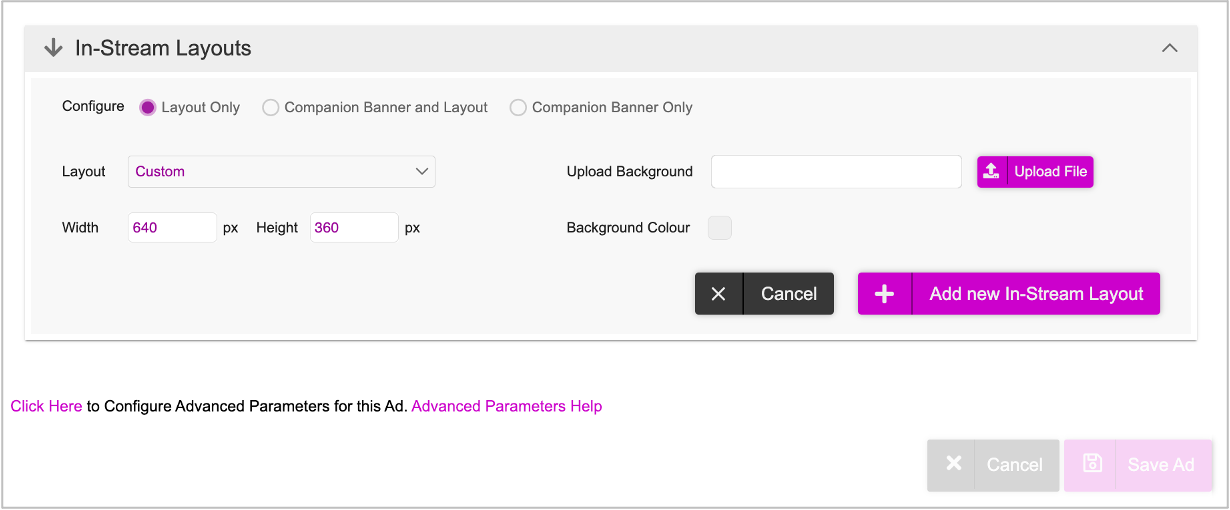
Based on the creative requirements, specify the Layout and/or Companion Banner options in the ‘In-Stream Layout’ section, to override the default layout settings.
The Asset Source created here, will be the working Asset Source for the user to make changes to. The system generates another asset source with the exact details. This system generated Asset Source is mapped while building the campaign and is used for all backend operations and tracking purposes.