So far we have:
Uploaded the Creative Master
Created the Asset Source
Next, we must create the Default Ad from scratch using the DCS UI. We can do this in two ways:
Using the Asset Carousel
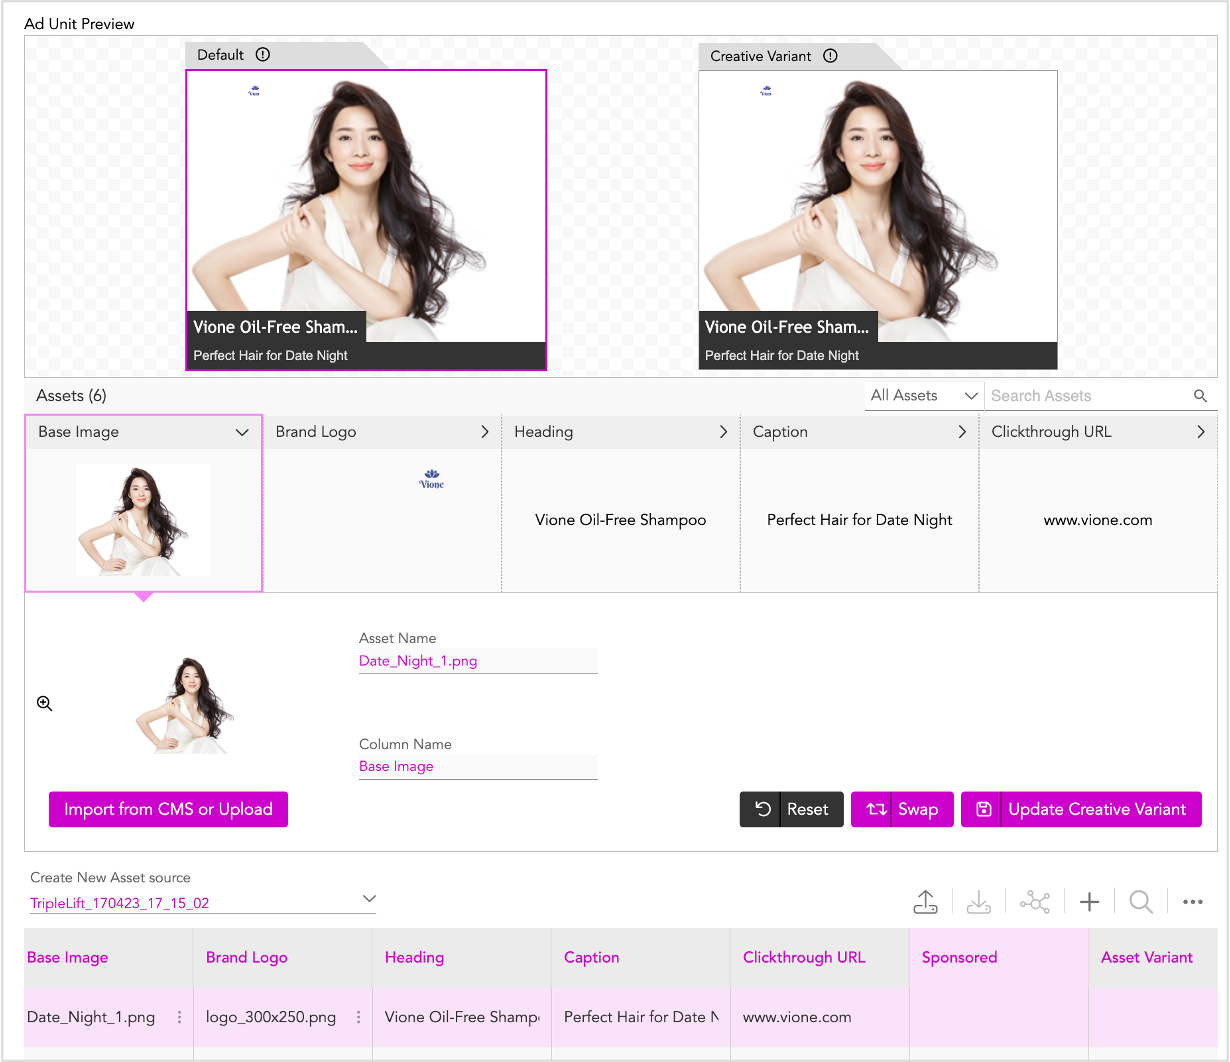
Here, we'll create the Default Ad using the Asset Carousel.

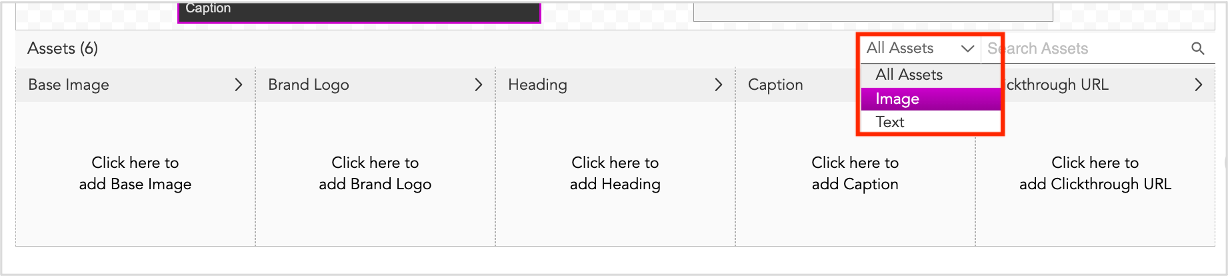
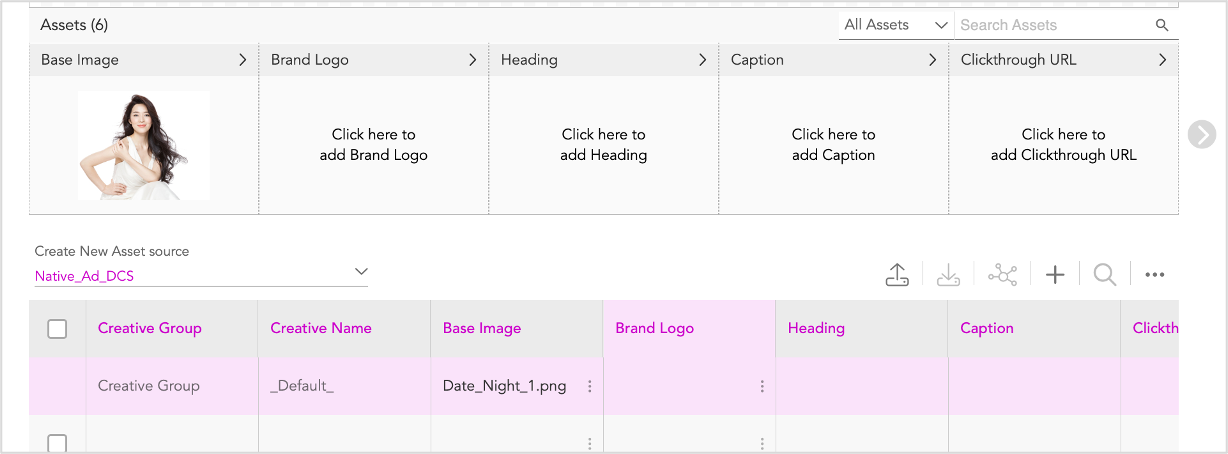
The Asset Carousel displays all the dynamic assets that are part of your chosen Native ad unit.
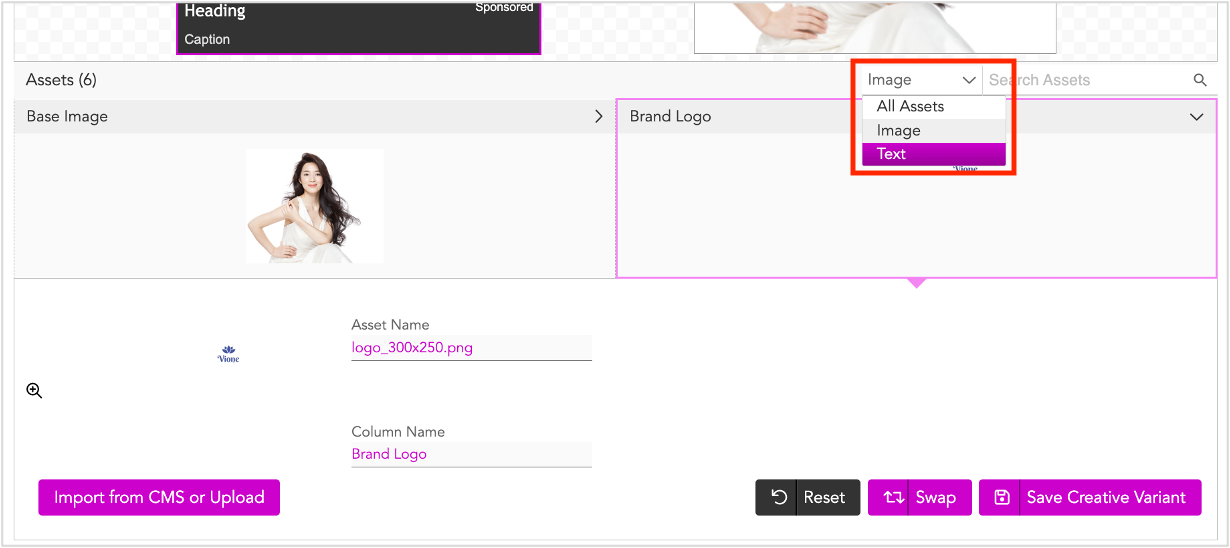
You can either search for specific assets or filter the assets using the All Assets drop-down.
Image - Selecting this displays all image assets such as Base Image, Brand logo.
Text - Selecting this displays all text assets such as Heading, Caption and so on.
Here's a table showing the image and text components in different Native ads supported by Jivox.
TripleLift | ShareThrough | |
|---|---|---|
Image Assets |
|
|
Text Assets |
|
|
Now let's start creating the Default Ad by updating the image and text assets.
Updating the Image Assets
We'll begin by updating the image assets.
1- Filter the image assets by selecting Image from the All Assets drop-down.

All the image assets will be displayed in the asset carousel.
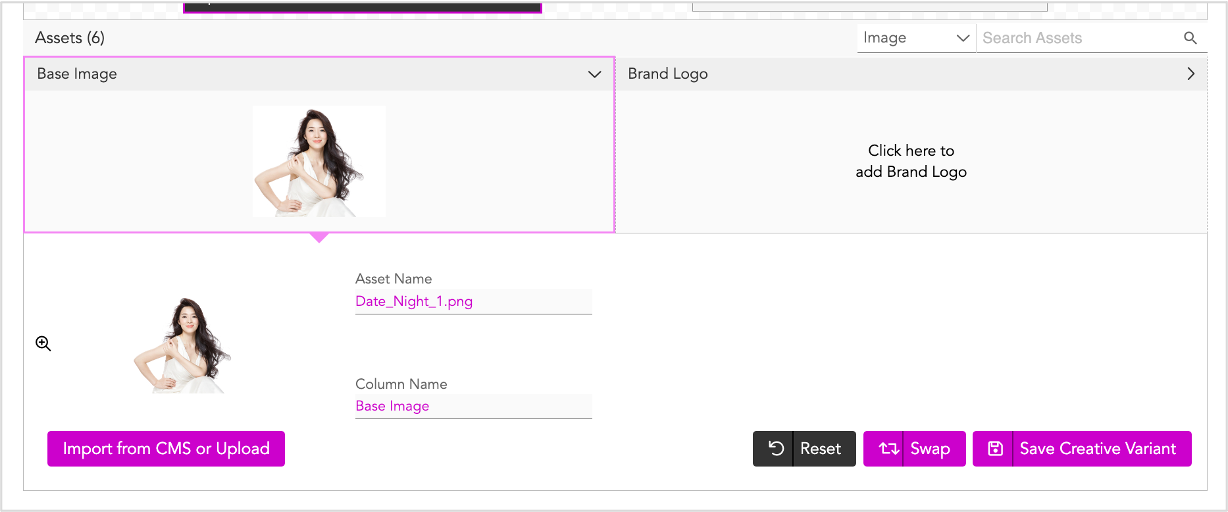
2- Click anywhere on the Base Image box. The section expands to display the image preview, Asset name, and Column Name.
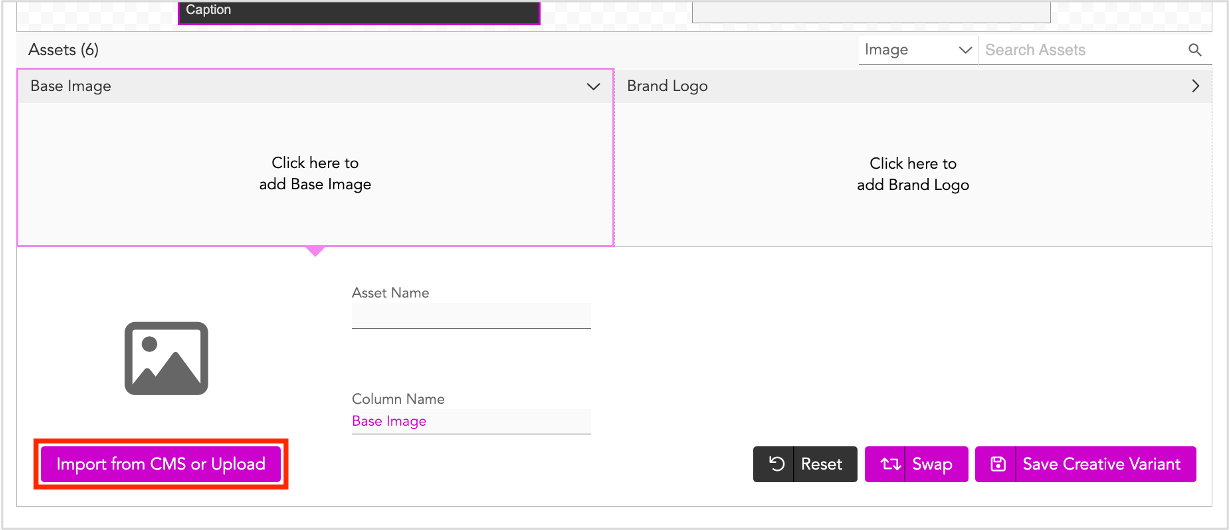
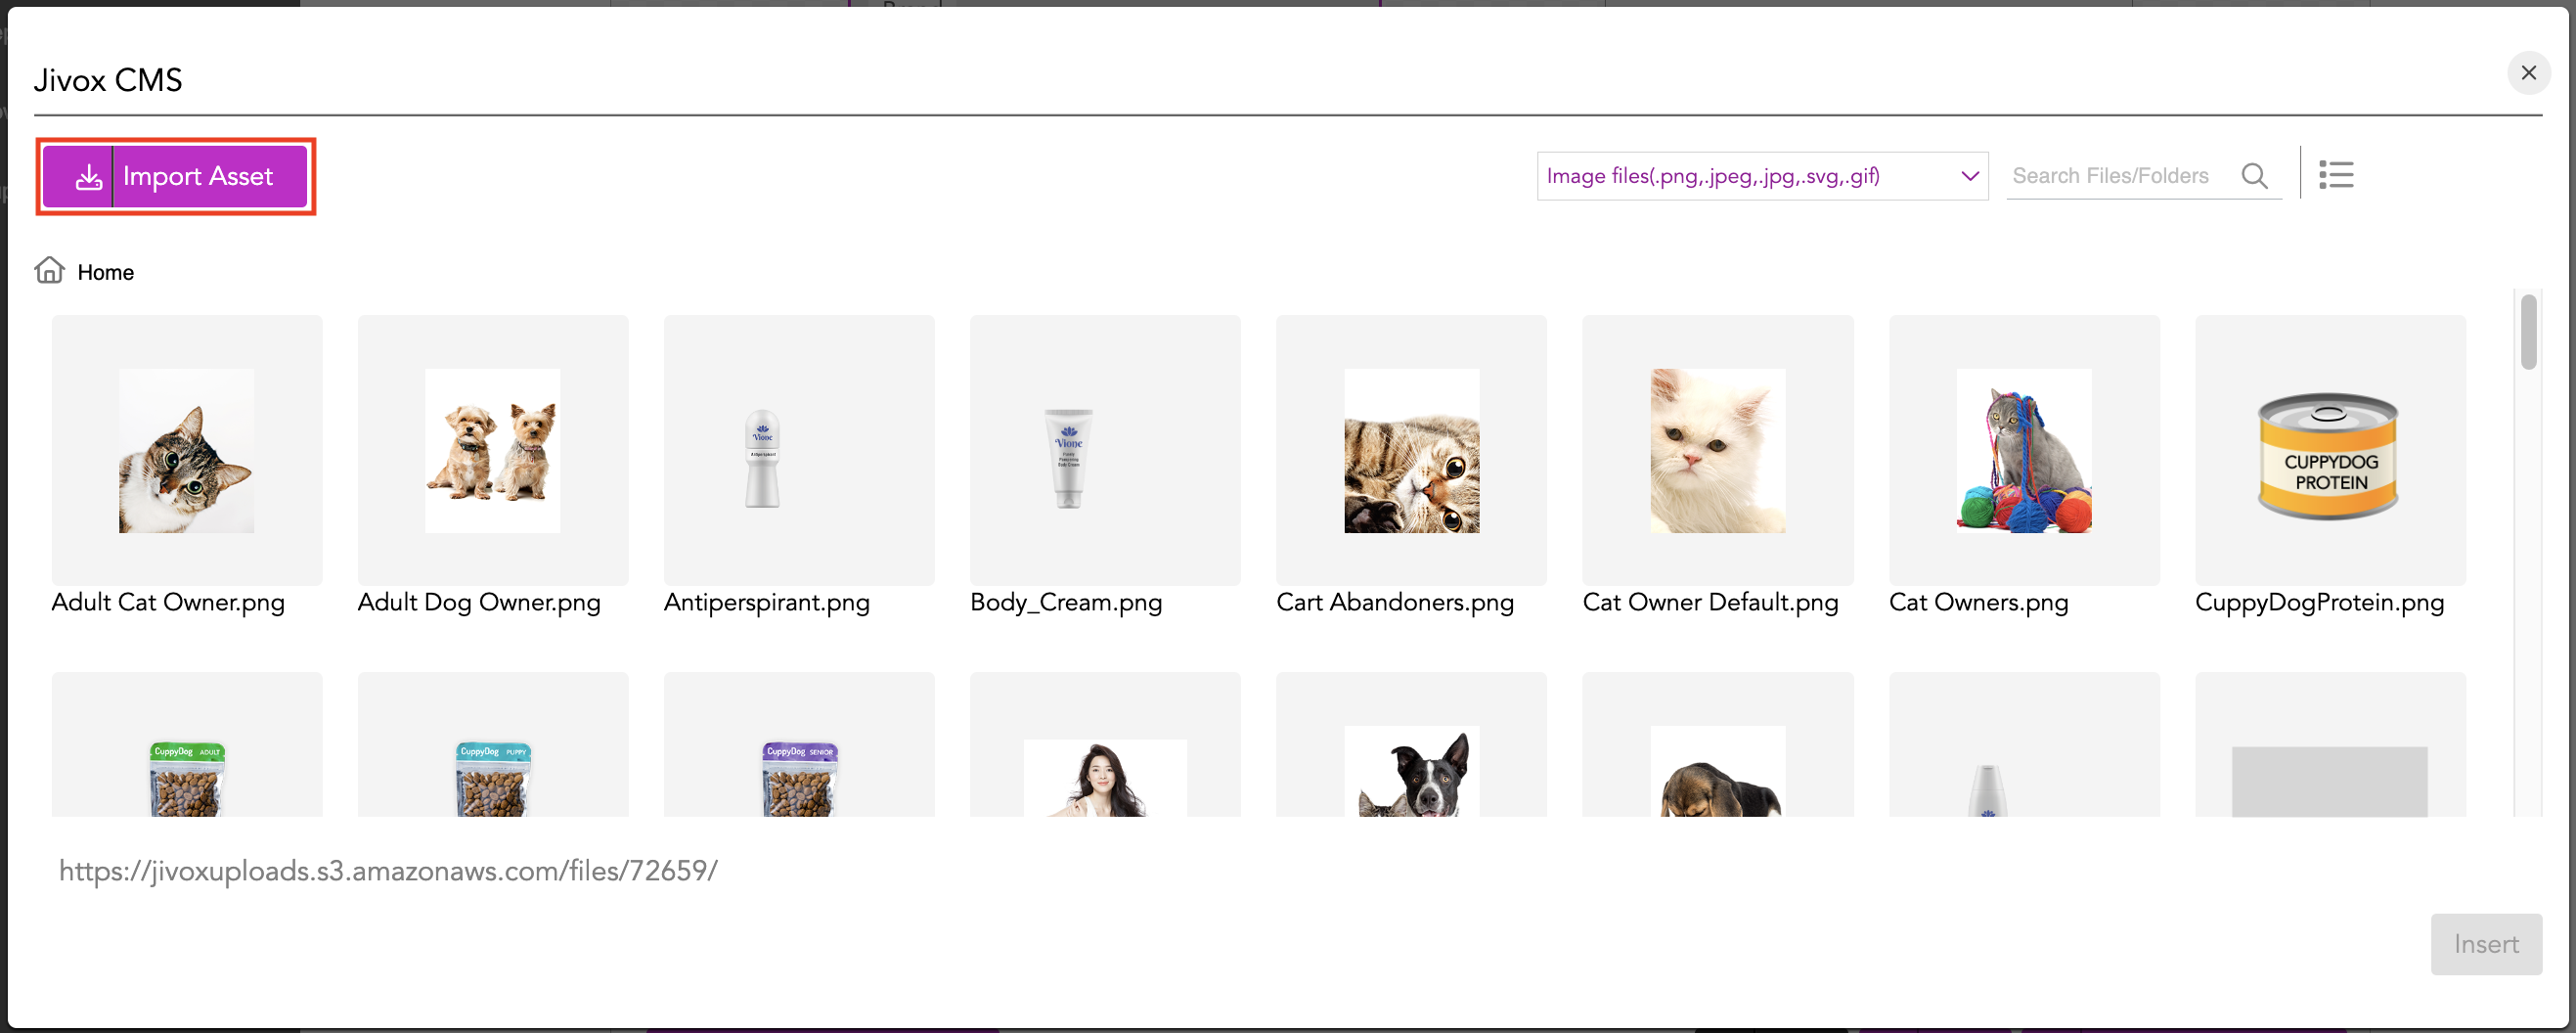
3- Click Import from CMS or Upload. This will take you to the Jivox CMS window.
4- Click Import Asset to add the image from your local system.
5- Next, you can either drag and drop the image file or Browse & Upload the file from your computer.
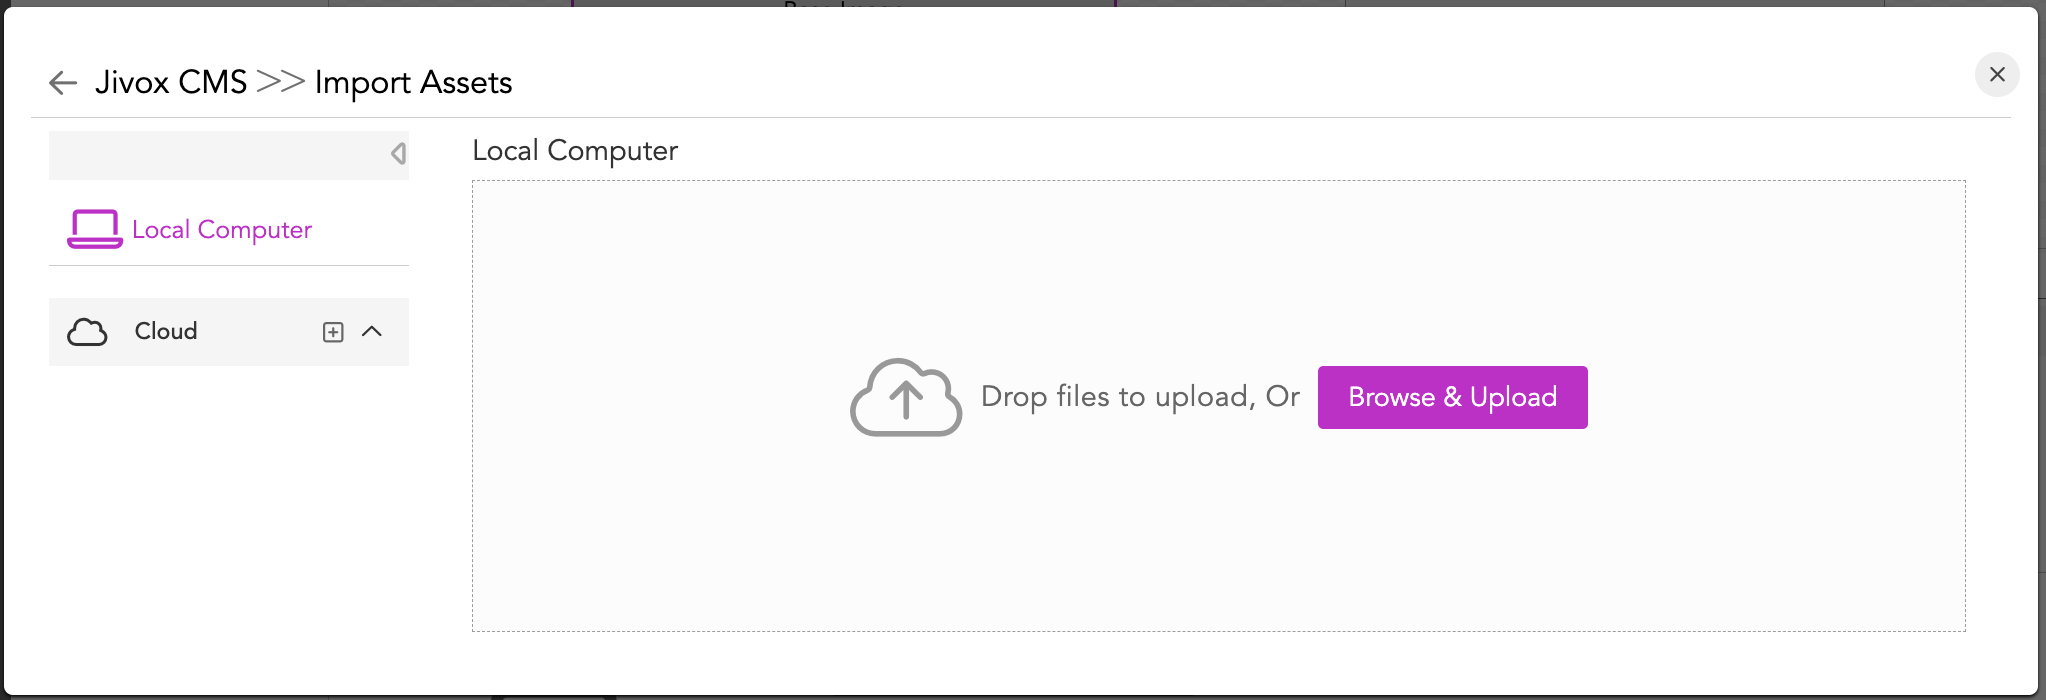
6- Once the image is uploaded, select the image and click Insert.
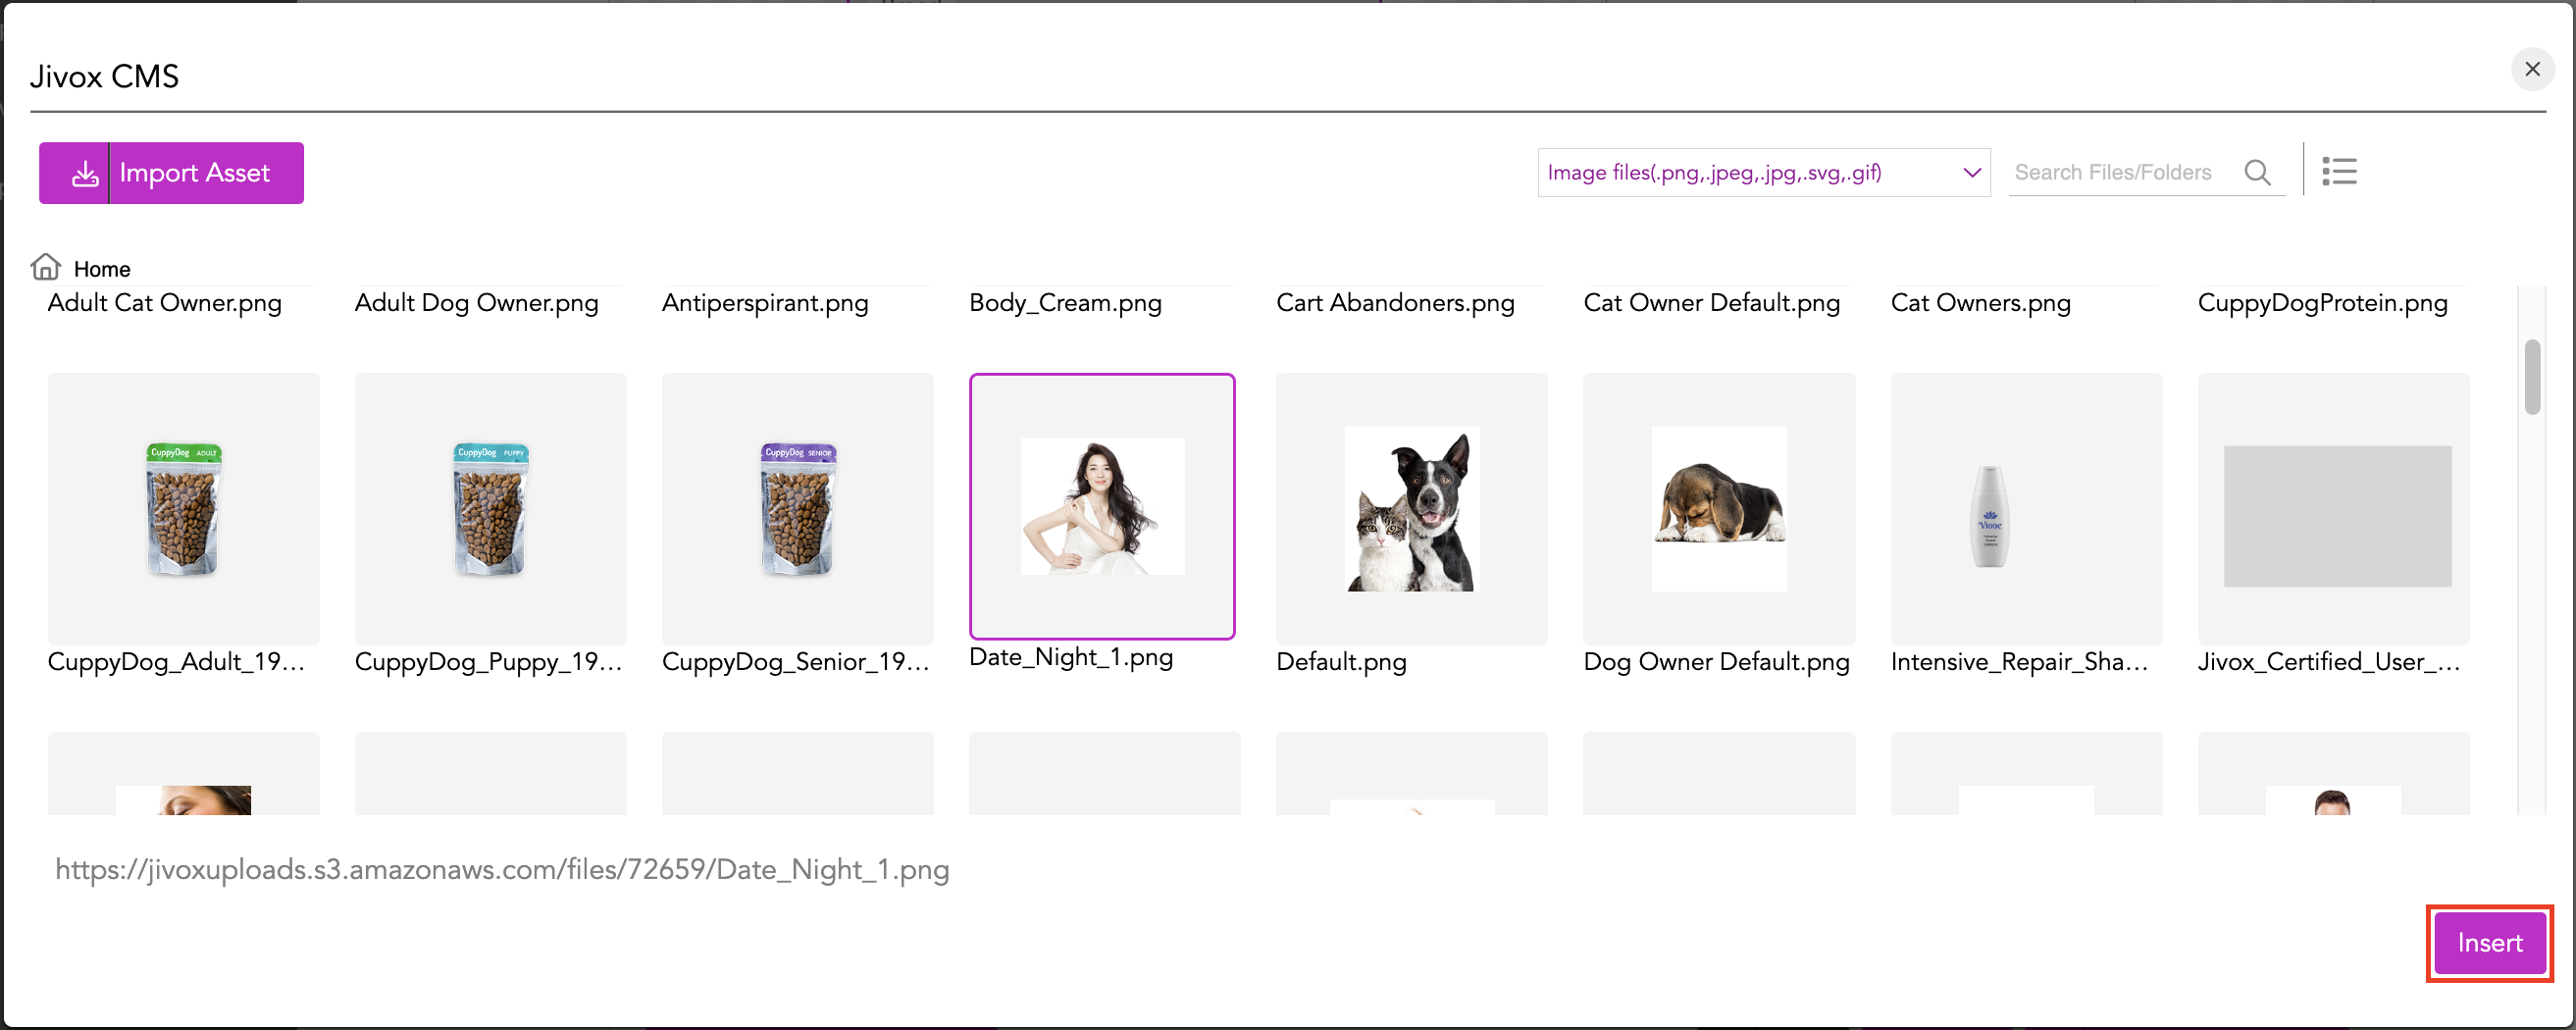
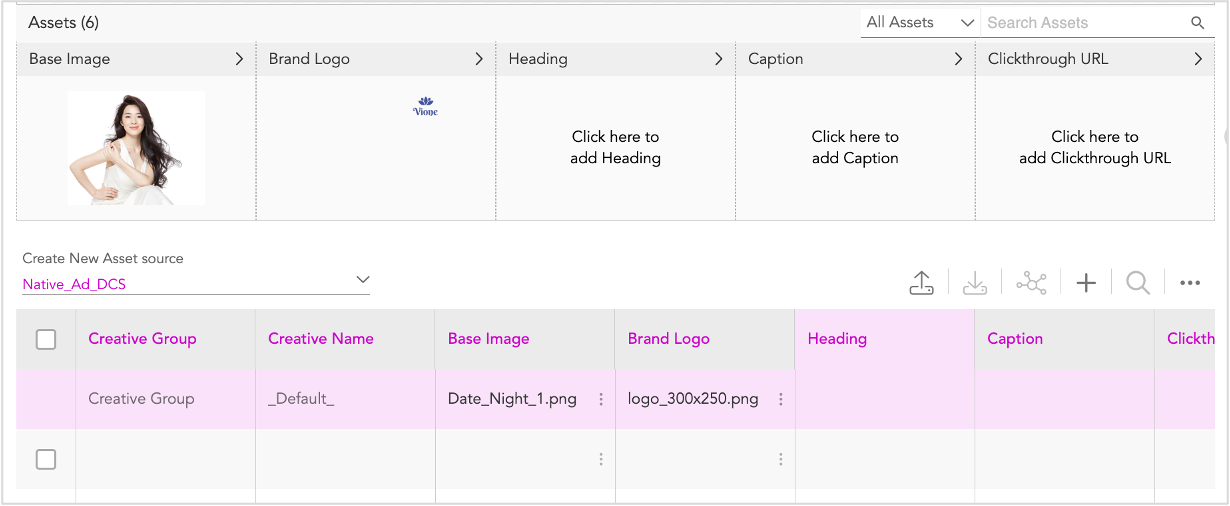
As you can see, the Base Image and Asset Name are updated.
7- Next, let's click the Brand Logo box to see the available options.
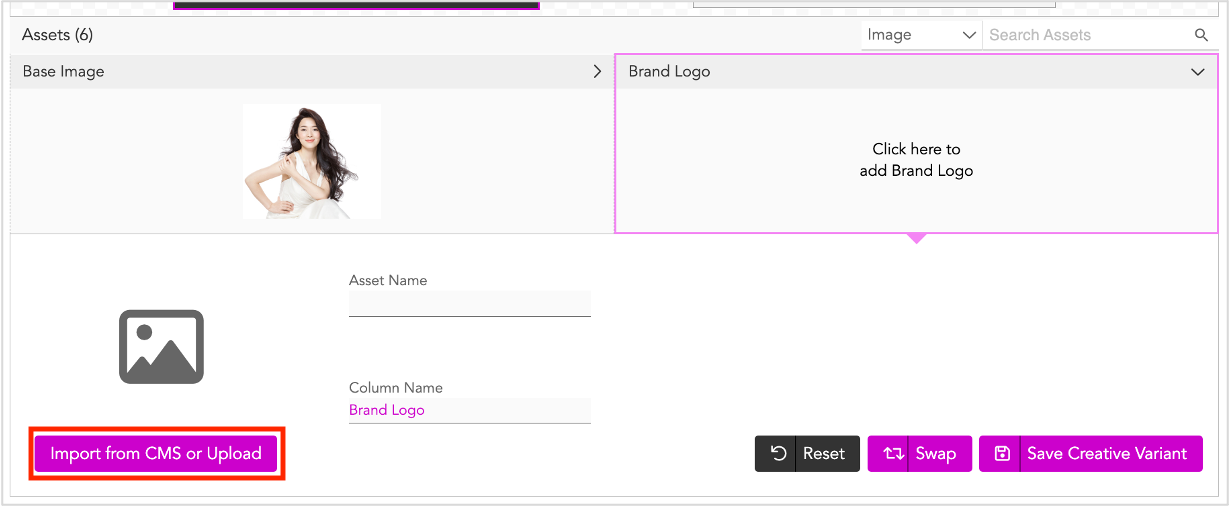
8- Click Import from CMS or Upload and follow steps 4-6 mentioned above to add the Brand Logo.
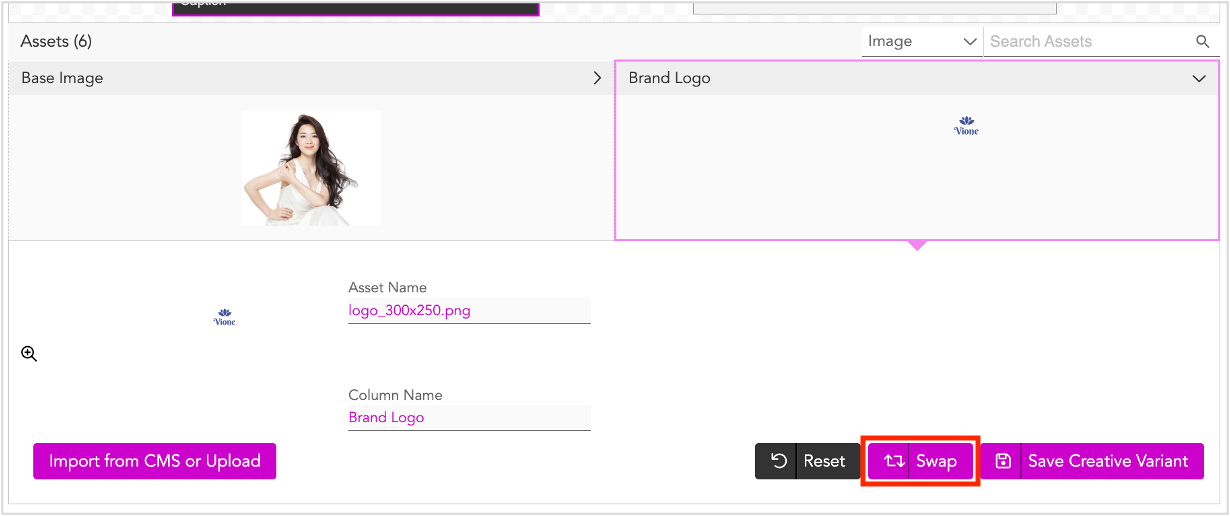
9- Once done, click Swap to preview the Ad in the creative variant window.
Next, we'll go ahead and update the Text assets.
Updating the Text Assets
To update the text assets, follow these steps.
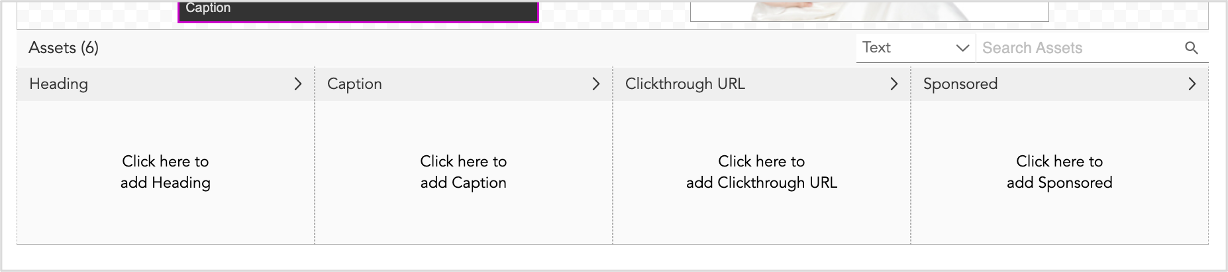
1- We'll first filter the text assets by selecting Text from the All Assets drop-down.
All the Text assets will be displayed in the Asset Carousel.
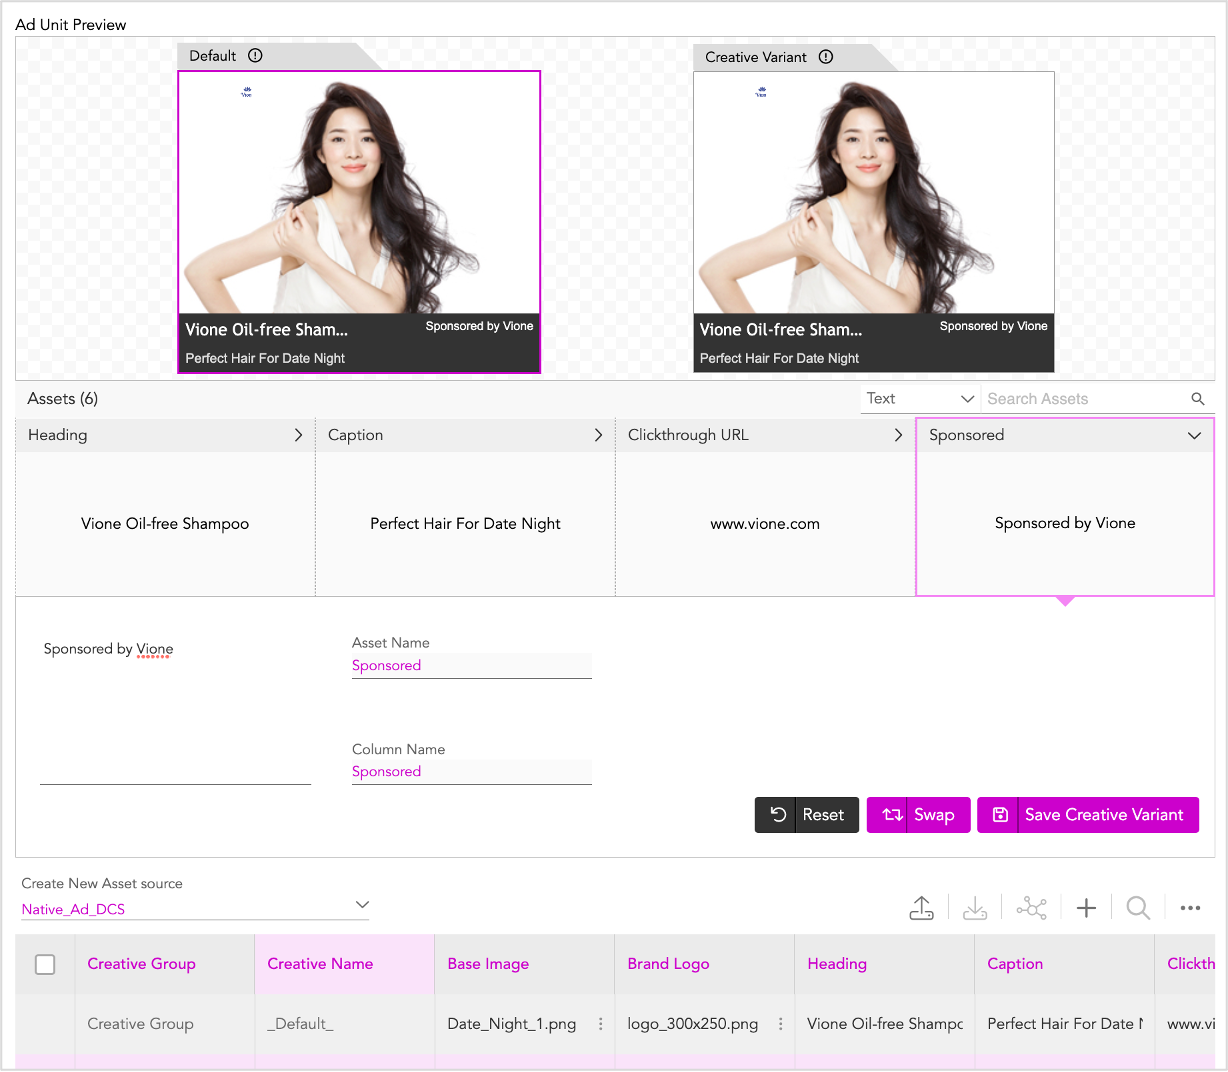
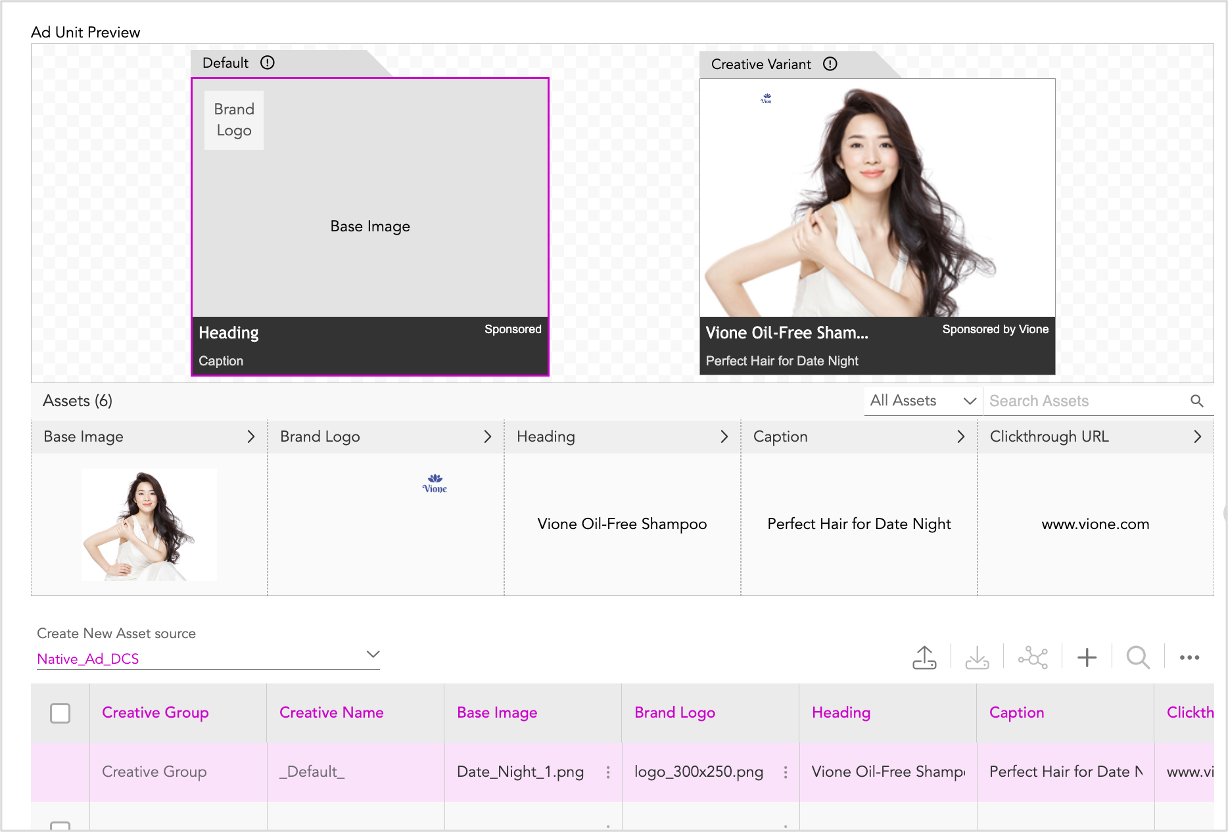
2- Click anywhere on the Heading box to expand the section.
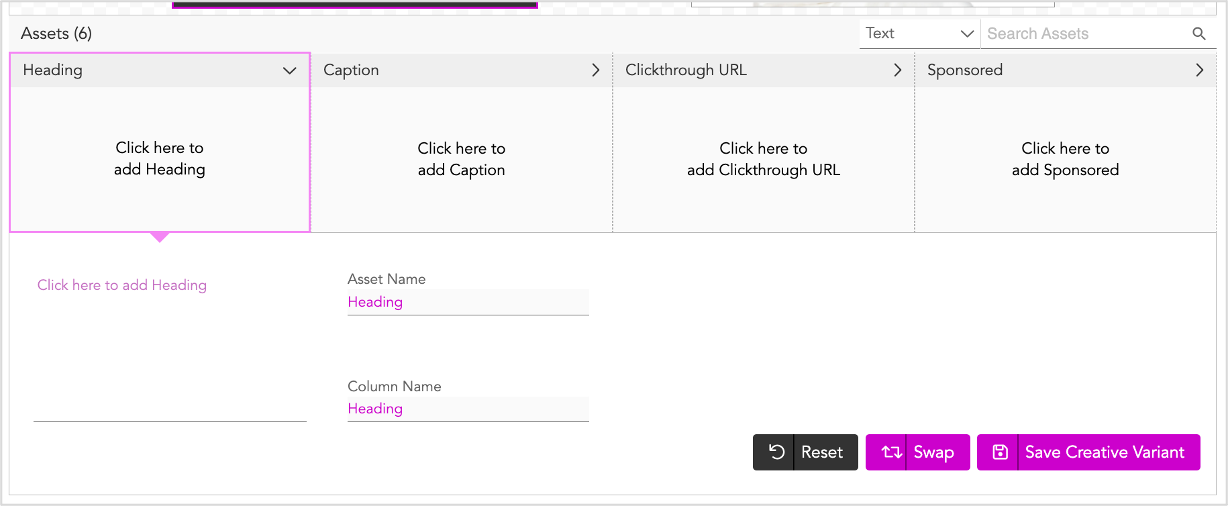
3- Enter the heading and click Swap to see how the text appears in the Creative Variant window. Repeat steps 2-3 for all text assets.
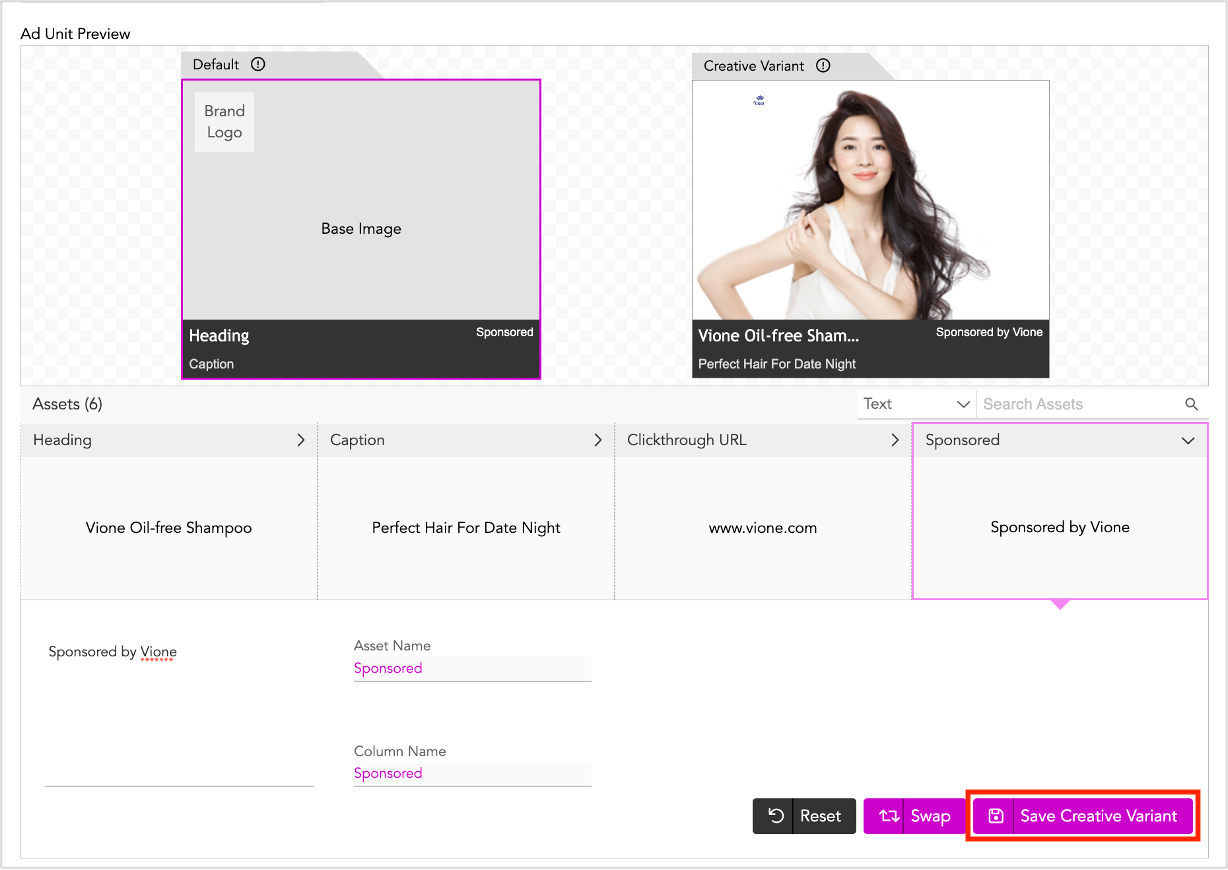
4- Once you are satisfied with the ad variation, click Save Creative Variant.
Your creative variant is saved as the first row in the Asset Source and this becomes the default ad for the Ad unit. You can now preview the Ad in the Default window.
Next you must add the creative variants for this Native Ad.
Using the Interactive Asset Source
Another way to create the default ad is by using the Interactive Asset Source. Let's see how this done.
First, let's scroll down to the Interactive Asset Source. As you can see below, the first row (Default row) is populated with the Creative Group and Creative Name. You will not be able to edit these.
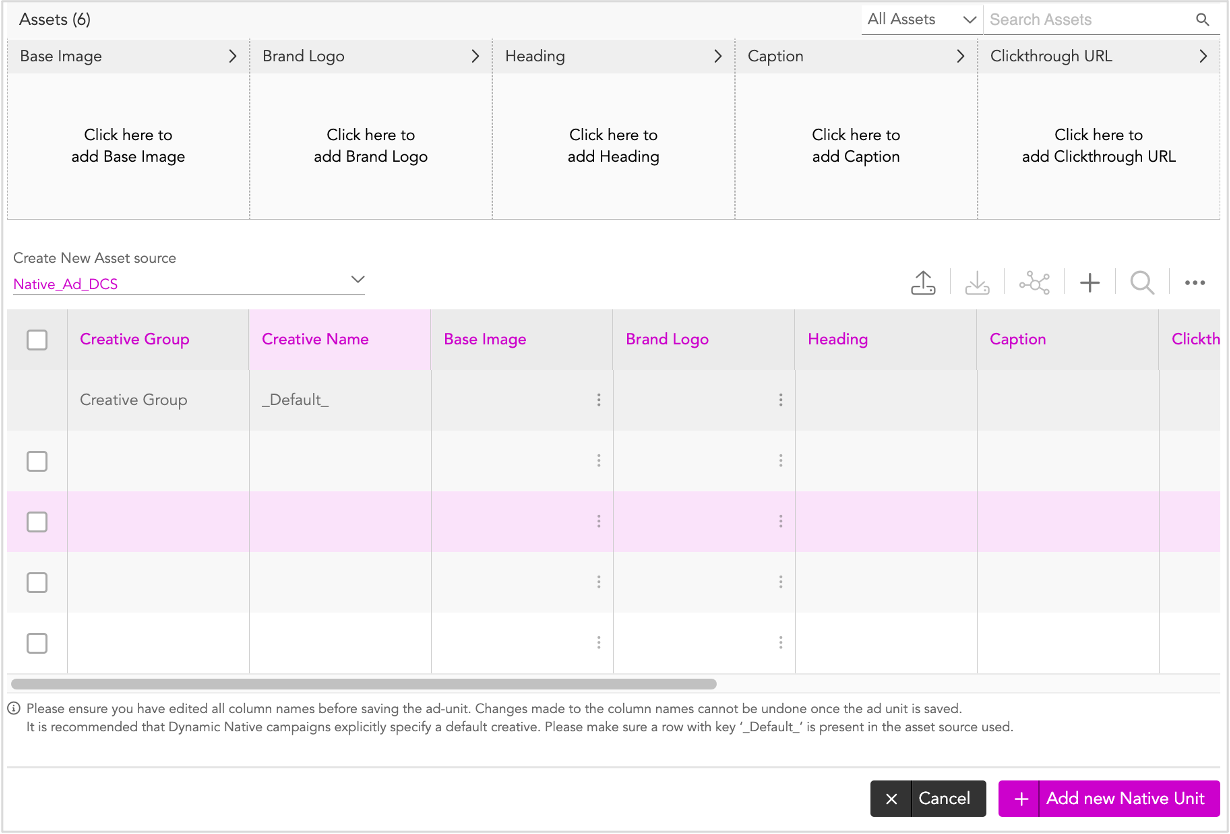
Let's go ahead and add the other assets for the default ad.
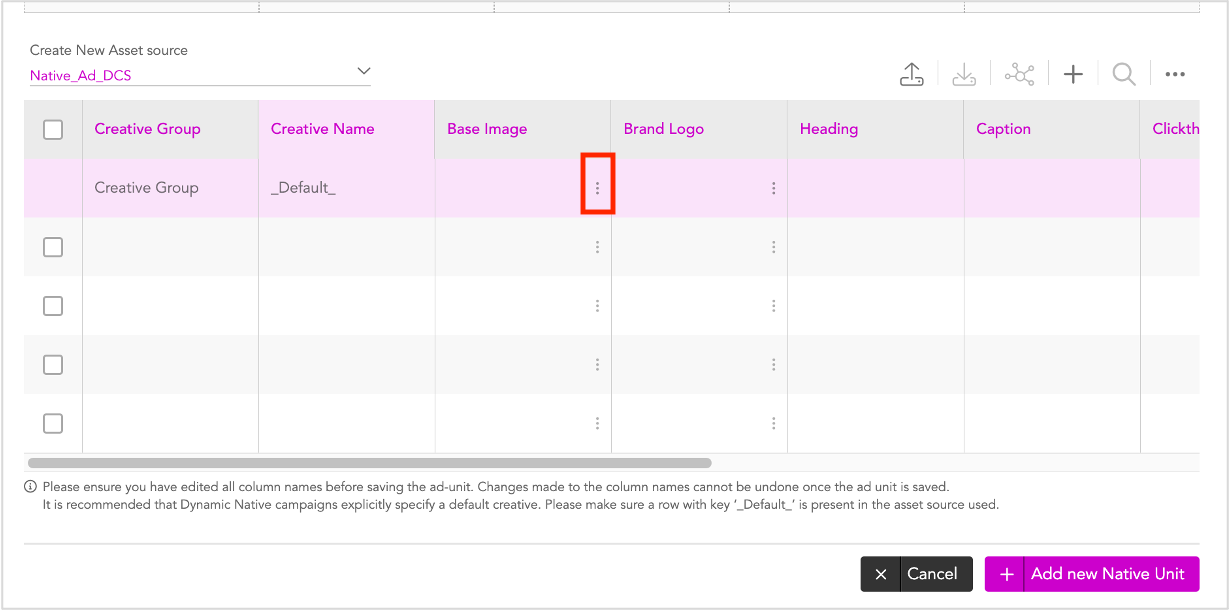
1- On the Default row, click the three dots under Base Image column.
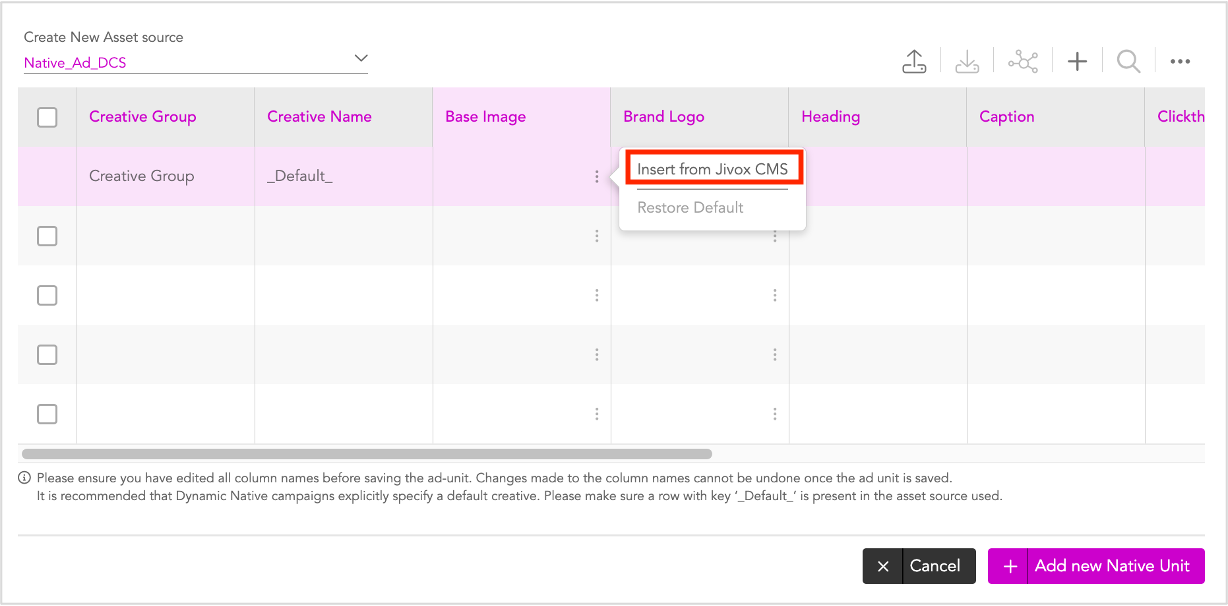
You will see the following options:
Insert from Jivox CMS - Use this option to add Images fro your computer
Restore Default - Since you haven't added the base image for the default ad yet, this option is disabled. Once the default ad is saved and we make any changes later, we can use this option to restore the Asset to the Default version.
2- Here, click Insert from Jivox CMS.
3- Follow steps 3-6 in the previous section and upload the image.
As you can see, the Base Image will be updated in the Asst Carousel.
4- Repeat the process for Brand Logo column.
5- Next, click the first row in the Heading Column, enter the required heading. Enter the required text for each of the text asset columns.
You will notice, that as you keep updating the Assets in the Interactive source, the changes are updated in the Asset carousel and the Creative Variant window.
6- Once you have updated all the assets and verified the preview in the Creative Variant window, click any of the assets on the Asset Carousel to expand the section.
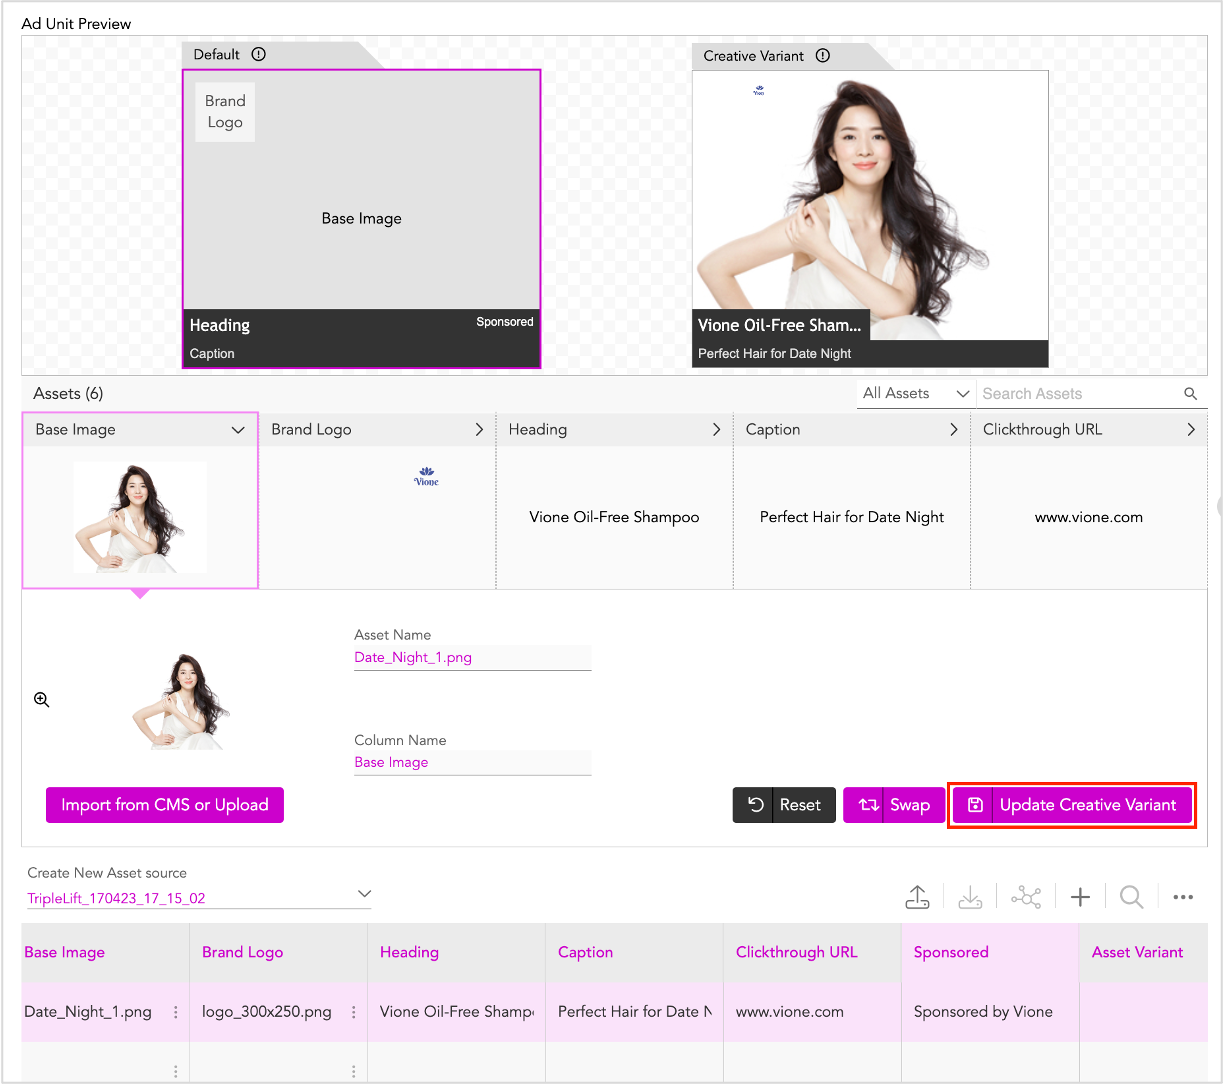
7- Now, click Update Creative Variant. Doing this will save the creative variation as the Default Ad and you will be able to view it in the Default window.
Adding and Modifying Rows and Columns
The Interactive Asset Source also allows us to add and edit rows and columns.
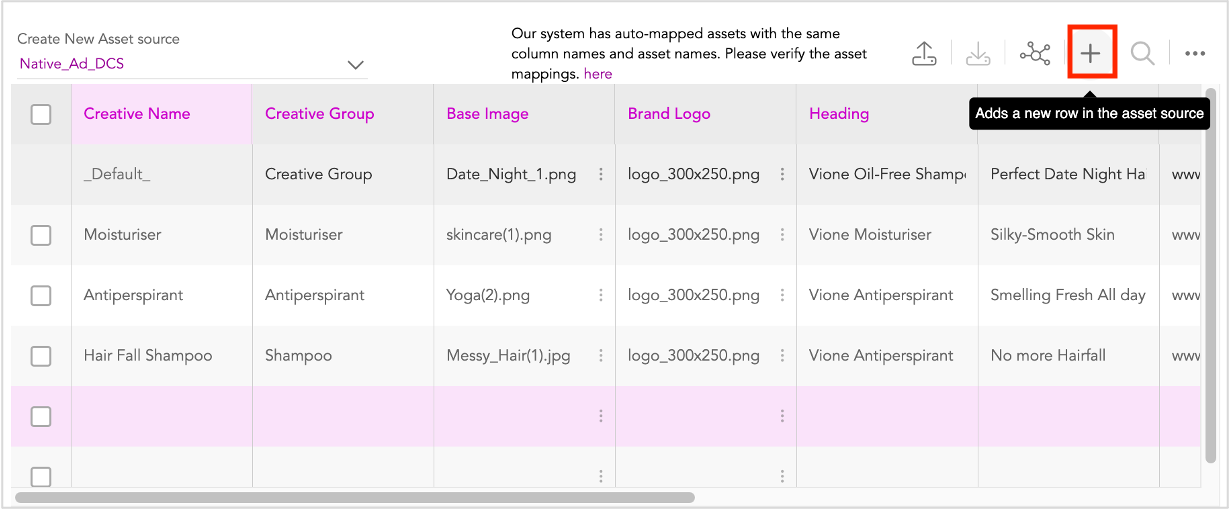
You can add new rows by clicking the plus icon at the top of the Asset Source table(highlighted below). This will add new rows below the selected row.
You can use the options in the More options drop-down to modify the rows and columns. Click the More options icon (highlighted below) to view all options.
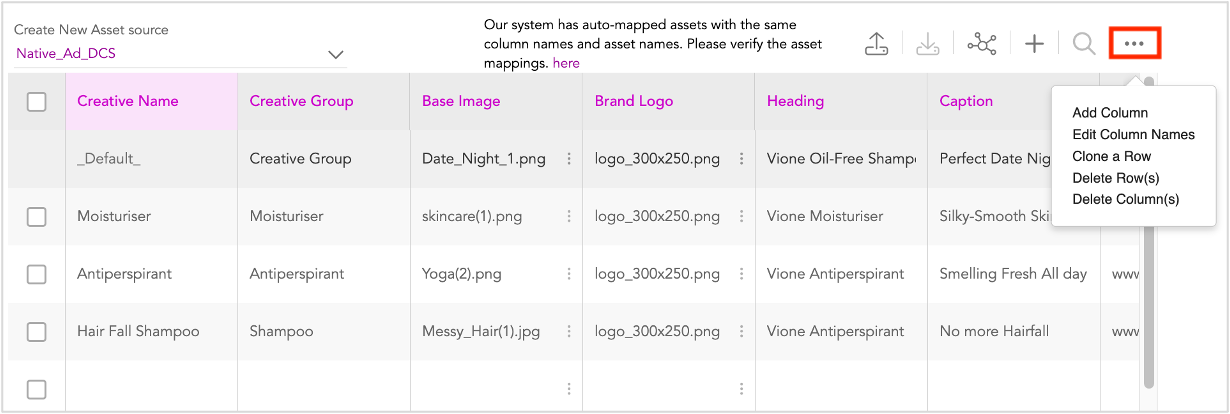
Here's all the available options:
Add Columns - This allows you to add columns to the Asset Source. The columns are added to the right of the last column in the Asset Source.
Edit Column Names - This allows you to Edit the names of any columns added by you. We can't edit names of the default columns.
Clone a Row - You can use this to clone a row as mentioned in the previous section.
Delete Row(s) - This allows you delete rows from the Asset Source. Select the rows that you want to delete and click this option.
Delete Column(s) - This allows you to delete columns from the Asset Source. Select the columns and click delete in the Delete Column(s) pop-up.
If you want to add any more columns to the Asset Source, do that now and rename them accordingly. We cannot edit column names once the Ad unit is saved.
Now, let's save all these specifications and create the Ad Unit.
Saving the Ad
Now let's go ahead and Save the Ad.
1- Click Update Native Ad.
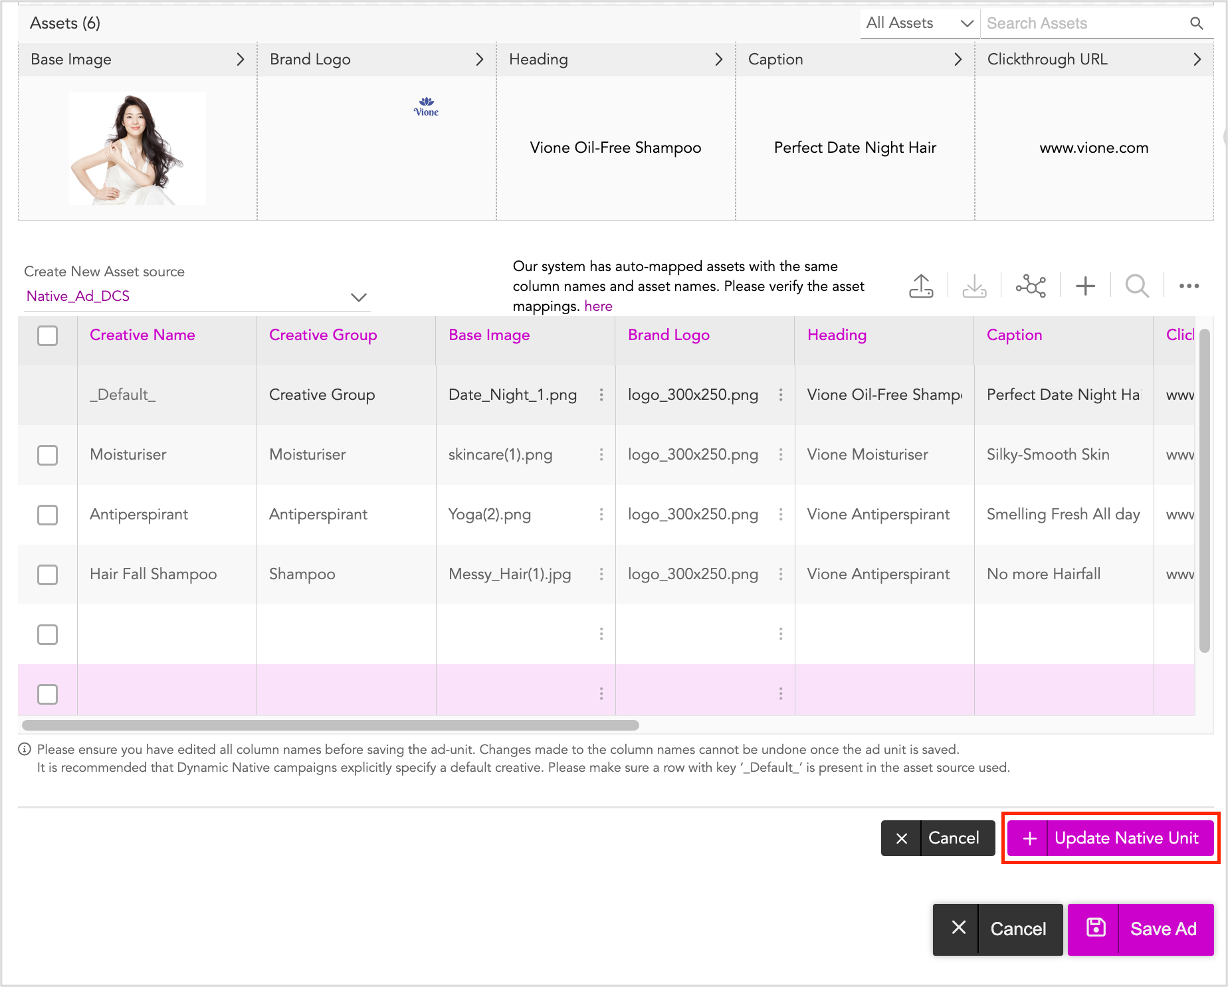
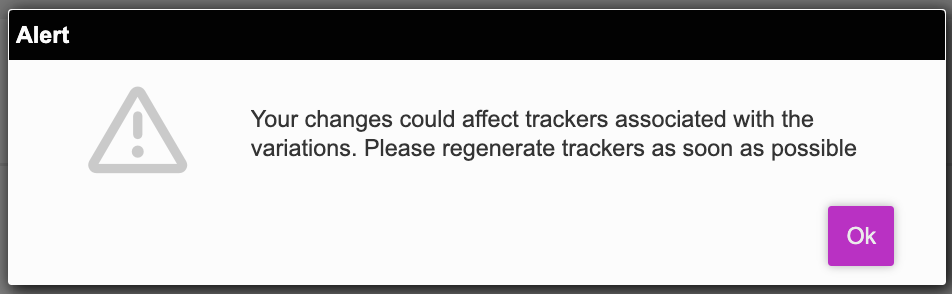
2- In the subsequent window, click Save Ad.

The following pop-up is displayed.
3- Click OK.
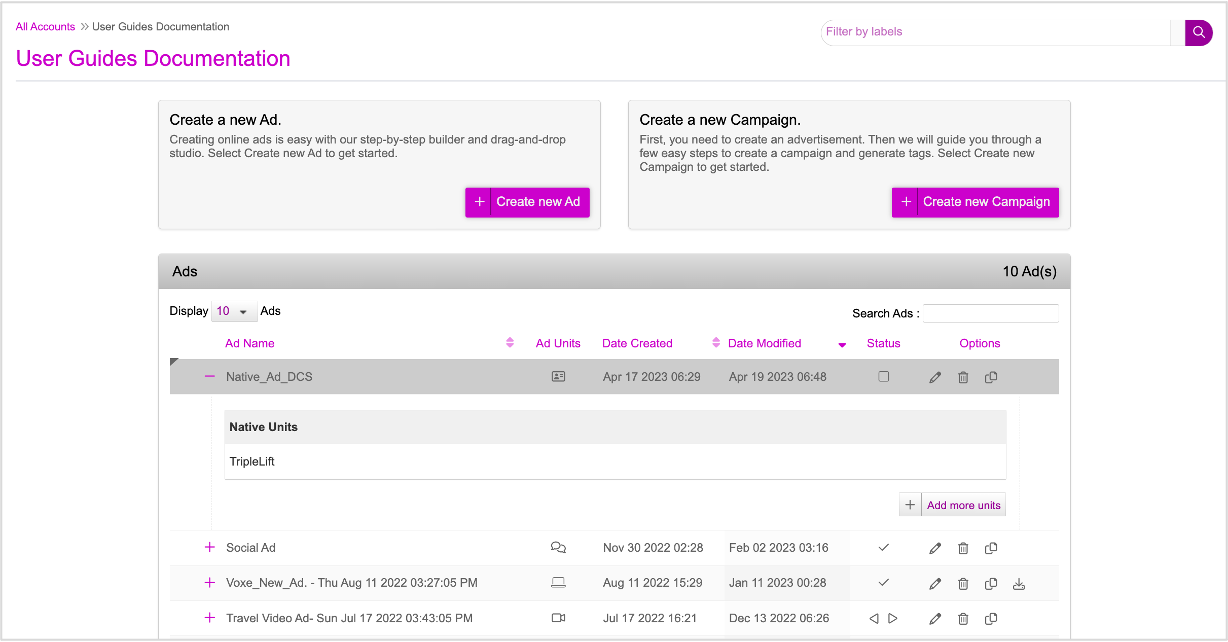
The Ad is now saved and we will be redirected to the Ads and Campaigns dashboard.
Next Steps
Next, we will add the creative variations for this Native Ad.
Generating Creative Variations
Now that the Asset Source has been created, we can move onto creating some new creative variations. You can generate creative variations in two different ways.
Using the DCS UI - You can create variations manually by swapping dynamic assets using the asset carousel and interactive asset source. Follow this method if you want to generate limited number of creative variations (10-15).
Uploading an Asset Source File - You can create an Asset Source file outside of the Jivox platform and upload the file in DCS to generate and preview the creative variations. Follow this method if you want to generate hundreds of creative variations.