For any of the Details Reports or templates defined for Custom Reports, you can create schedules to run the reports at a specific frequency and automatically email the report results to one or more email addresses.
Let us learn how to create a schedule.
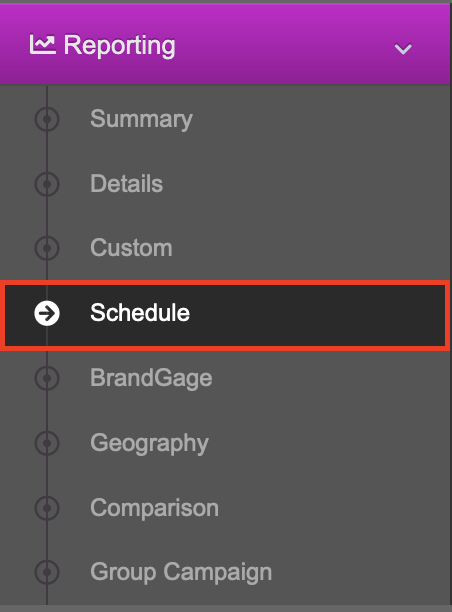
1- Click on the Schedule tab.
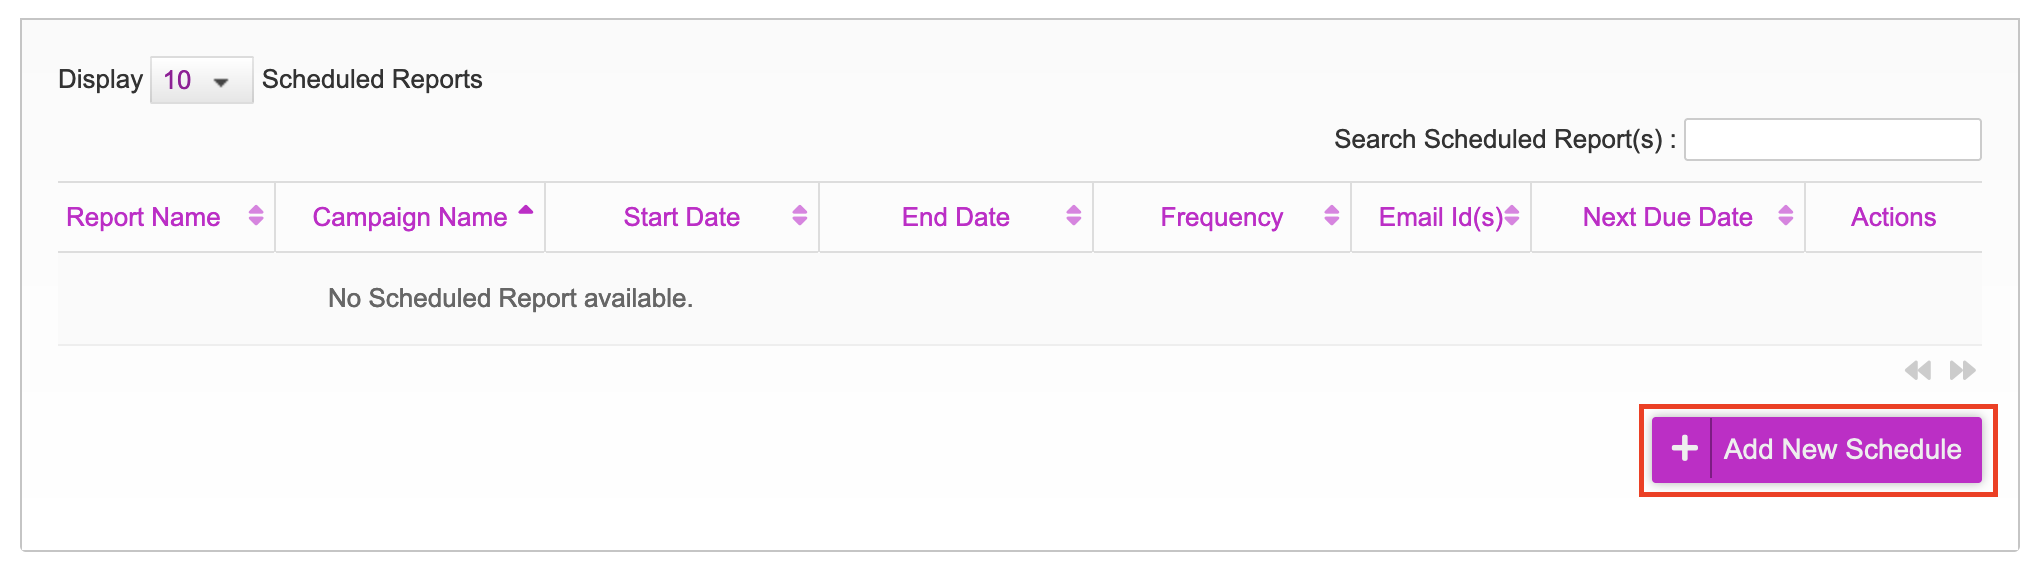
2- Click Add New Schedule.
3- Select these options for the scheduled report:
Campaign
Report
Report Start/End date
Email Frequency
(Schedule) Start on Date
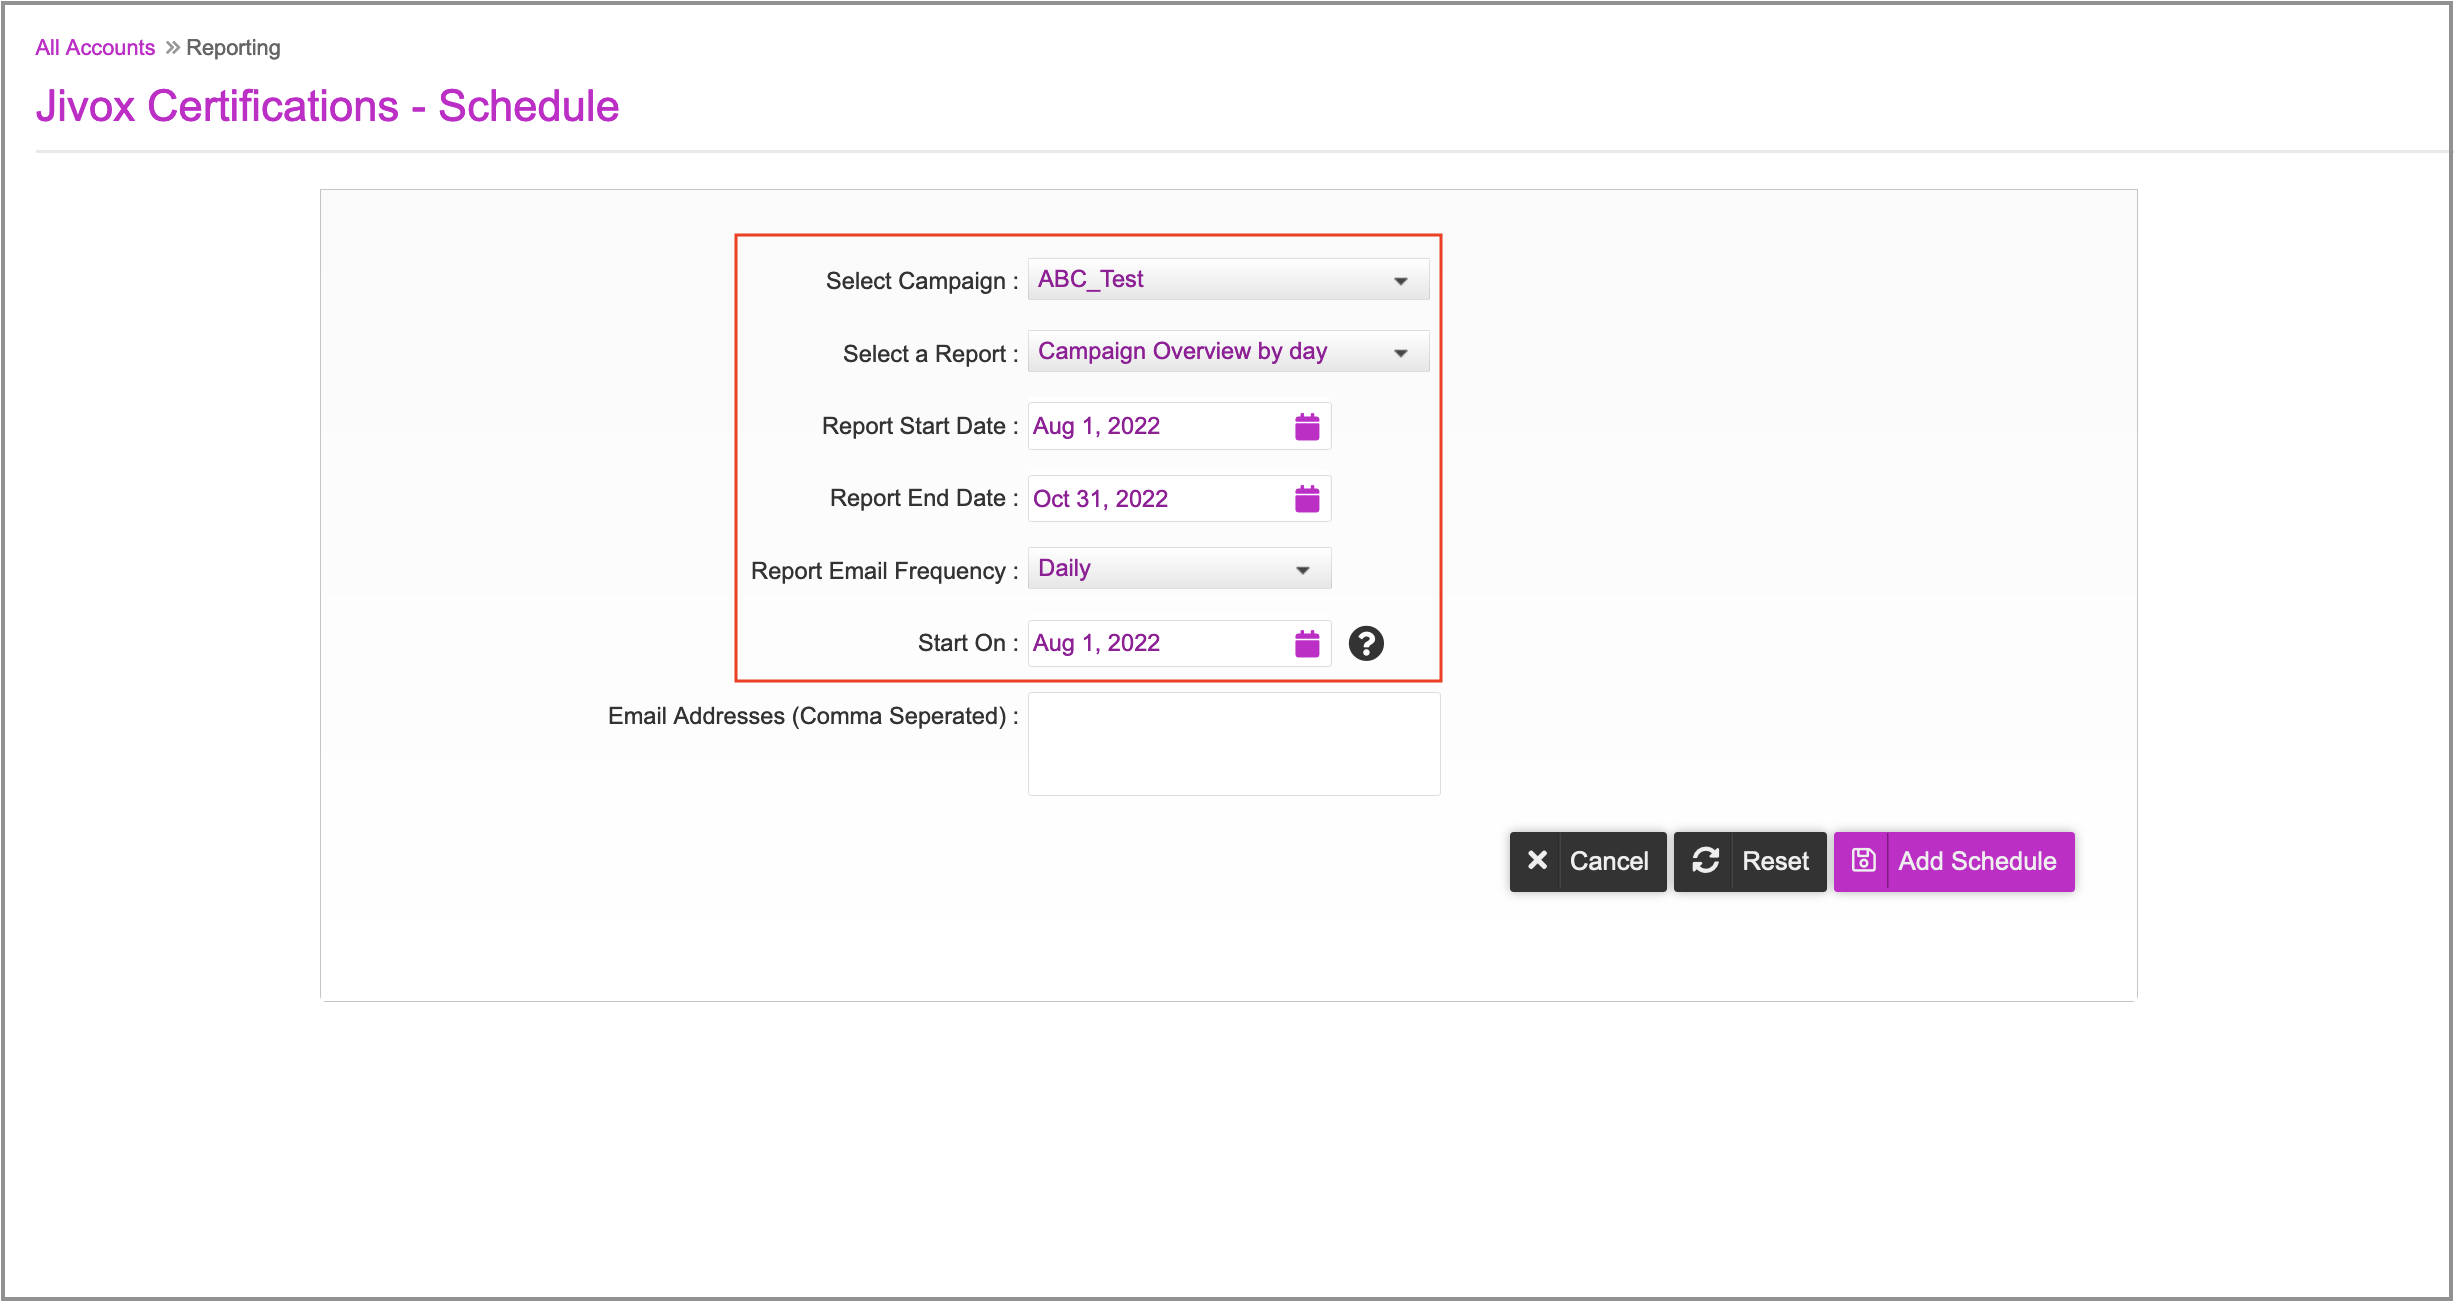
4- Enter one or more email addresses, separated by commas. These will receive the reports based on the specified schedule.
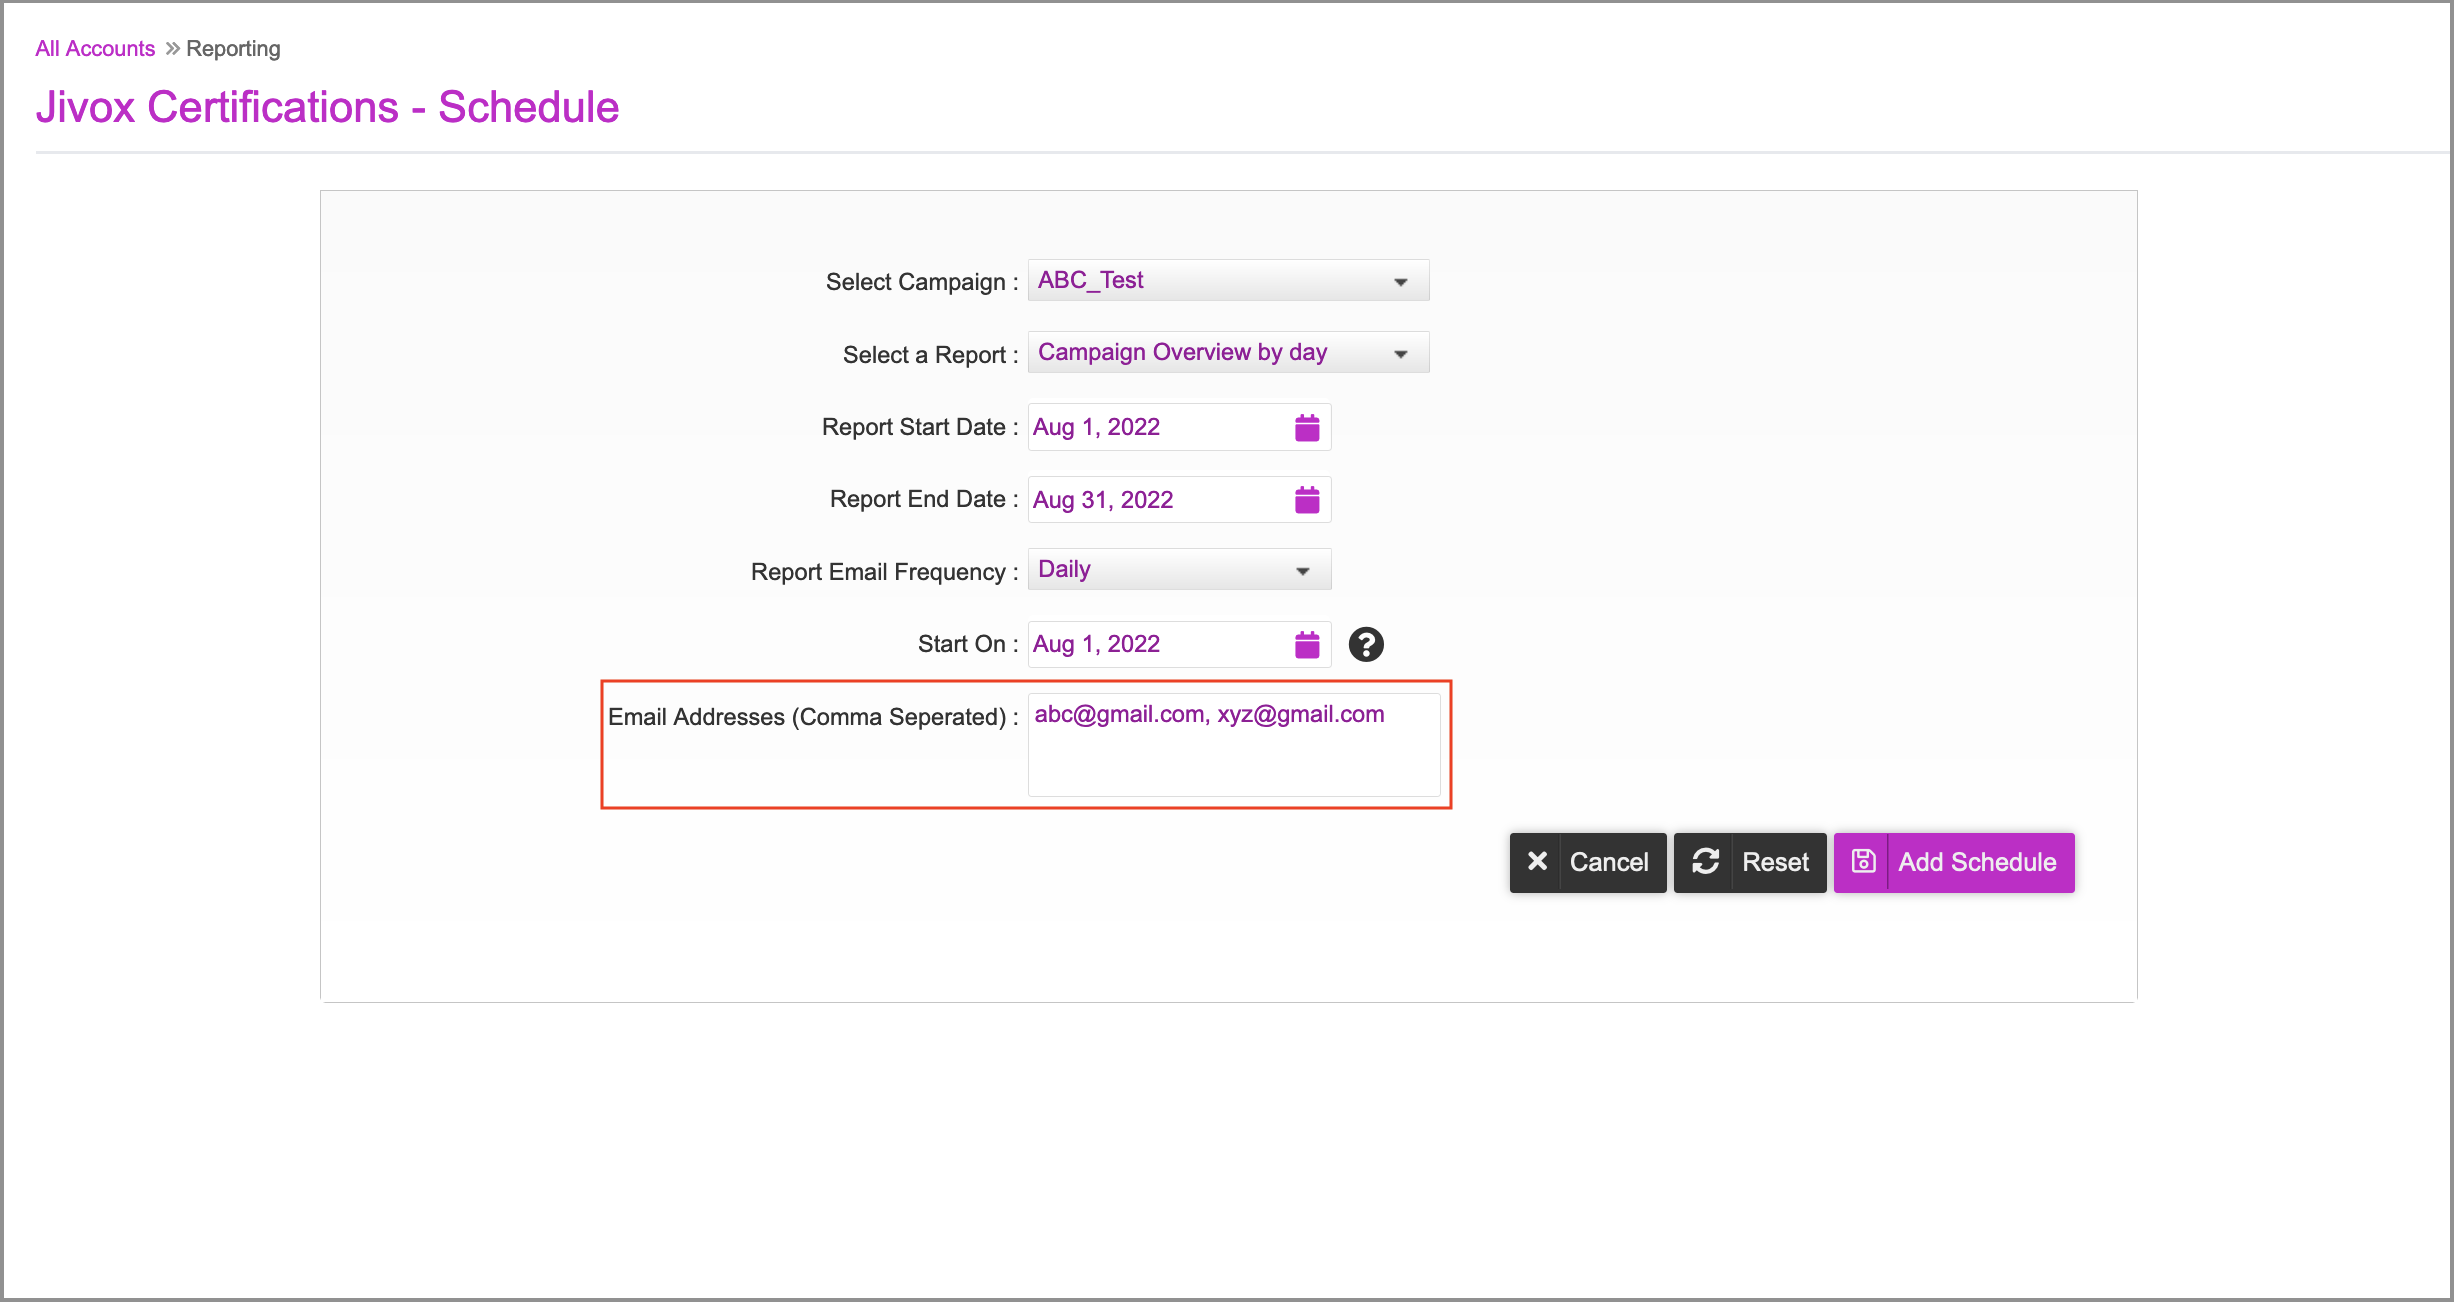
5- Click Add Schedule to save the settings.

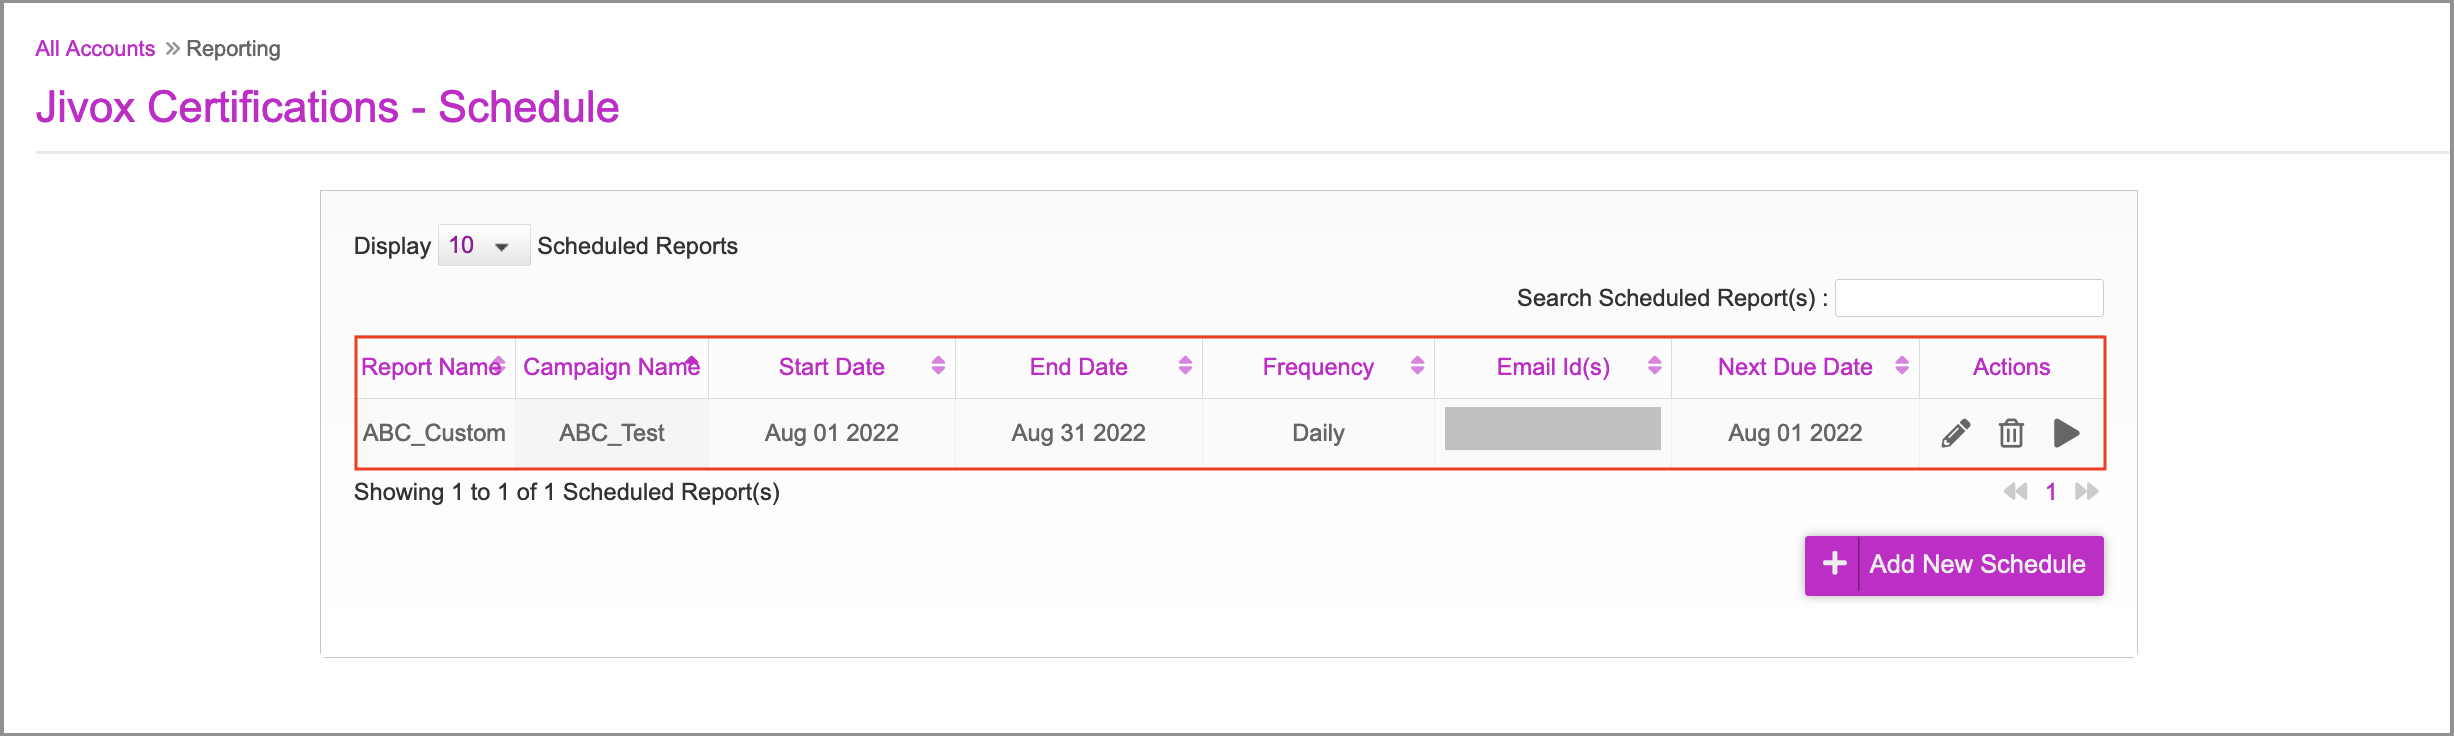
6- When prompted, confirm that you want to create the schedule. You can view the options for each saved report on the Schedule tab. From the Actions column, you can edit, delete or run the scheduled report on demand.