With the Custom report options, you can build a unique report that is focused on relevant performance metrics and aggregated based on your campaign needs.
To create a Custom report, follow these steps:
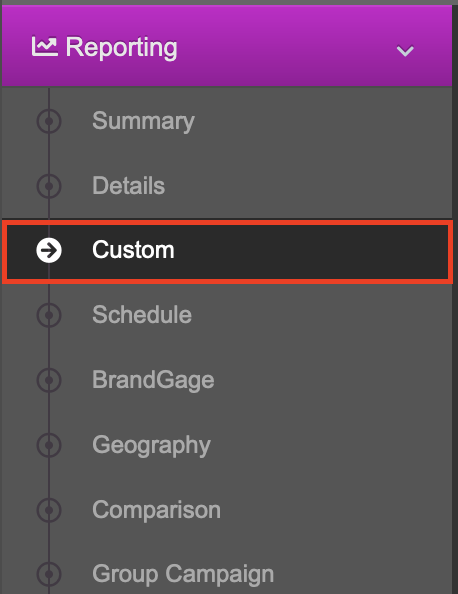
1- Click on the Custom tab.
2- Select a campaign from the list and a date range for the report.
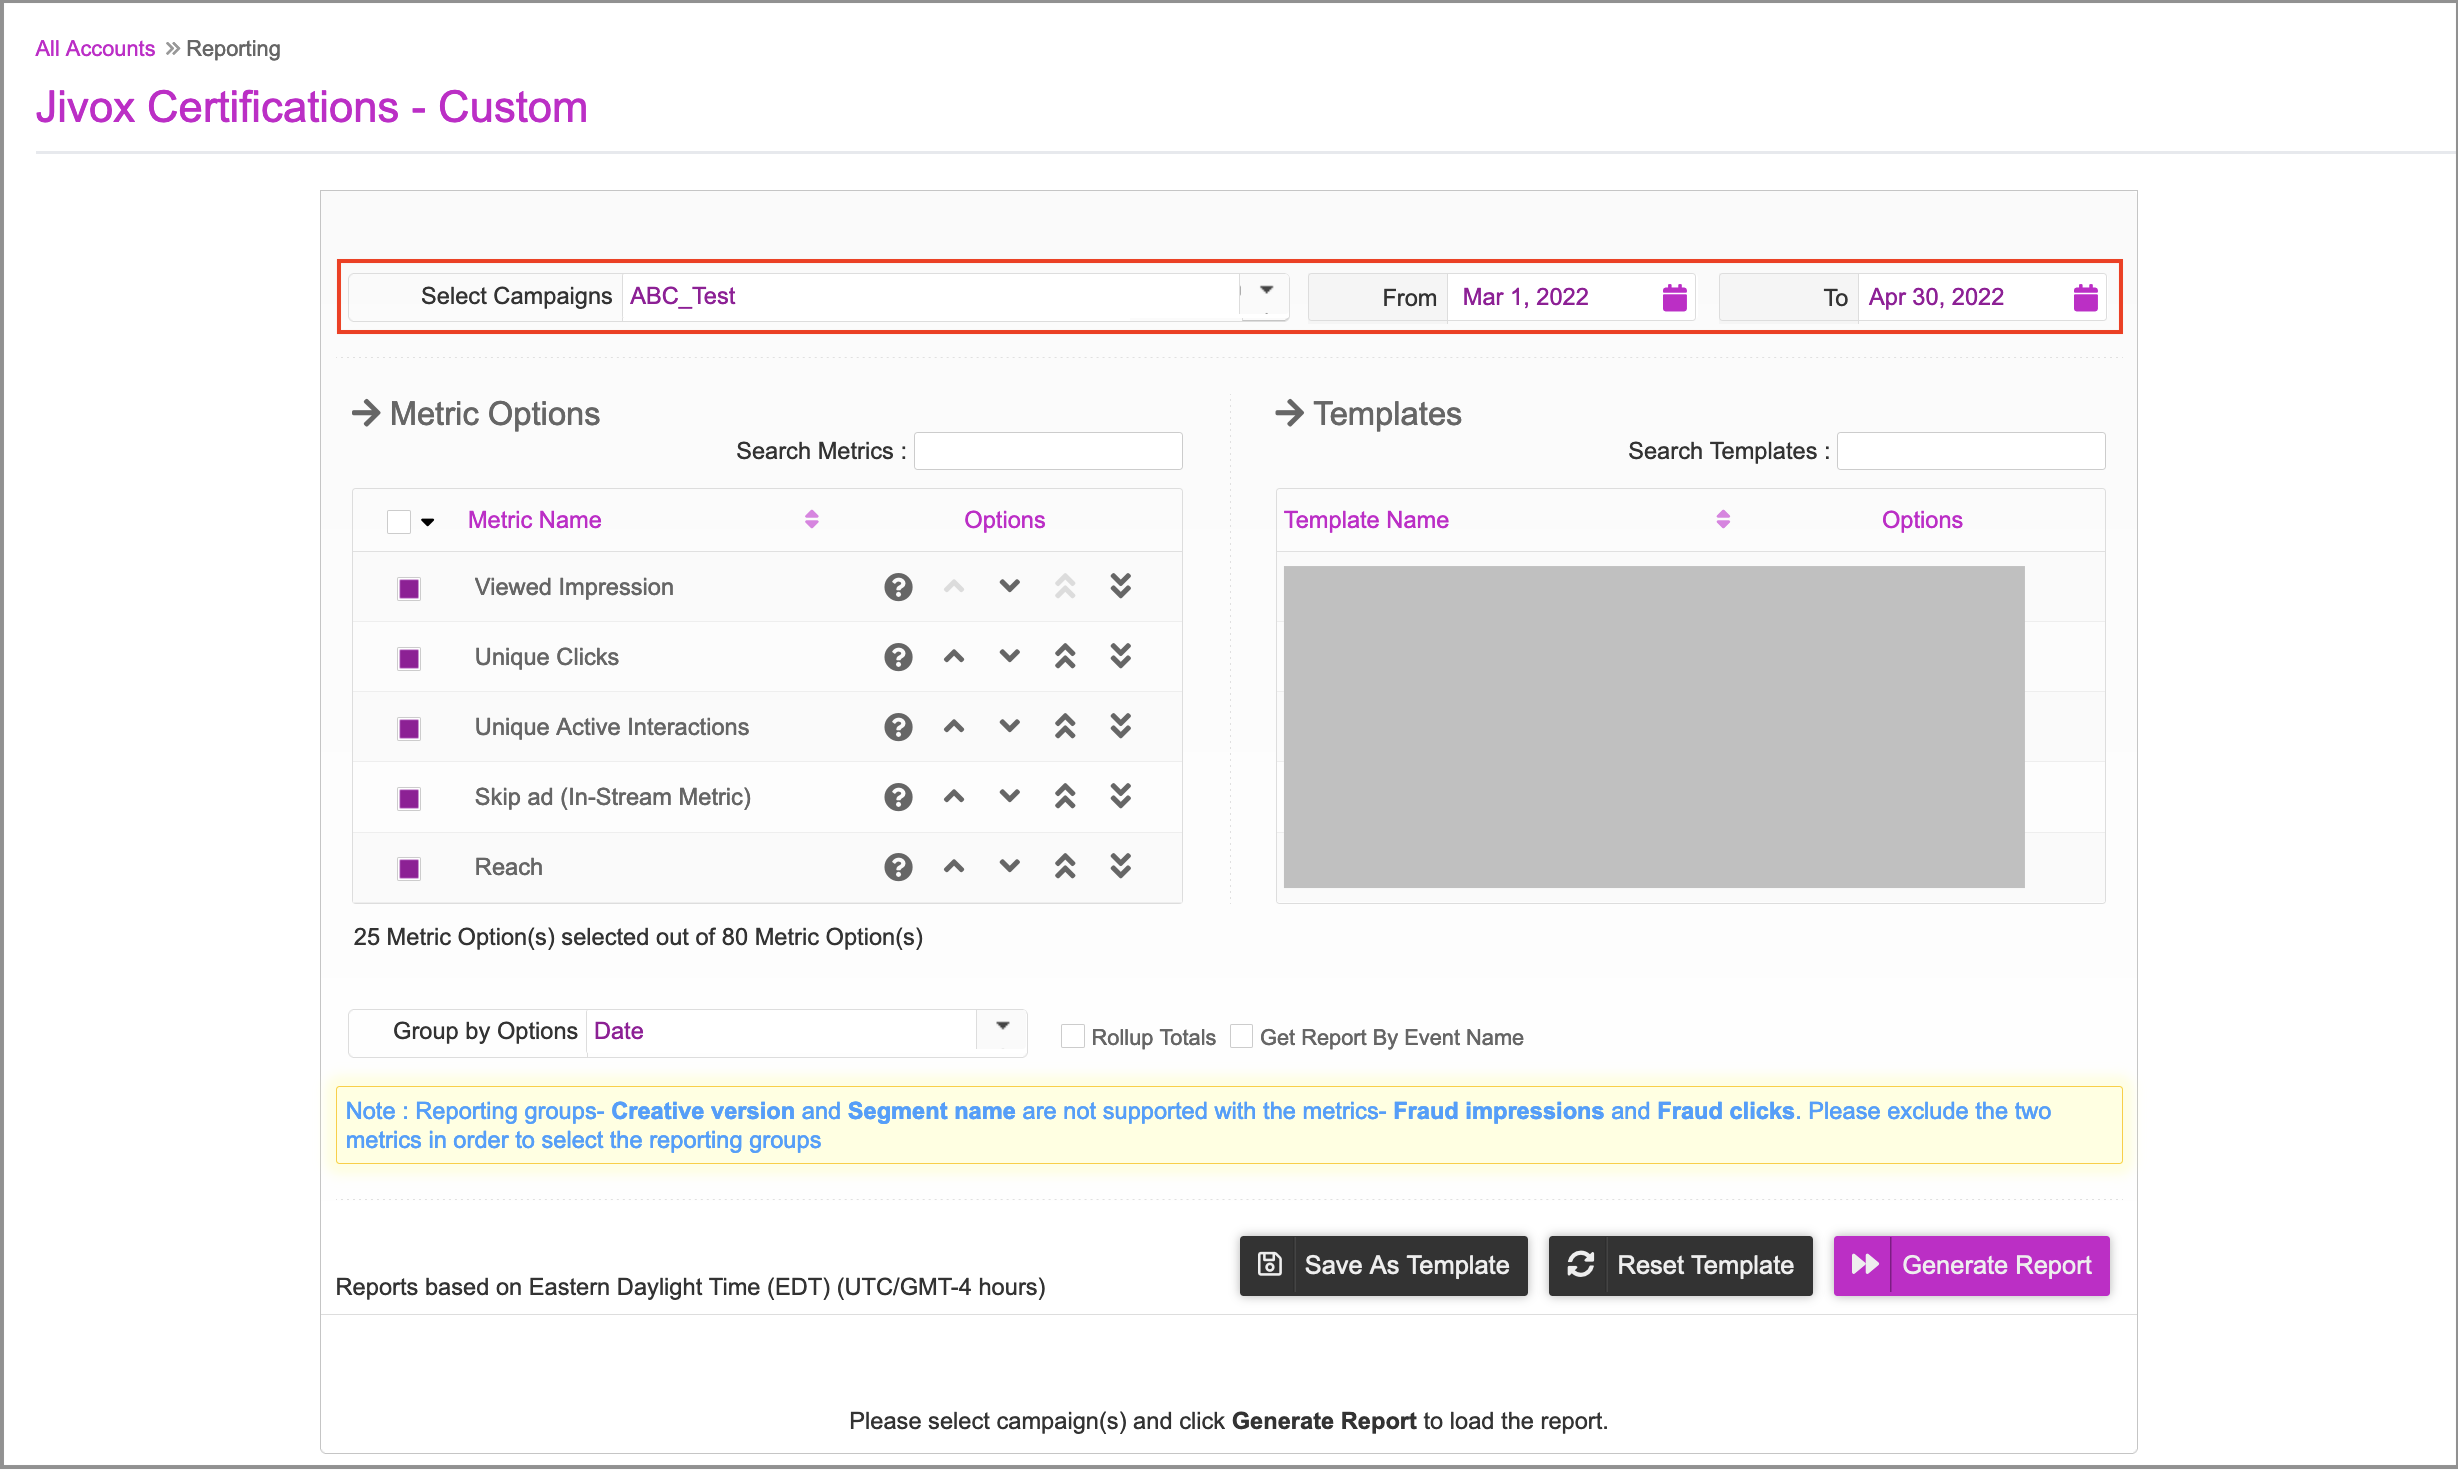
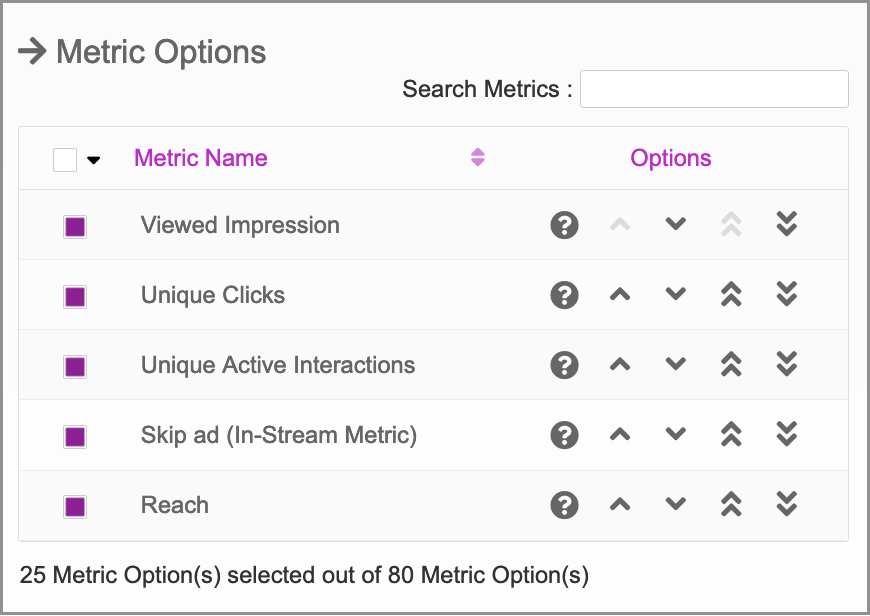
3- Select all the Metric Options you want to include. The list of metrics includes standard metrics for clicks, interactions and specific user behaviours like mouse out. It also includes ad-specific metrics that depend on metrics associated with specific asset types used in that ad. For example, if the campaign includes video assets, you can choose video quartile metrics.
4- Select the Group By criteria, including one or more of Date, Publisher, Placement, Ad Unit and Creative Version.

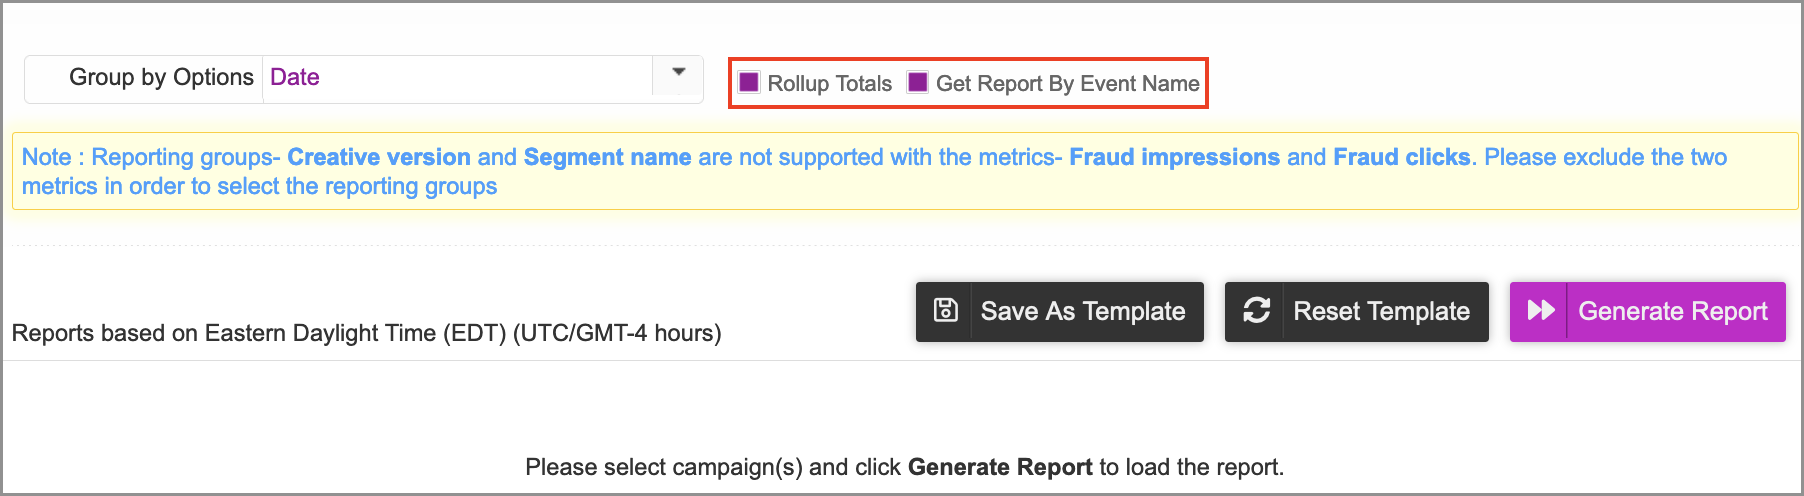
5- The following options are also available:
Rollup Totals: to get a summary row at the end of the report.
Get Report by Event Name: to include a breakdown of custom widget events.
6- To save the reporting configuration as a template, carry out the following steps:
Click Save As Template to save these report settings so you can run it again later.
When prompted, enter a Template Name.
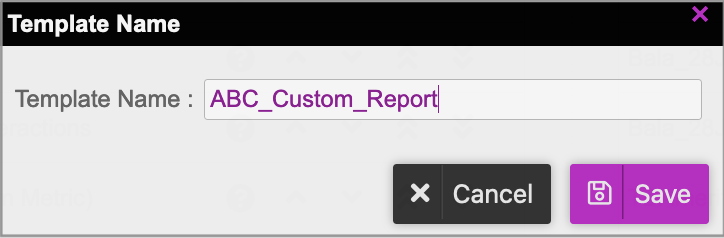
Click Save.
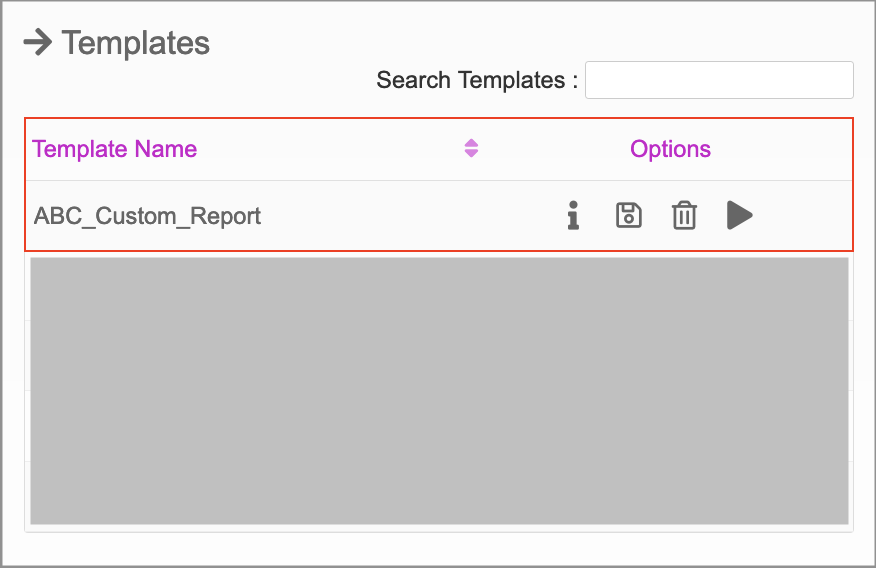
Saved reports appear in the Templates list, where you can review details, save changes, delete, or run the report from the Options column as shown below.
7- Click Generate Report. You can also download the generated report in Excel or schedule it to be automatically sent to your email address.
