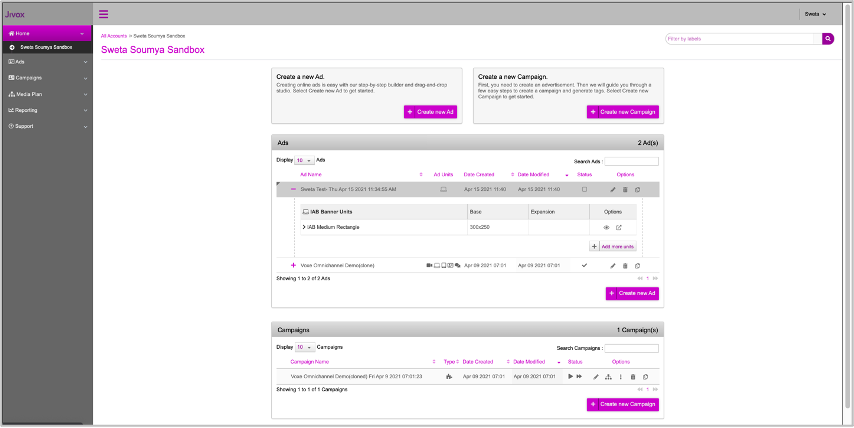
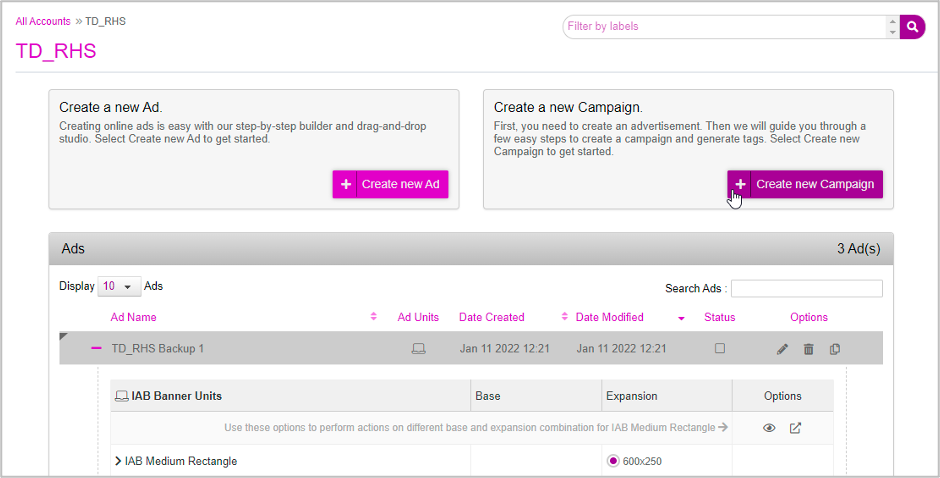
To begin campaign setup, first let's navigate to the Ads and Campaigns listing page. See here for details.
If you are creating a new campaign, click Create new Campaign.
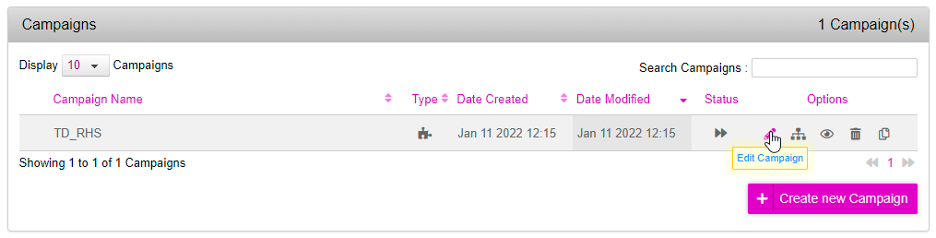
To modify an existing campaign, scroll down to the Campaigns section, and click the 'edit’ (pencil) icon under the 'Options' column, for the campaign in which you want to configure feed based decisioning.
You will view the Edit campaign page.
From the Creative Master drop-down, select the ad you want to associate with the campaign. By default, the most recently created Creative Master is chosen.

The next step in the campaign setup is to configure the Decision Map or Decision Graph based solely on the strategy of your campaign. This is where we define the decisioning rules that will resolve a specific creative variation to be served to a user.
The Decision Map can be used when we single data triggers. For example, the local time can be leveraged to serve a personalised and relevant creative variation depending on the time of day or day of week.
The Decision Graph allows you to leverage multiple data triggers for a more personalised ad. For example, you can leverage the local time and as well as audience information to serve a personalised ad.
Now let's go ahead and configure the Decision Graph.