Overview
DV360, also known as Display and Video 360 is Google Marketing Platform’s demand-side platform (DSP) for programmatic media buying, allowing advertisers and marketers to activate media buys with maximum control. It offers a single tool for planning campaigns, designing and managing tags, organizing and applying audience data, finding and buying inventory, and measuring and optimizing campaigns.
With Display & Video 360 you can:
Share campaign data and insights across media, tags, data, and analytics teams.
See precisely how your budget is being spent and know exactly where your ads are running - across all of your campaigns.
Built-in intelligence across the product automates tasks like bidding and optimization, and automatically surfaces insights and recommendations.
The primary objective of the DV360 integration is to automate the Tag export to DV360 ie. It automates the current manual process of uploading tags in DV360, allowing users to seamlessly manage their tag association in DV360 for Jivox tags.
Navigating to DV360 configuration page
From the EAM account screen, you have two options to navigate to the DV360 configuration screen:
Using the account tile in the All Accounts screen
Using left navigation panel
Using the account tile
1- From the list of accounts tiles displayed under 'All Accounts', select the desired account.
2- At the lower right-hand corner of the account tile, click on the ⋮ (Ellipsis Menu button).

3- Once you click, you will see a menu with various options for the account. Select the 'Brand Safety & Measurement' option.

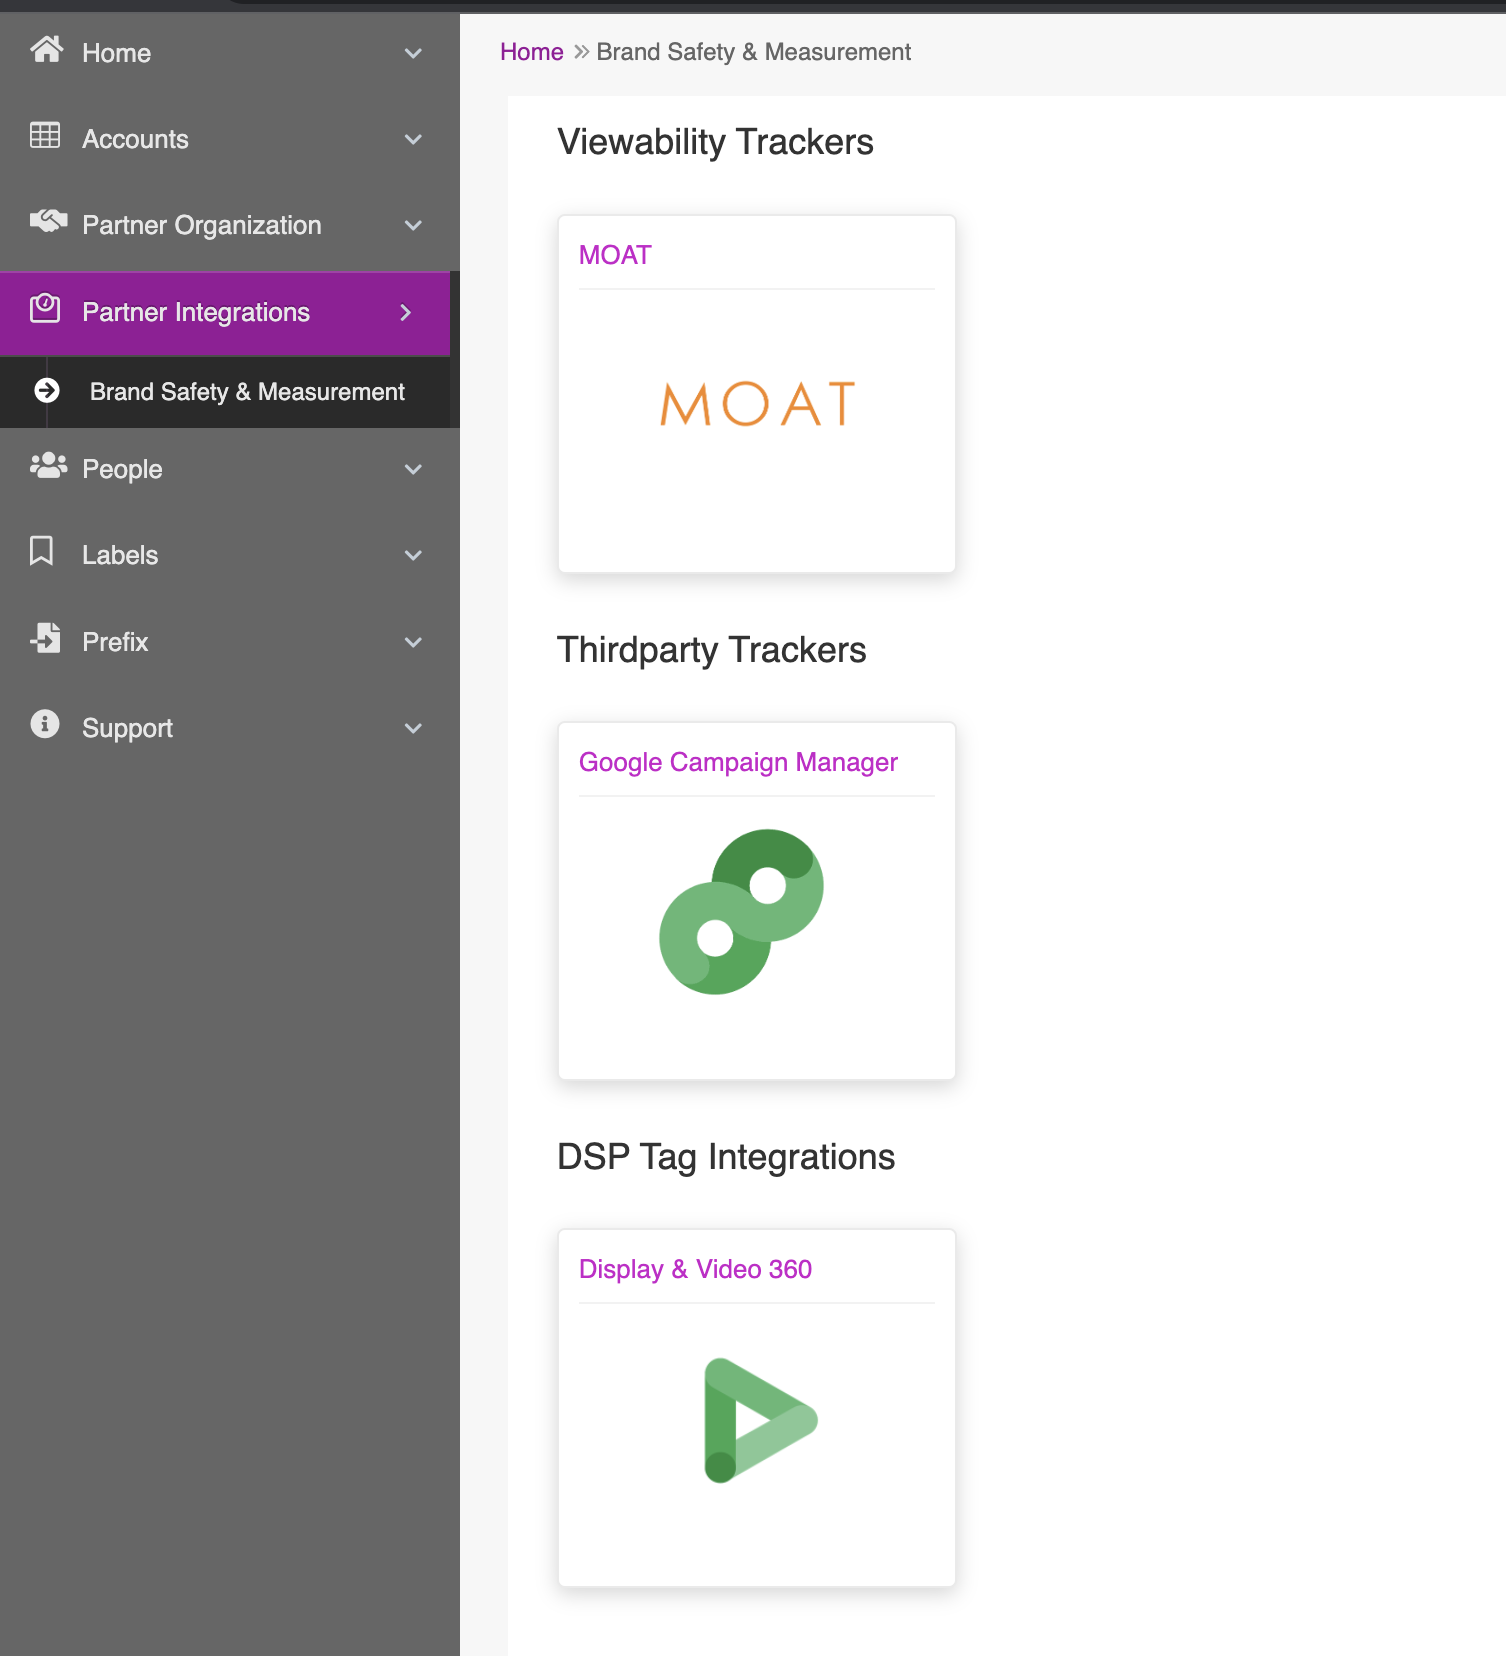
The ‘Brand Safety and Measurement’ screen appears. Click anywhere on the ‘Display & Video 360’ tile.

The ‘DV360’ configuration screen appears.
Using left navigation panel
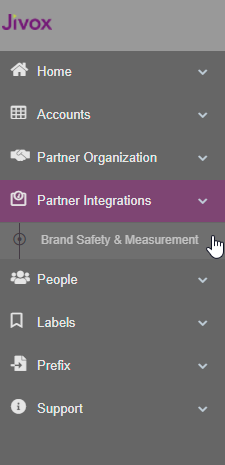
1- From the left navigation panel, click on the ‘Partner Integration’ tab and then select the ‘Brand Safety & Measurement’ sub-menu option.
The ‘Brand Safety and Measurement’ screen appears. Click anywhere on the ‘Display & Video 360’ tile.
3- The 'Select Account' page displays a list of available accounts. In the ‘Search Account’ field, enter the account name or select from the dropdown list.
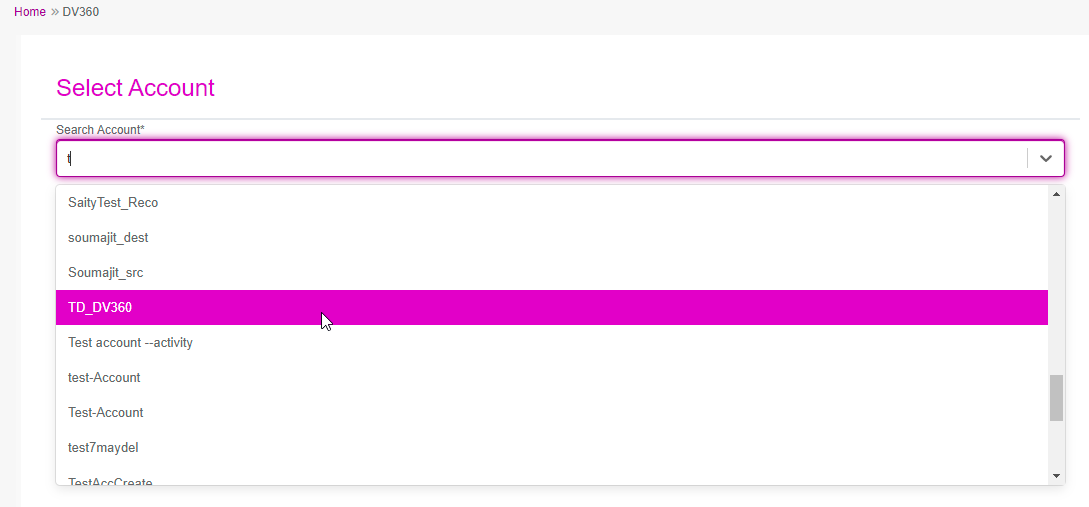
The ‘DV360’ configuration screen appears.

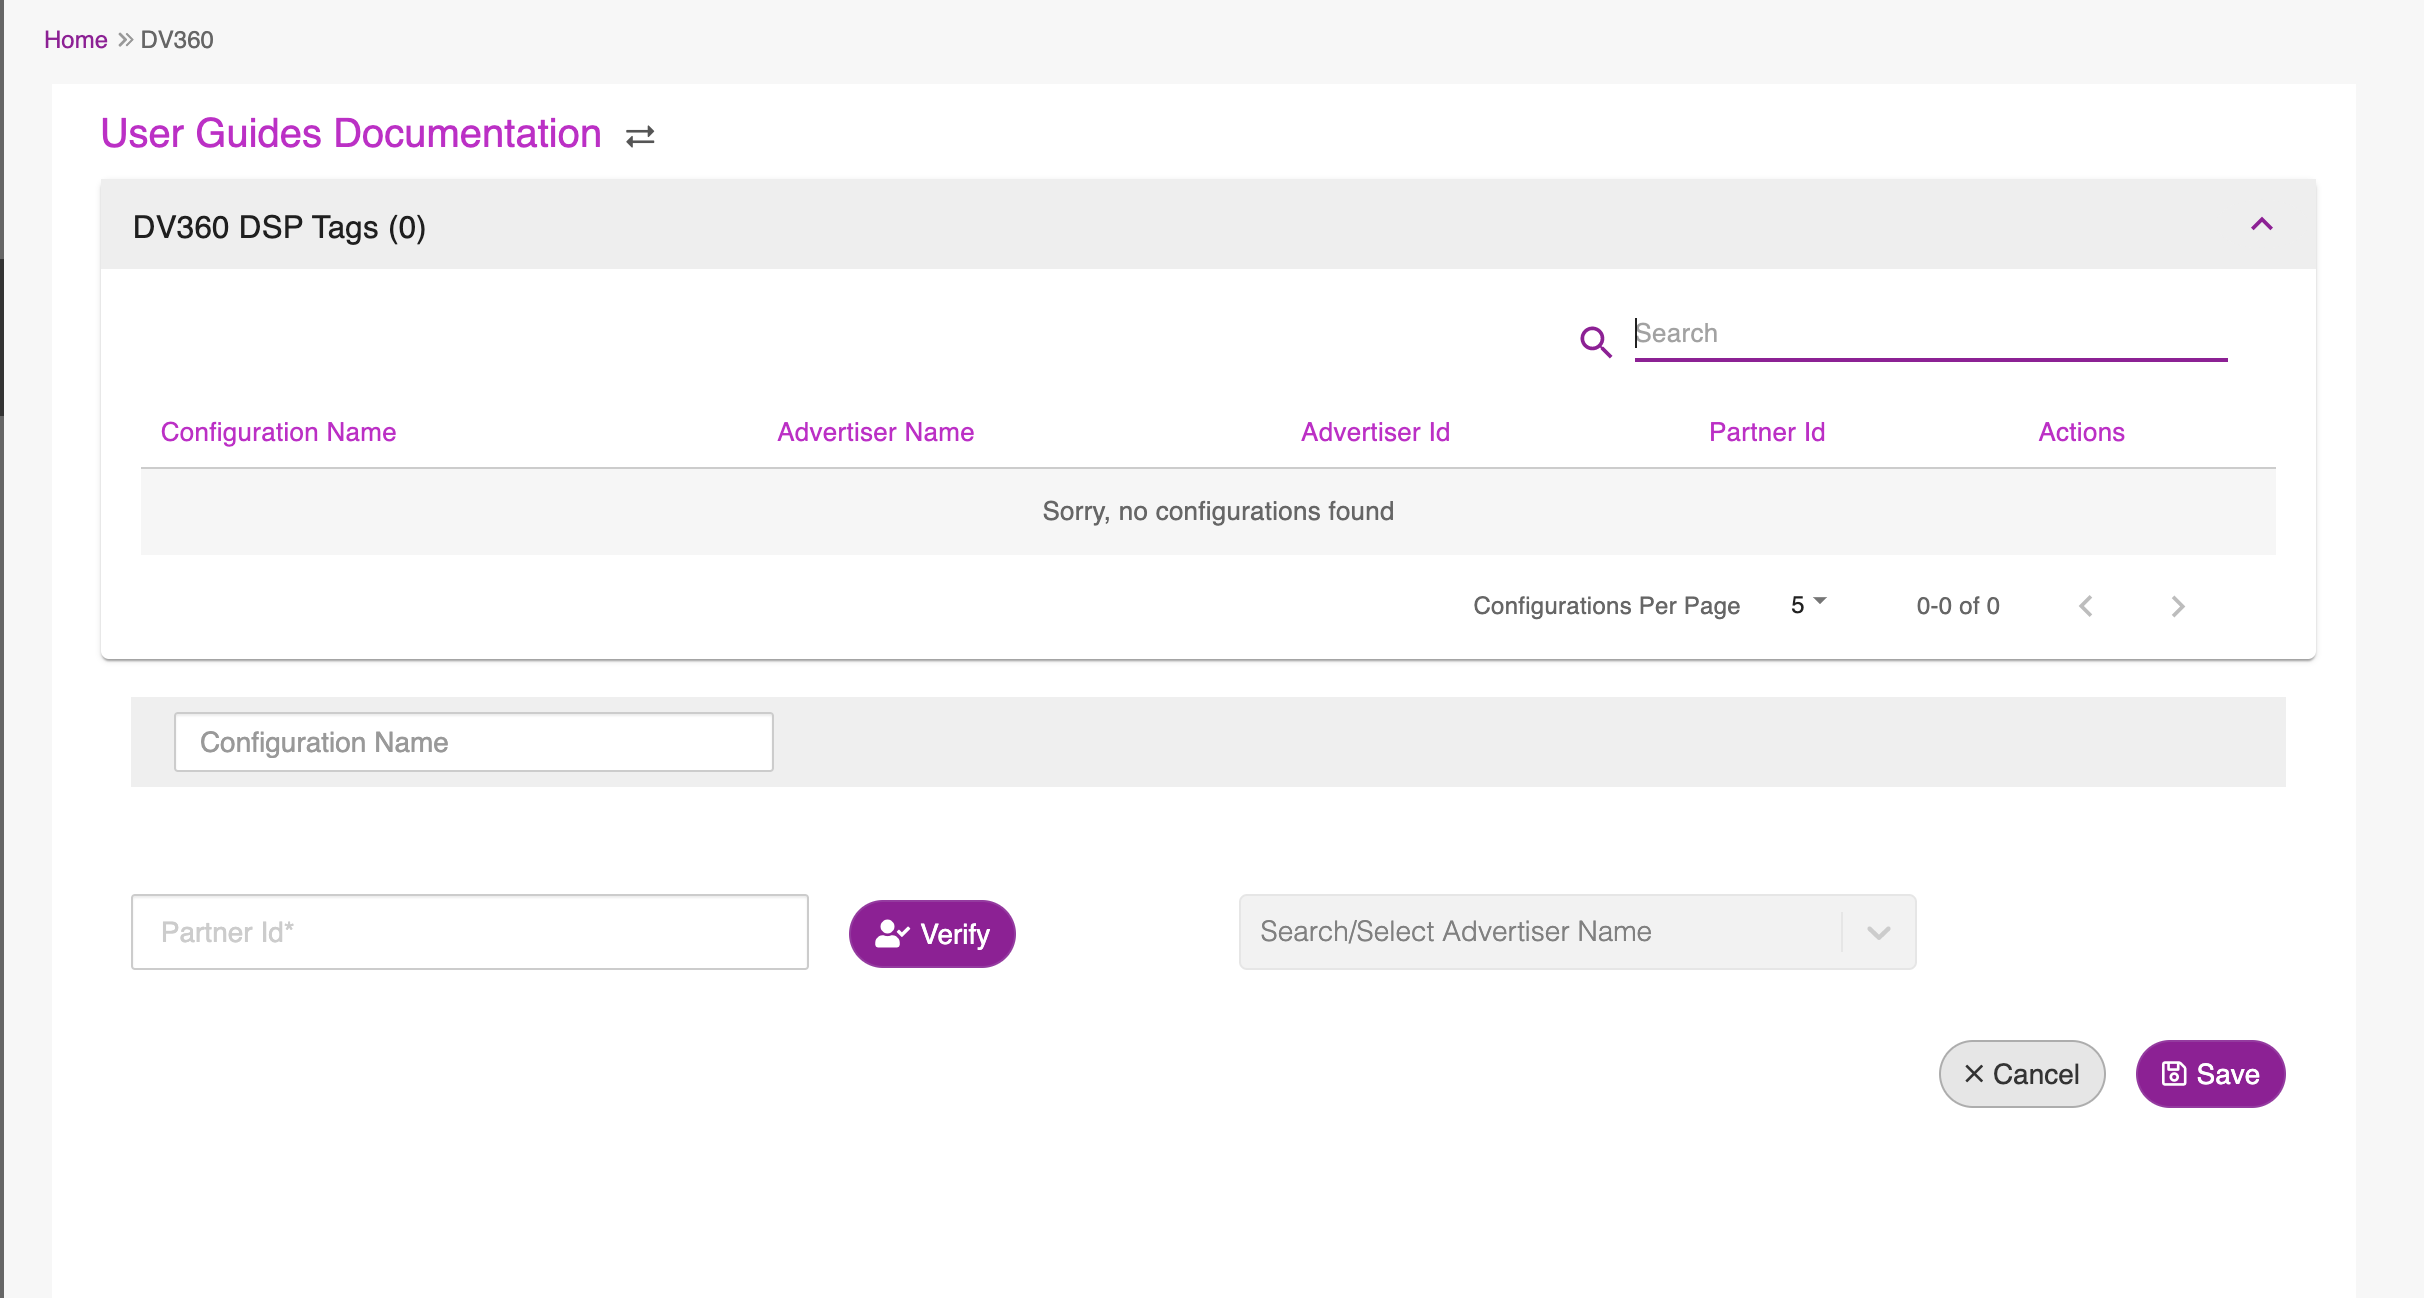
DV360 Configuration
The ‘DV360’ configuration screen has two sections- ‘DV360 DSP Tags’ panel and Configuration setup section.
DV360 DSP Tags panel
1- The DV360 DSP Tags panel is a tabular representation of all the previously saved DV360 configurations with columns Configuration Name, Advertiser Name, Advertiser ID, Partner ID and Actions for each of the saved configurations.
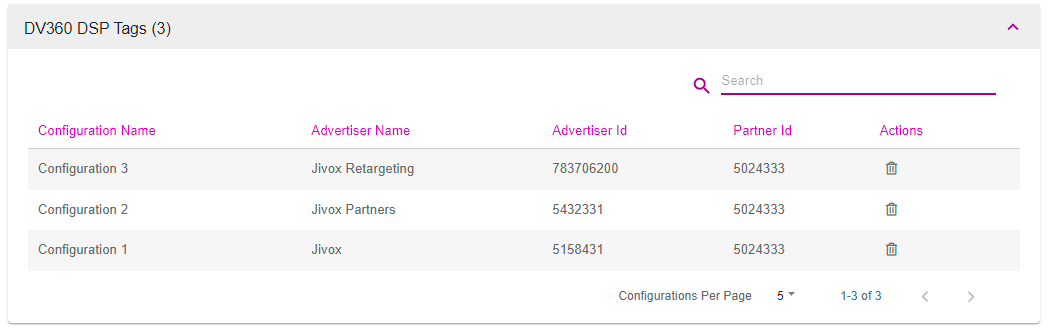
The number of saved configurations is displayed next to ‘DV360 DSP Tags’.
3- You can expand or collapse the ‘DV360 DSP Tags’ panel by clicking anywhere on the title bar of the panel.
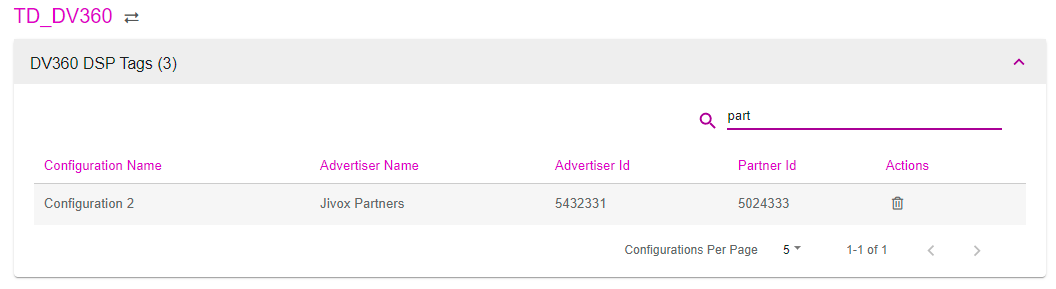
4- Enter the keyword in the search field to filter and view only the relevant configurations that contain the entered keyword.
5- To sort the list items alphabetically, by clicking on the corresponding column name.

You can select the number of configurations to be displayed in a single page from the ‘Configurations Per Page’ dropdown.

Creating DV360 configuration
The bottom part of the page has the configuration setup fields.
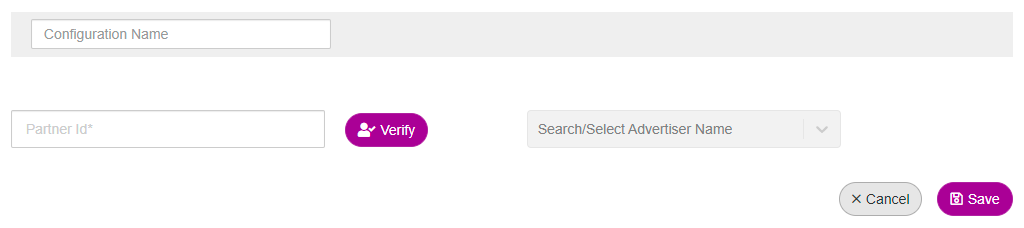
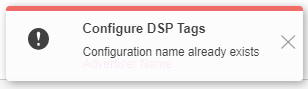
1- Enter a unique name in the ‘Configuration Name’ field, to identify the configuration. If you try to save a configuration with a duplicate name, an error message is displayed.
Enter the ‘Partner Id’ assigned to you by Display & Video 360 and then click on the ‘Verify’ button.
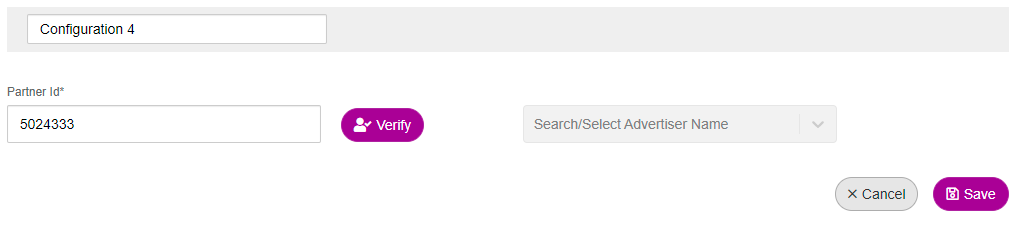
Partner ID is a unique number assigned to agencies, trading desks, or large individual advertisers that have a partnership with Display & Video 360.
From the DV360 dashboard, you can find your Partner ID in the Basic Details page, by navigating to Partner Settings> Basic Details.
For an invalid Partner Id, an error message “Please enter a valid Partner Id” is displayed.
You will be directed to the ‘Sign in with Google’ page.

Select the relevant Google account and then click on the ‘Allow’ button, to complete the authentication process.

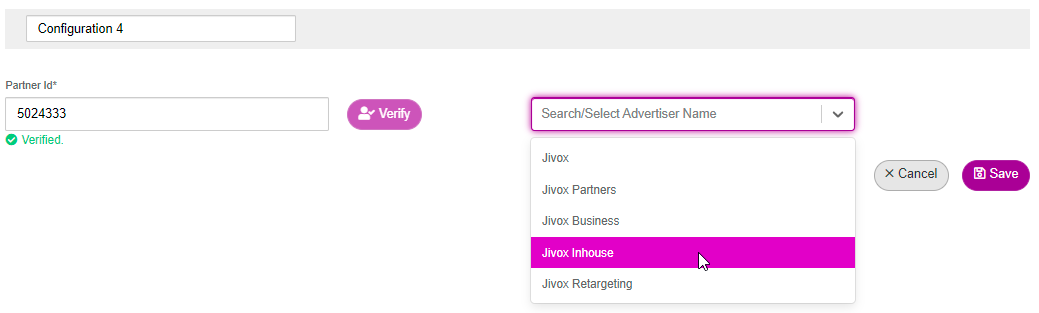
The ‘Search/Select Advertiser Name’ dropdown field gets enabled only after the partner ID is successfully verified. The dropdown menu lists all the advertisers created under the selected Partner in DV360.
Enter the Advertiser Name and/or select from the dropdown list, to which you want to export the tags.
Click on the ‘Save’ button. A confirmation message “DV360 Configuration saved successfully” is displayed. The saved configuration gets listed under the DV360 DSP Tags panel.
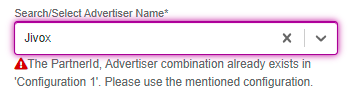
Each DV360 configuration is a unique combination of the Partner ID and the Advertiser ID.
If you try to create a new configuration with the same combination of the Partner ID and the Advertiser ID as an existing one, an error message is displayed, as shown below.
Click the ‘Cancel’ button to stop the configuration creation process. A warning message is displayed.
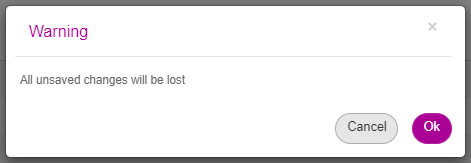
Click ‘OK’ to confirm. You will be navigated to the ‘Brand Safety and Measurement’ screen.
Deleting DV360 configuration
To delete a configuration created, do the following:
1- From the ‘DV360 DSP Tags’ panel, click on the ‘Delete’ icon under the 'Actions' column for the configuration you want to delete. A warning message is displayed.
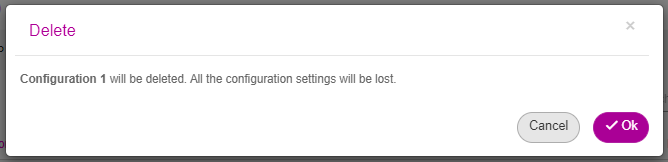
2- To confirm, click on the 'Ok' button.
Exporting tags to DV360
1- Create an ad and then create a campaign.
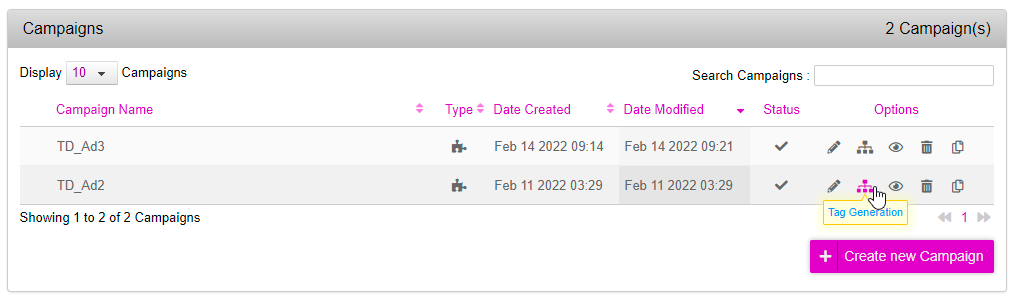
2- From the campaigns listing, click onto the 'Tag Generation’ icon under the 'Options' column, for the campaign that you want to export the tags to DV360.
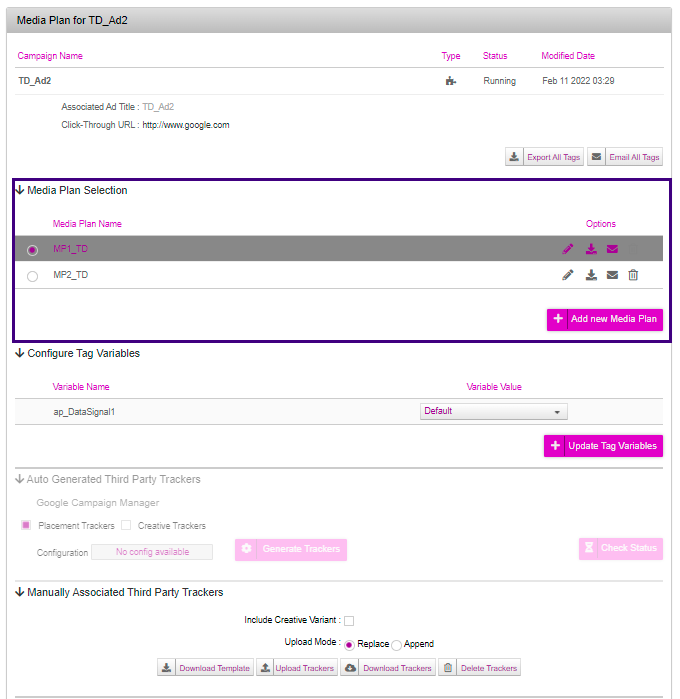
From the ‘Media Plan Selection’ section, create a new media plan or select an existing media plan, for which you want to export the tags to DV360.
Scroll down to the ‘Publisher and Placement Configuration’ section and define all the required publishers and placements for the selected Media Plan.
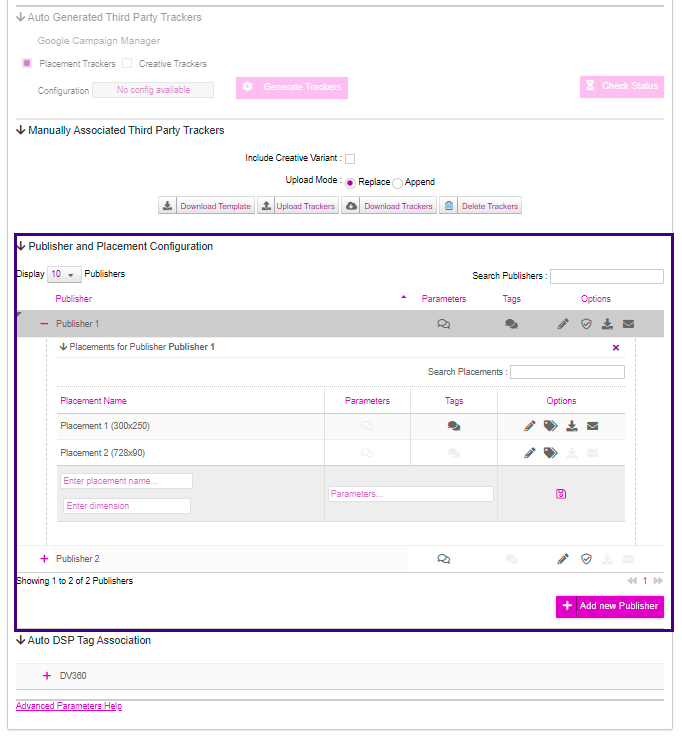
Navigate to or search the relevant Placement Name under a Publisher.
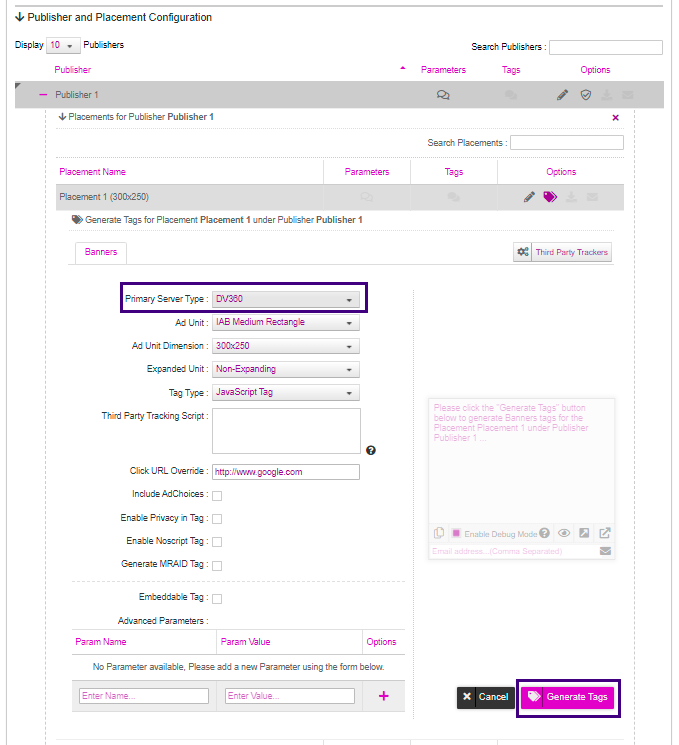
Click on the ‘Generate Tags’ icon, for the ad units that you want to export to DV360. The tag generation setup expands.

From the ‘Primary Server Type’ dropdown list, select ‘DV60’ as the option and then make required changes in the setup. Click on the ‘Generate Tags’ button.
The ‘Auto DSP Tag Association’ section is enabled only after you generate tags with DV360 as the Primary Server Type.

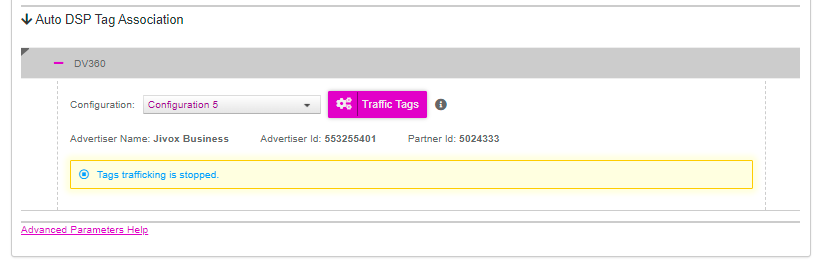
From the ‘Auto DSP Tag Association’ section, click on the + icon to the left of ‘DV360’, to expand the tag export setup.
The ‘Configuration’ dropdown will list all the DV360 configurations available under the DV360 DSP Tags panel in the DV360 page.
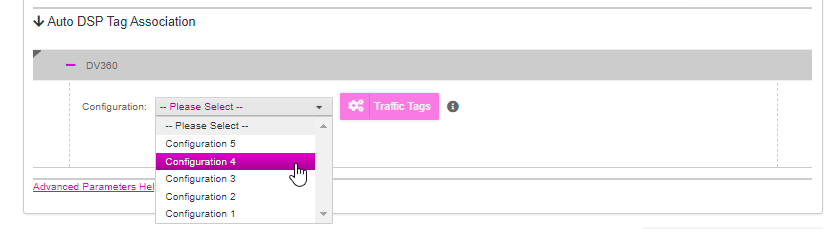
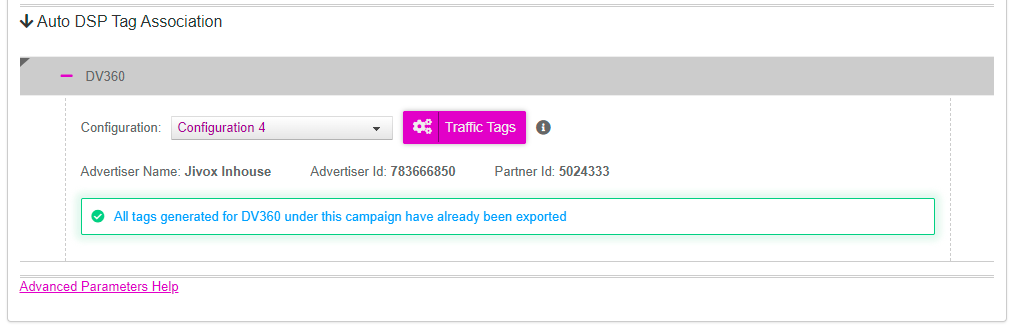
From the ‘Configuration’ dropdown list, select the DV360 configuration to which you want to export the tags. The Advertiser Name, the Advertiser Id, and the Partner Id linked to the selected configuration will appear below the dropdown.
Click on the ‘Traffic Tags’ button, to export the tags to the selected advertiser in DV360. Only those tags which were generated with DV360 as the Primary Server Type are exported.
For the selected configuration, if you try to export the tags again for the campaign, an error message is displayed, as shown below.
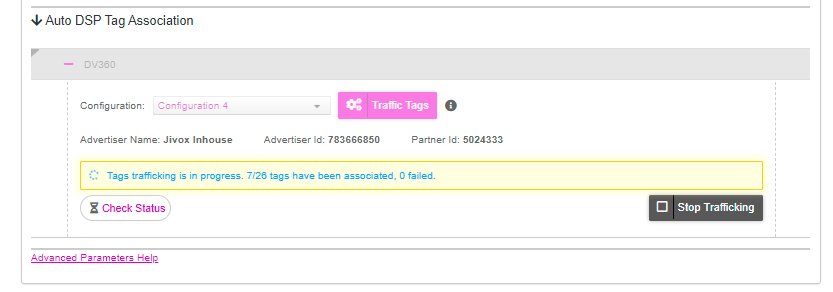
The ‘Check Status’ and the ‘Stop Trafficking’ buttons will appear. You will see a message as shown below.

Click on the ‘Check Status’ button to see the current status of the tag export process.
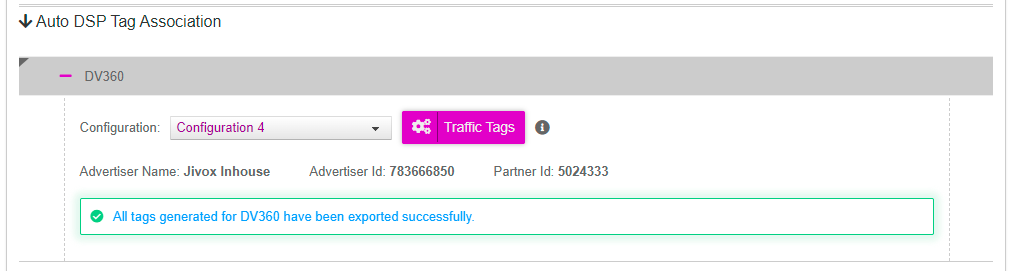
Click on the ‘Check Status’ button again to verify if the tag export process is complete. A confirmation message that all tags generated for DV360 have been exported successfully is displayed.
After exporting the tags successfully, you will see the list of creatives that are associated with the Jivox tags in the DV360 portal, under the linked advertiser. You can verify the basic details of the creative, by clicking on the creative tile.

Name: The name of the creative exported from Jivox IQ. The default creative name is <Placement Name><Campaign Id><Tag Id>.
Dimensions: The dimensions of the creative associated with the Jivox tag.
Landing page URL: This is the DV360 landing page URL. It is defined in the ‘Click-through URL’ field in the campaign setup of Jivox IQ.
Technologies: By default, the ‘Required HTML5’ checkbox is selected for Jivox tags.
Third-party tag: The tag generated and exported from the Jivox IQ.
If the DV360 account mentioned in configuration is synced with Campaign Manager 360, please ensure you have sufficient active ads quota on Campaign Manager 360 available before trafficking.
Exporting tags to the DV360 portal is currently not supported for a campaign with native TripleLift/Sharethrough ad unit type.
Cancelling tag export
You can stop the tag exporting process at any point during the exporting stage. To do this, follow these steps:
1- Click on the ‘Stop Trafficking’ button, to cancel the tag exporting process. A warning message is displayed.
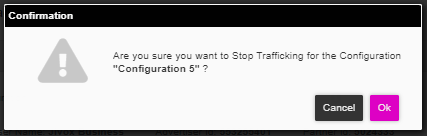
2- Click on the ‘Ok’ button to confirm. A message about the tag export cancellation status is displayed.
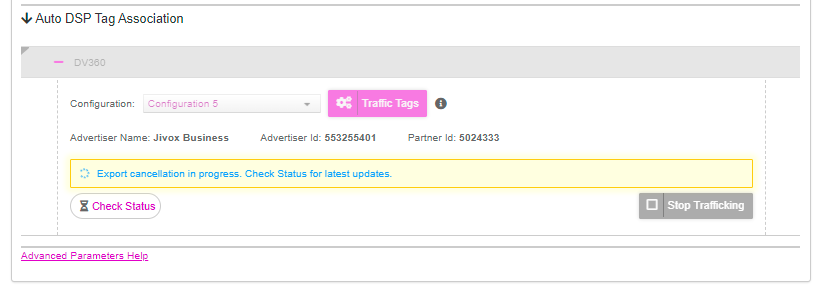
Click on the ‘Check Status’ button to check the progress of tag export, as shown below.

All the tags which have already been exported to DV360 after clicking on the ‘Stop Trafficking’ button, will be archived in the DV360.
Click on the ‘Check Status’ button again to verify if the tag export process is stopped. A confirmation message is displayed, as shown below.