In this section, we will generate multiple tags at one go using the Bulk Tag Generation option.
Before you can go ahead and generate tags, you must first create the Ad using DCS and set up your campaign.
Let's begin!
1- After you create an ad and save your campaign, from the campaign listing page, select the Tag Generation icon as highlighted below.
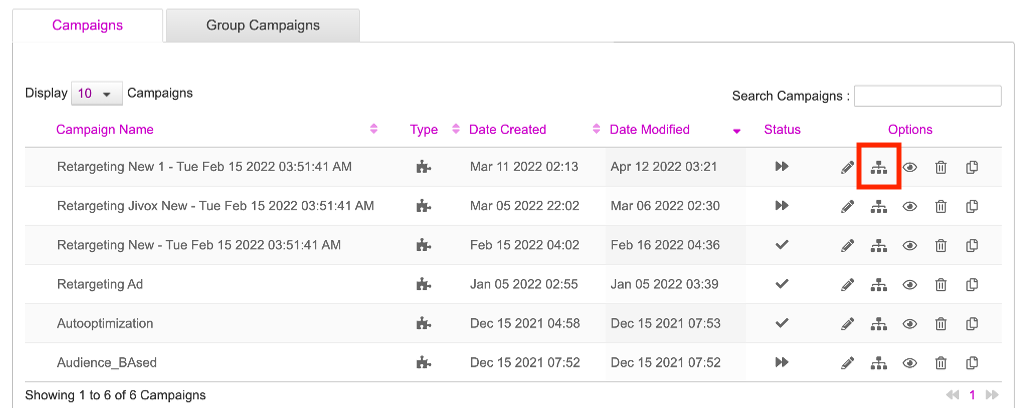
The tag generation icon will display two options - Tag Generation and Bulk Tag Generation. Use the tag generation option if you want to generate tags one by one. See here for details.
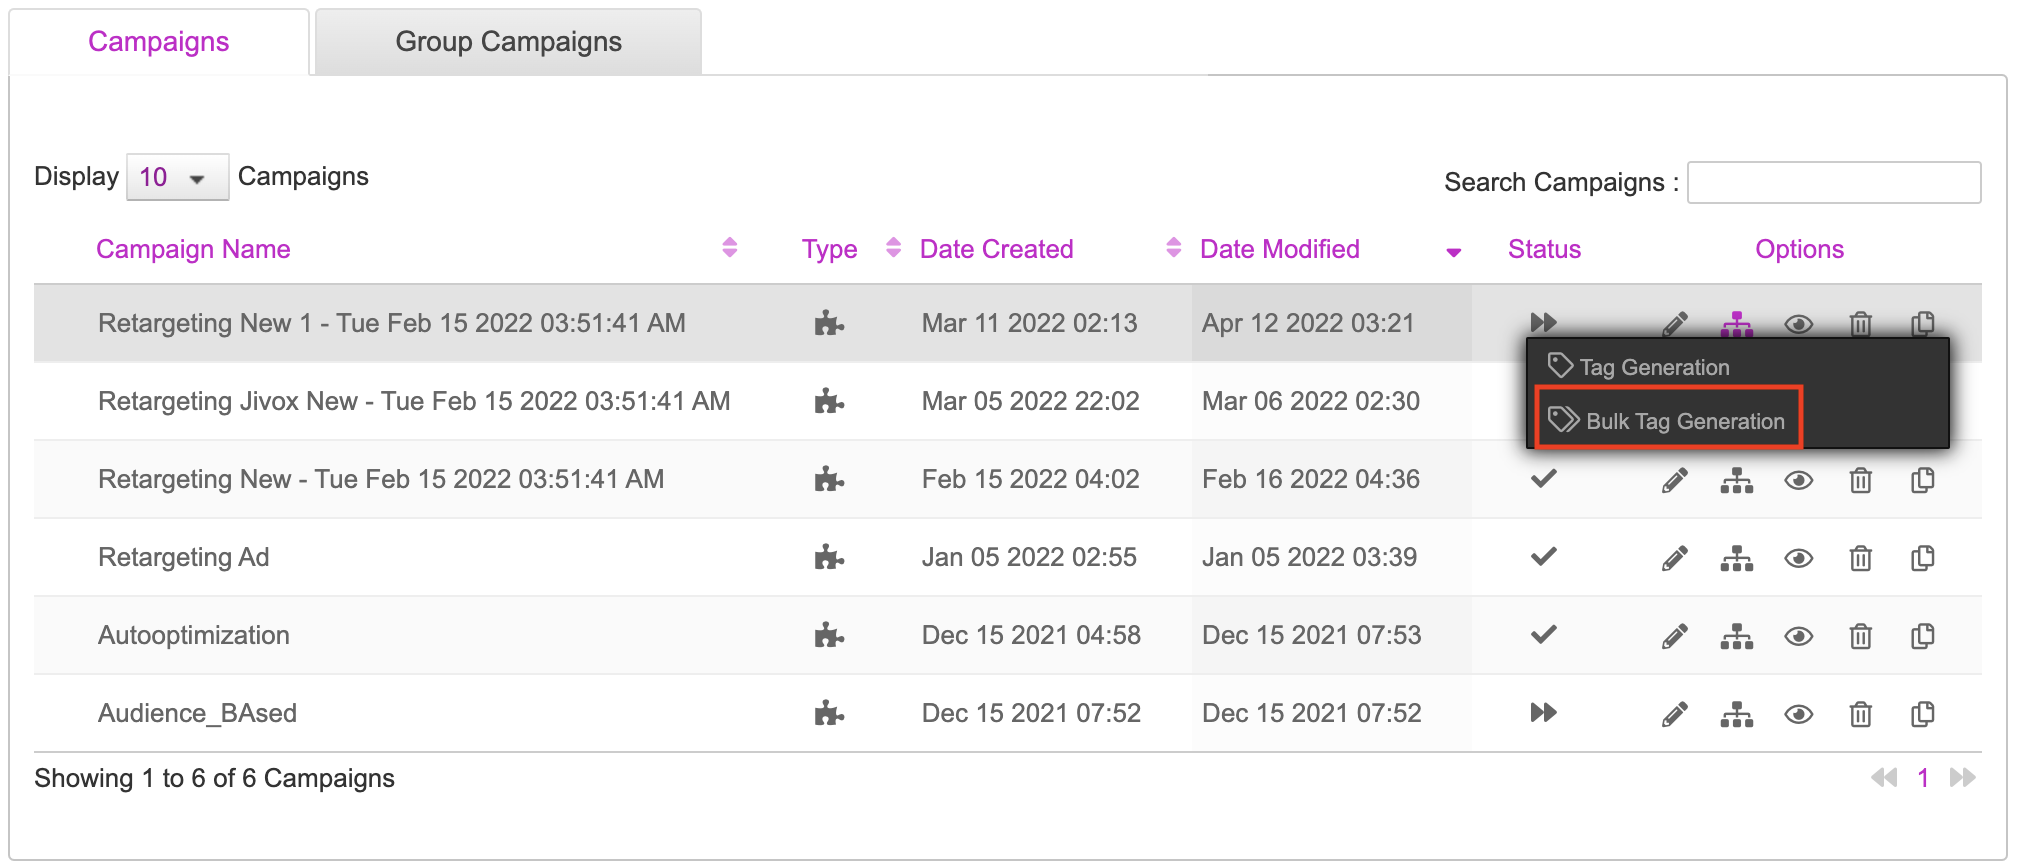
2- Click Bulk Tag Generation.
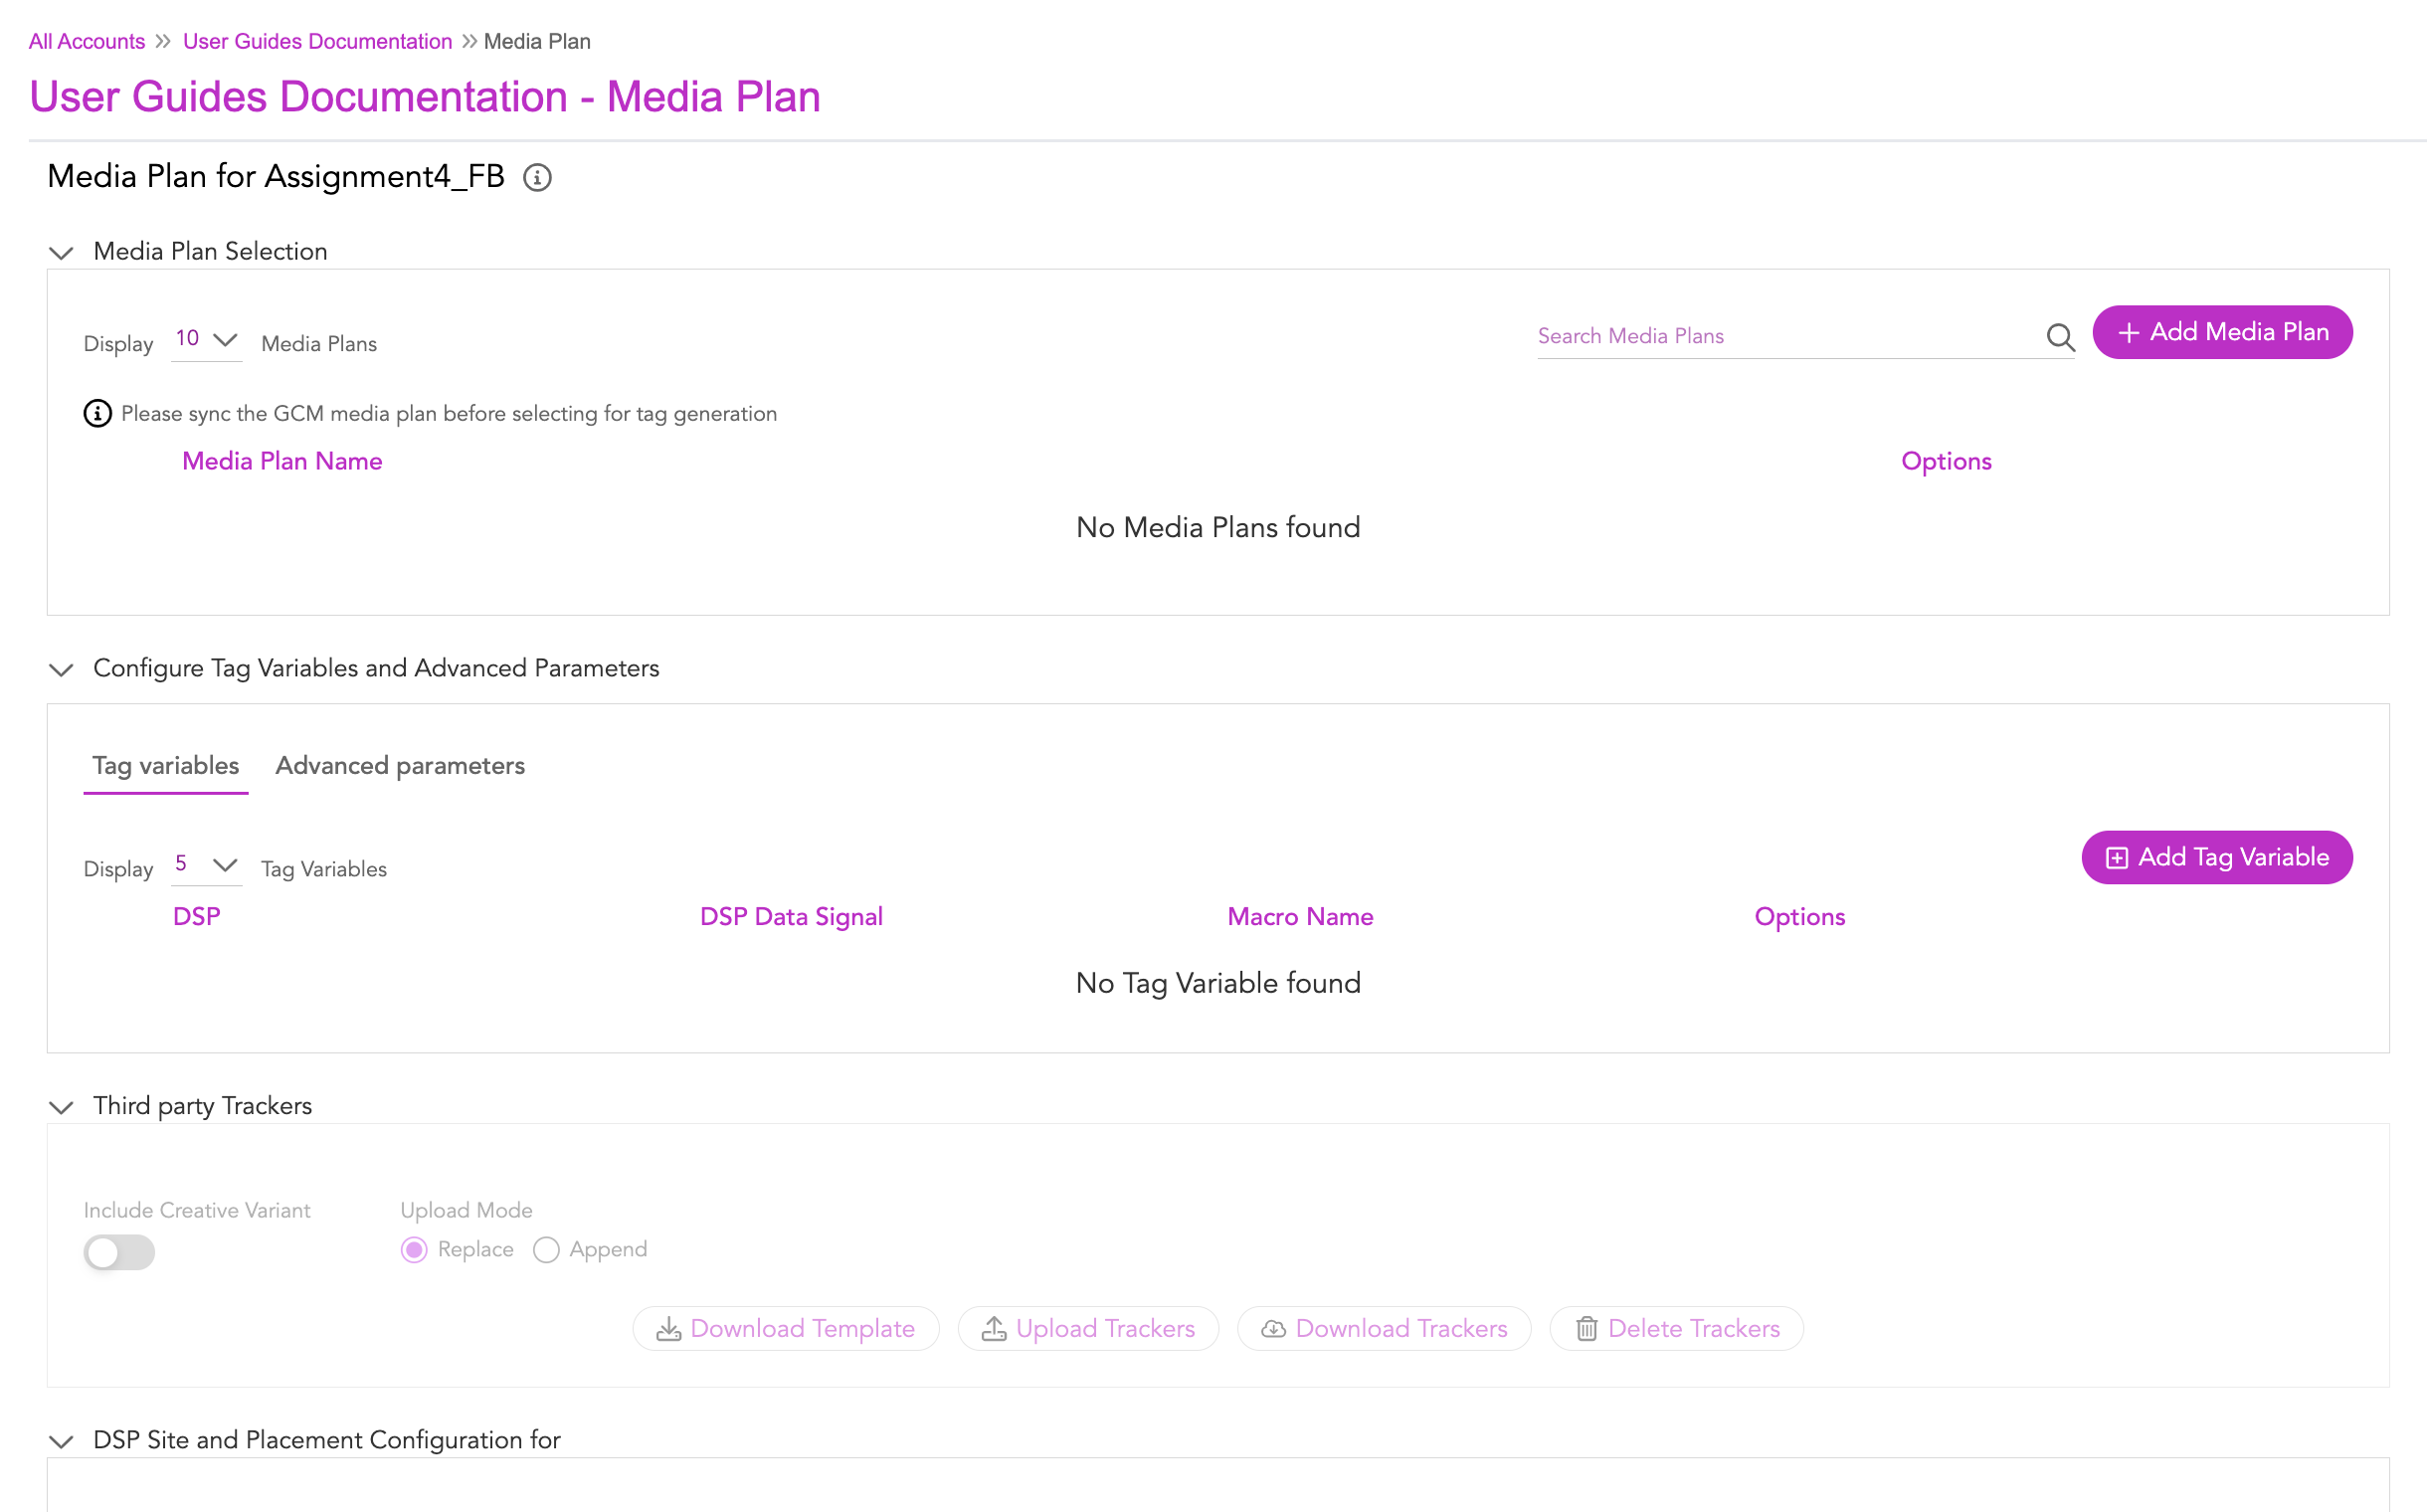
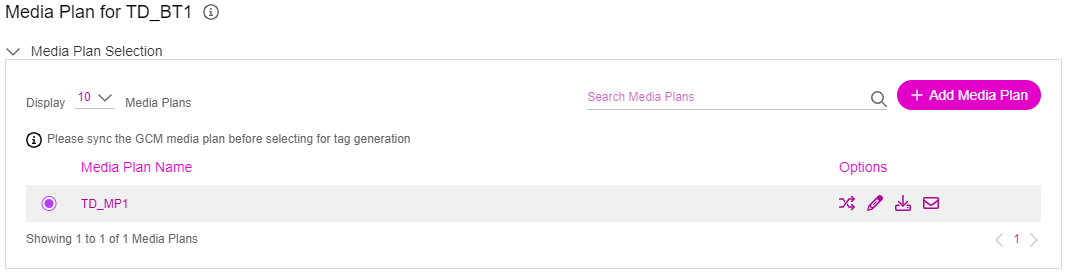
The Media Plan section for the selected campaign is displayed. Any existing media plans for the selected campaign are displayed under Media Plan Selection. In this case, since we have not created any media plans earlier, the Media Plan Name section is blank.
Creating Media Plan
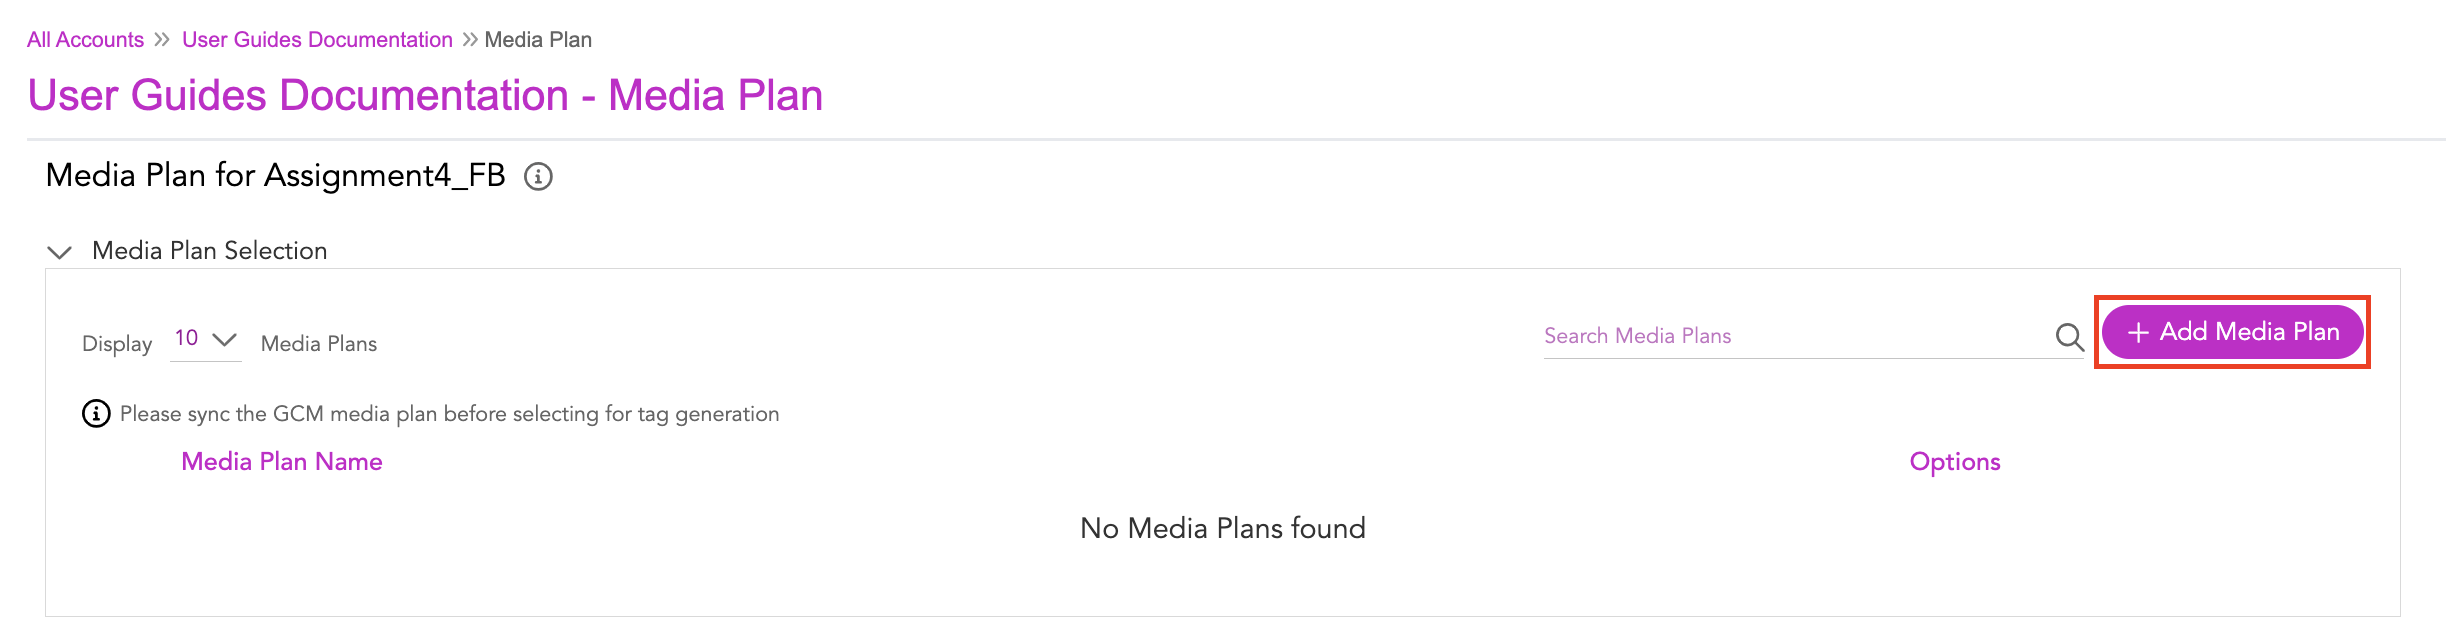
While generating tags using this option, it is mandatory to create a Media Plan first. Let's start!
1- Let's click the Add Media Plan button to create a new media plan**.**
On clicking the Add Media Plan button, we will be taken to the Media Plan Selection section, as shown in the image below.
Here, it's mandatory to download the Media Plan template. This will ensure the details provided in the uploaded document is compatible with the system.

2- Let's click the Download Media Plan Template button.
The media plan template is made available for users at the time of creating a new media plan.
The media plan template gets downloaded to your local system. You will be given an option to save it to your desired location in your system.
Enter the required data in the template like DSP Name, Site Name, Placement name, Placement dimension, which are mandatory fields. For the remaining columns in the template, based on your requirements you can pass the values for the tracker details, primary banner trackers, secondary banner trackers, image and javascript trackers, instream etc.
After updating the template with the desired values, save the media plan template and then upload.
3- To upload, go to the Create new Media Plan section, and click the Upload Media Plan button.

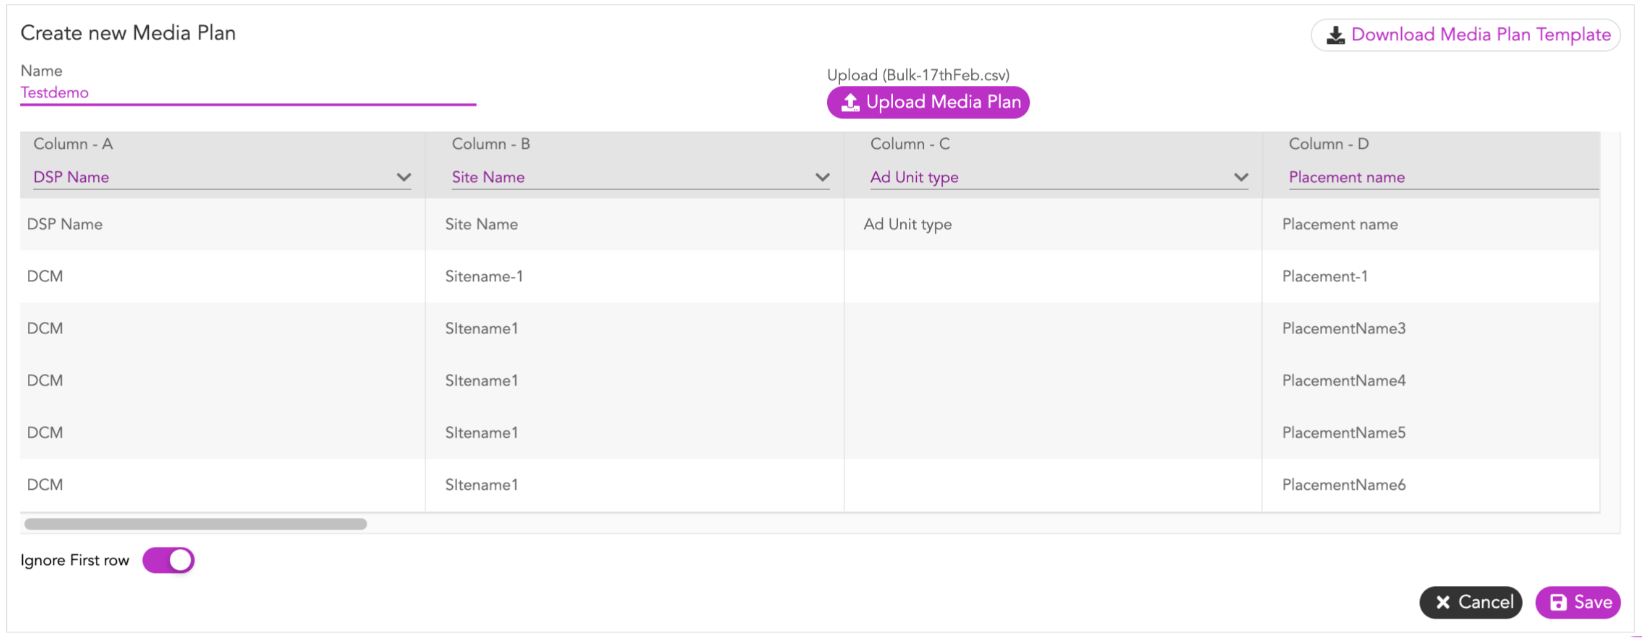
After the media plan is uploaded successfully, the following screen gets displayed with the columns DSP Name, Site Name, Ad Unit type, Placement name, Placement dimension, Expansion unit, etc.
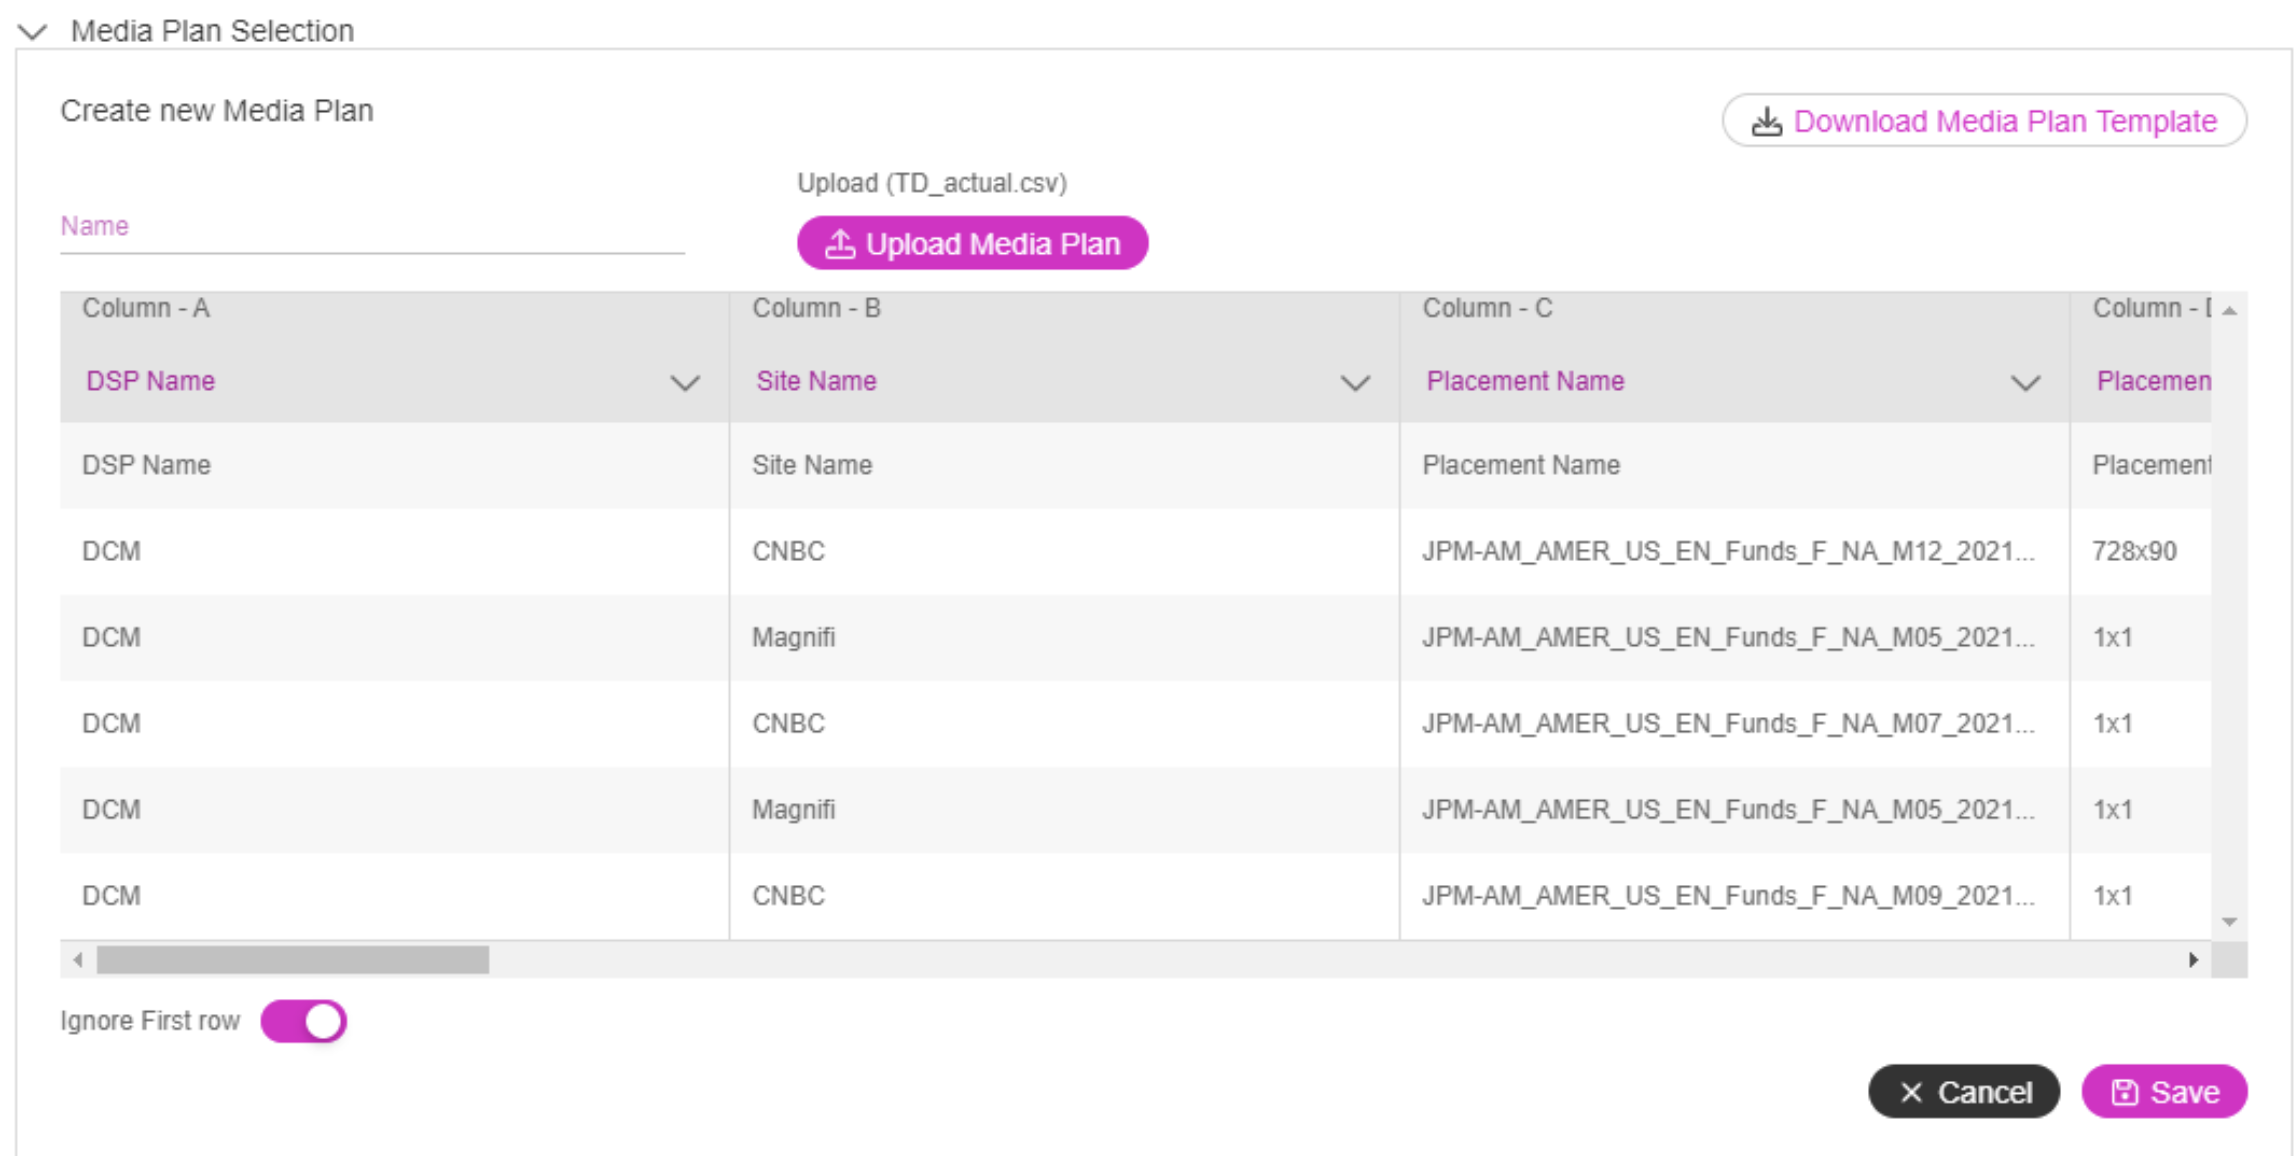
4- Enable the Ignore First row toggle switch. This will ignore the first row in the table that has the name same as column header like DSP Name, Site Name, Ad Unit type.
If the columns in the uploaded media plan are not mapped correctly with the column headers in the media plan screen, click the column header dropdown and select the relevant column header.
5- Enter a name for the Media plan under the Name field and click the Save button.
If you enter a name that already exists for the placement, an error message gets displayed "Media Plan already exists"
The media plan created will get listed under the Media Plan Name in the Media Plan Selection section.
Mapping the Media Plan to the Ad
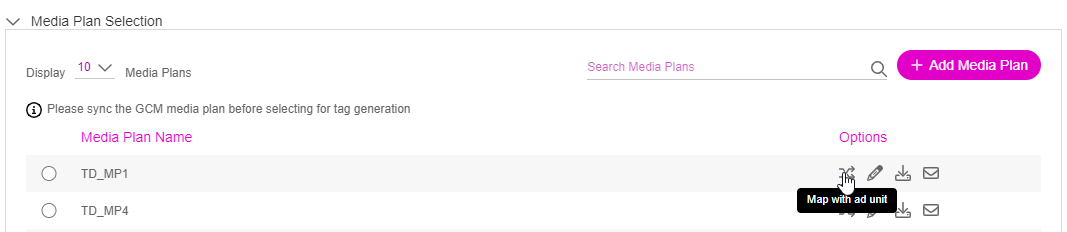
To map the placement with the ad unit, follow the below steps:
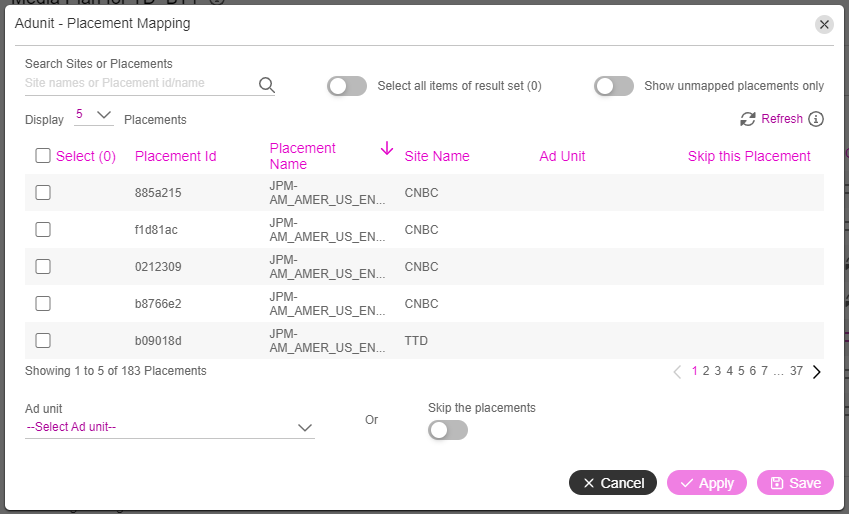
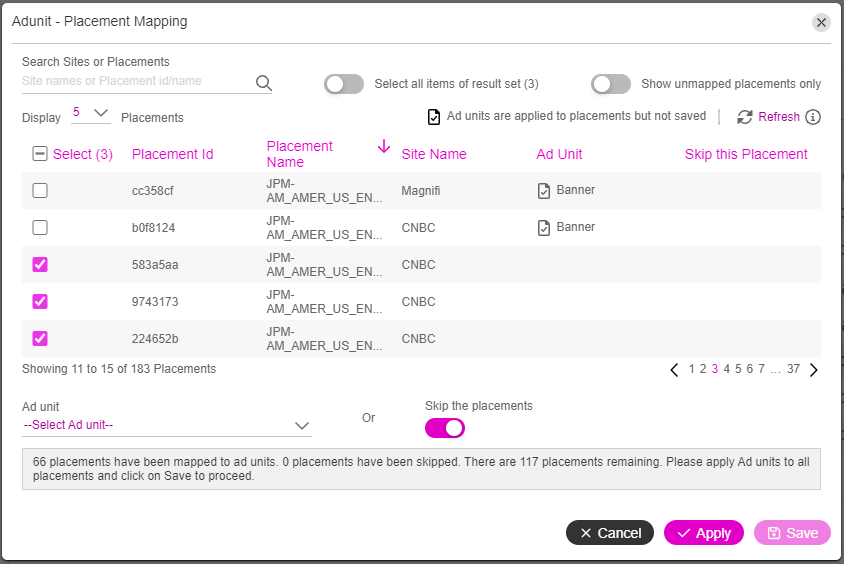
1- Click the (Map with ad unit ) icon under the Options column to open the Ad unit - Placement Mapping setup.
The placements defined for the media plan are listed in the table here. The Ad Unit, and Skip this Placement fields are blank before you do the mapping.
3- Using the search option, search the placements you would like to map with the ad unit and then click the checkbox next to each placement to select it.
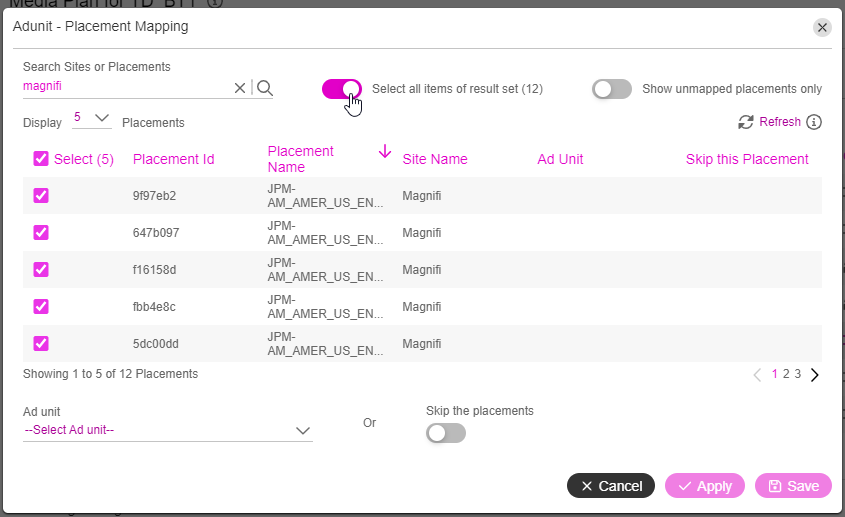
You can also search all your desired placement(s), and then click the Select all items of the result set toggle button. This will select the filtered placements across all the pages in the setup.
For quicker results enable the Show unmapped placements only toggle button to view only the unmapped placements.
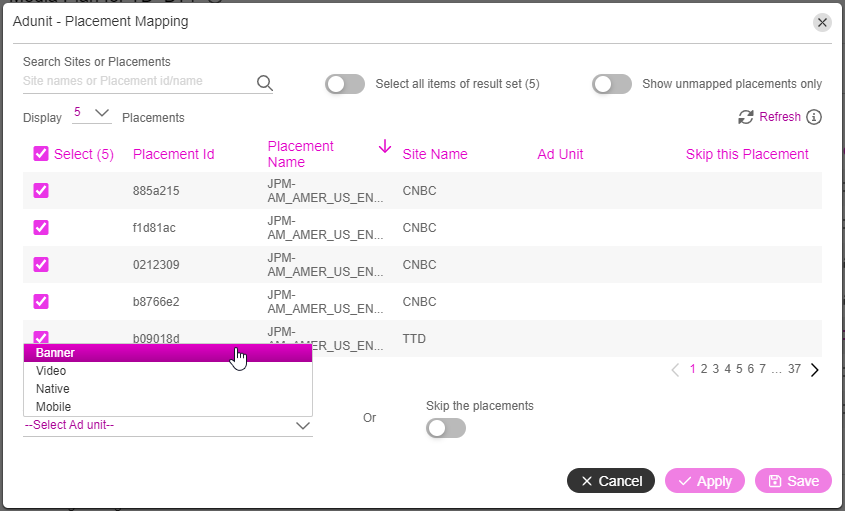
4- From the Ad Unit dropdown, select the ad unit type you wish to map with the selected placement(s). You can map any placement with one of the available ad units.
5- Click Apply to save/apply the mapping. A status message appears on the status bar.
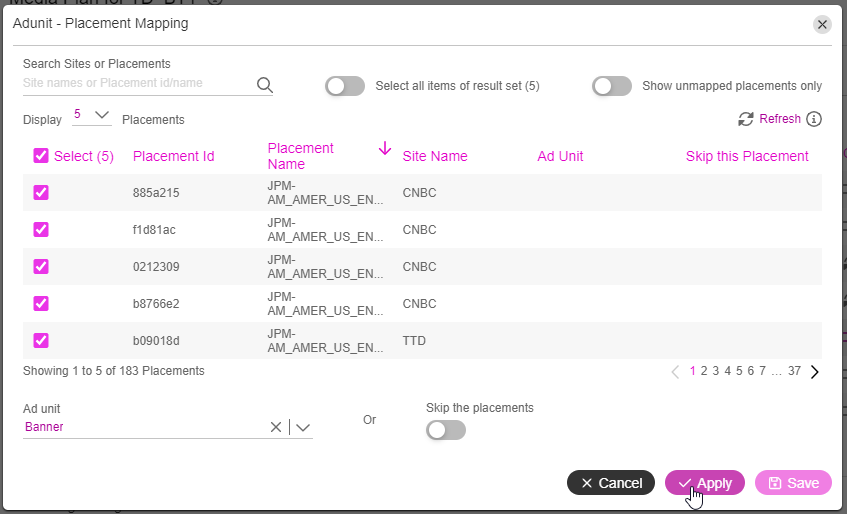
Repeat the steps to complete all Ad Unit - Placement mapping.
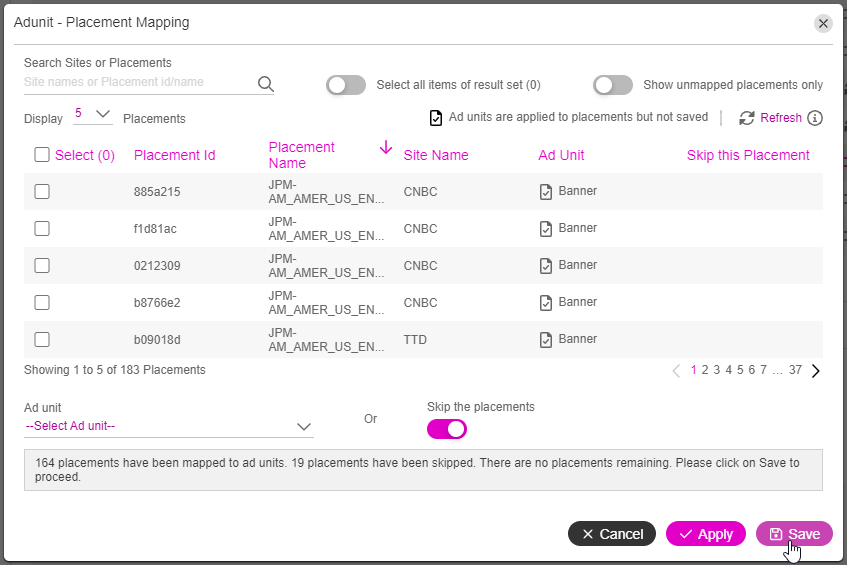
If you do not wish to generate tags for specific placement(s), then do the following:
Select those placements for which you do not want to generate tags by following steps 3 and 4 above.
Click the Skip the placements toggle button.
Next, click Apply to skip the mapping. The placements are skipped and the table is updated accordingly.
Once you are done, click Save to save the mappings.
Next Steps
The next step is to Configure the Tag Variables and Advanced Parameters.