In this section we will see how to upload the Asset Source onto the platform. Let's begin!
On the Create Campaign page, click the Manage Assets tab to see the Asset Library section.
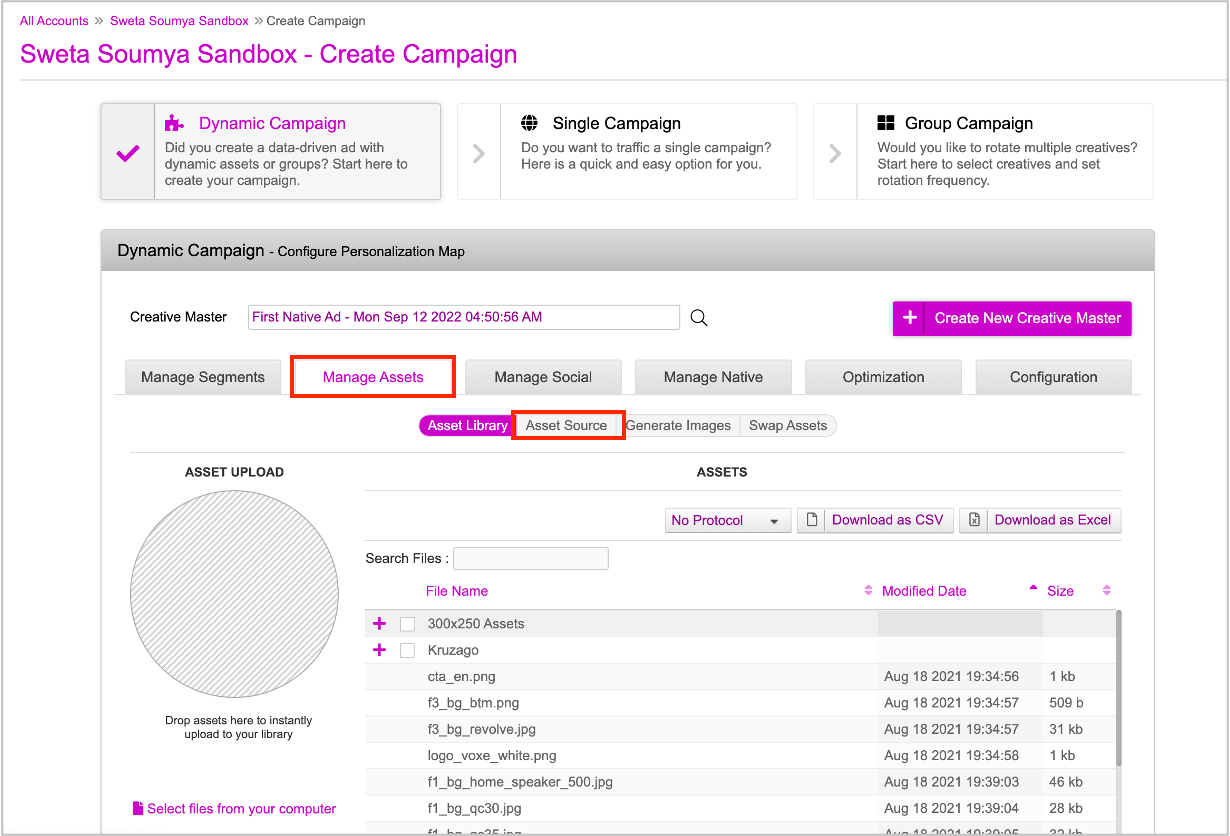
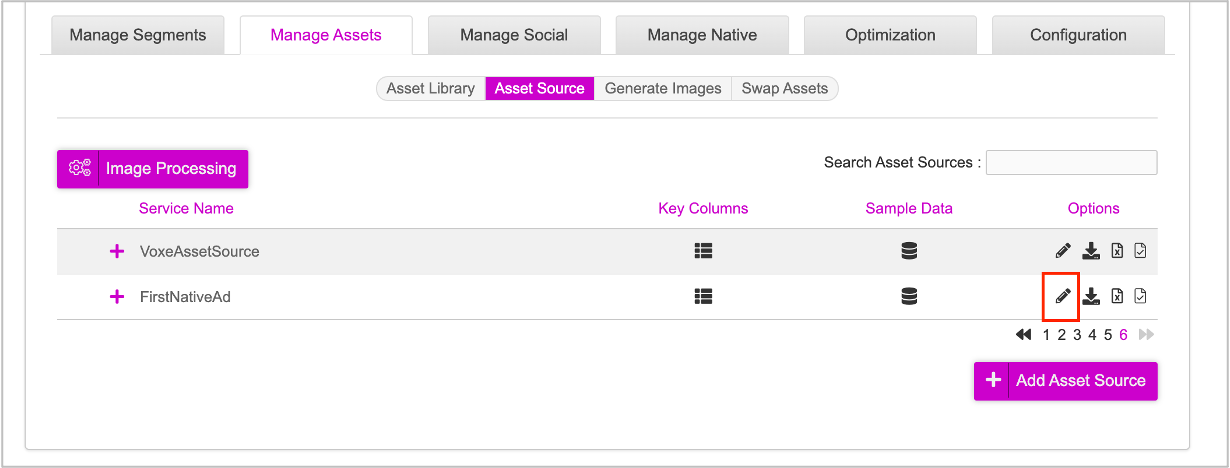
Here, click Asset Source.
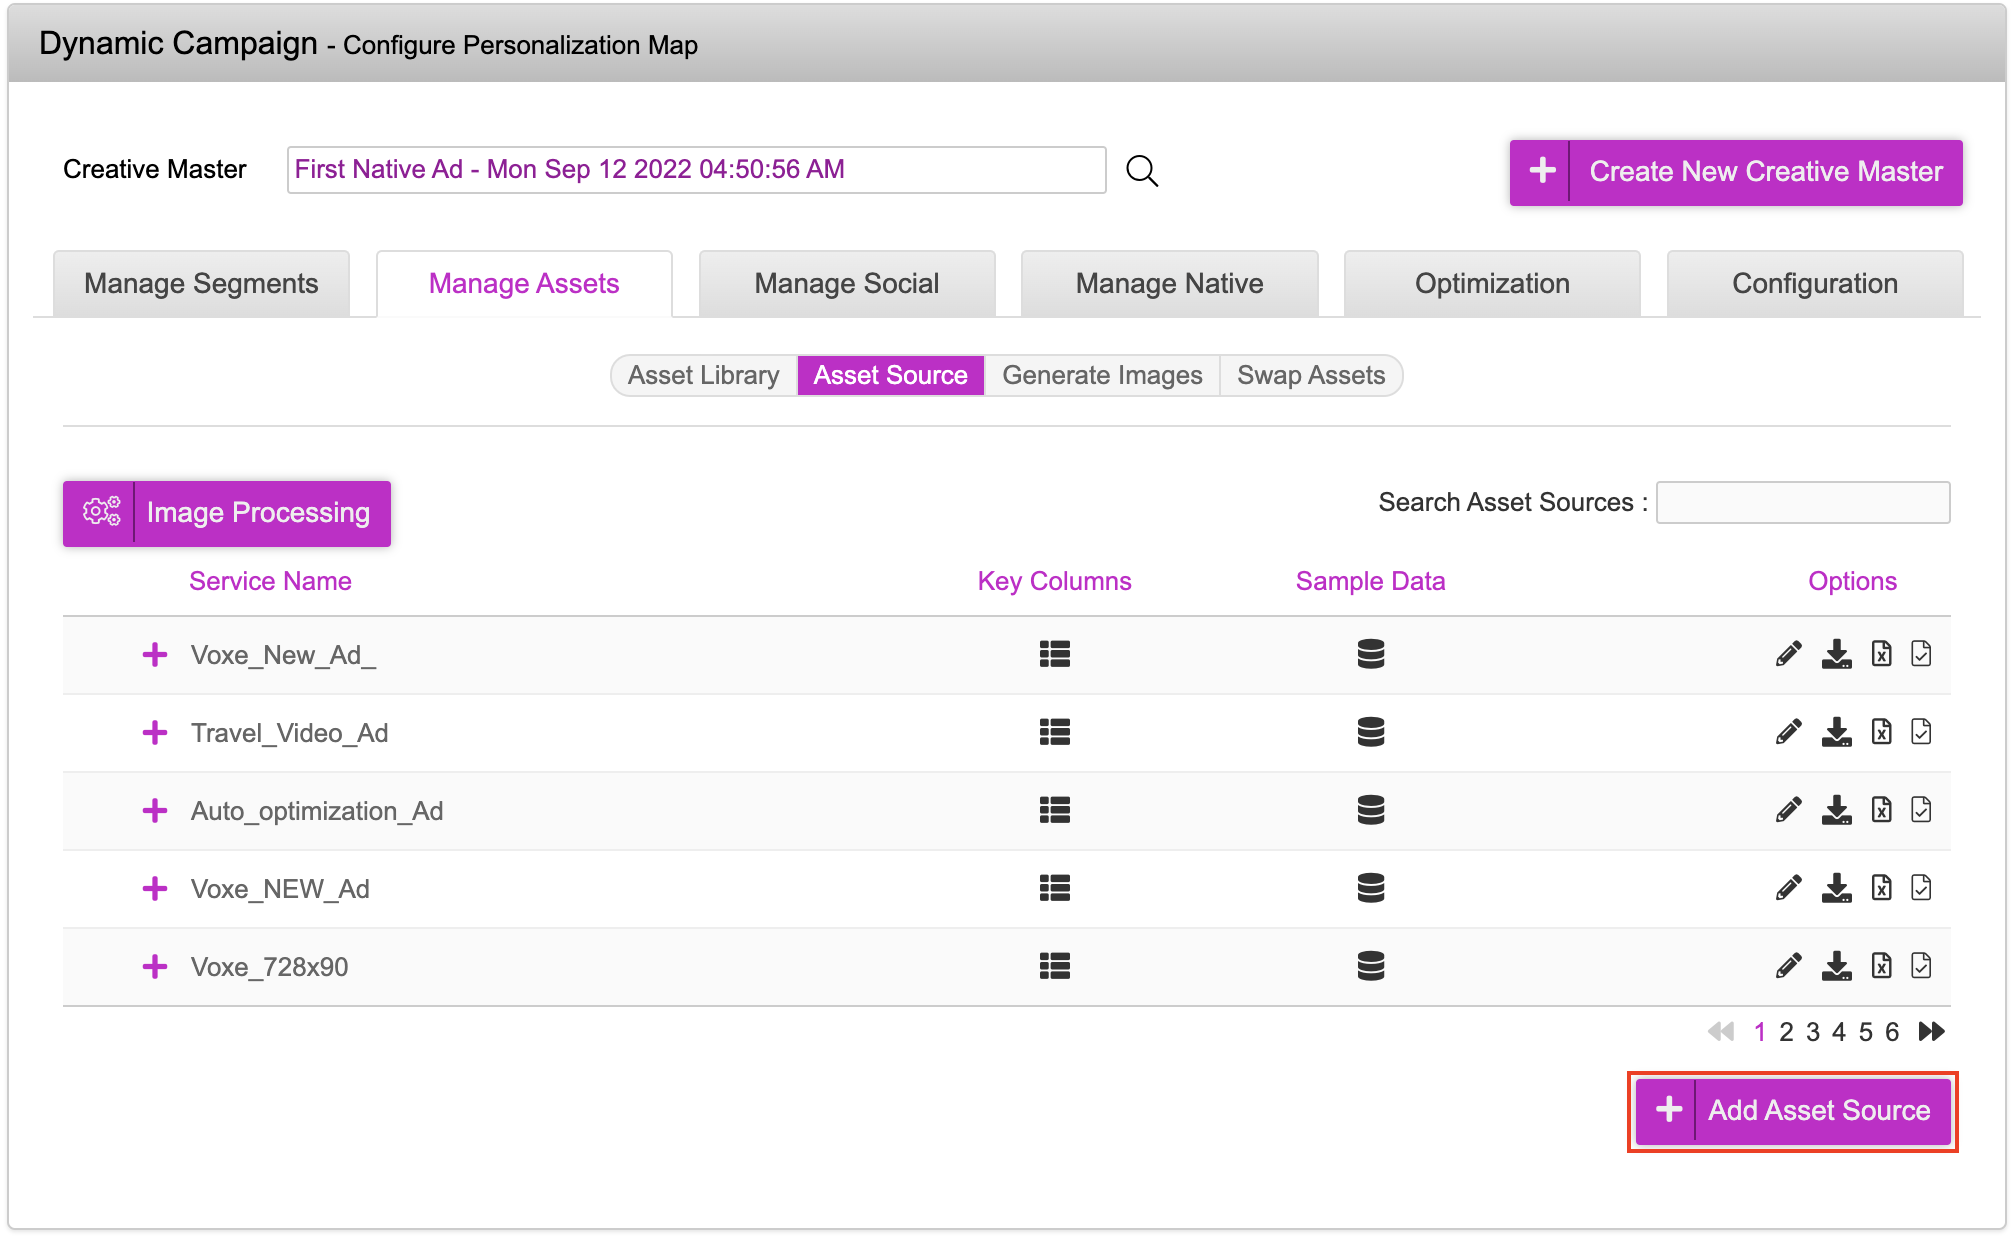
At the bottom, click the Add Asset Source button to upload your asset source to the Jivox platform. You will see the Create New Asset Source section.
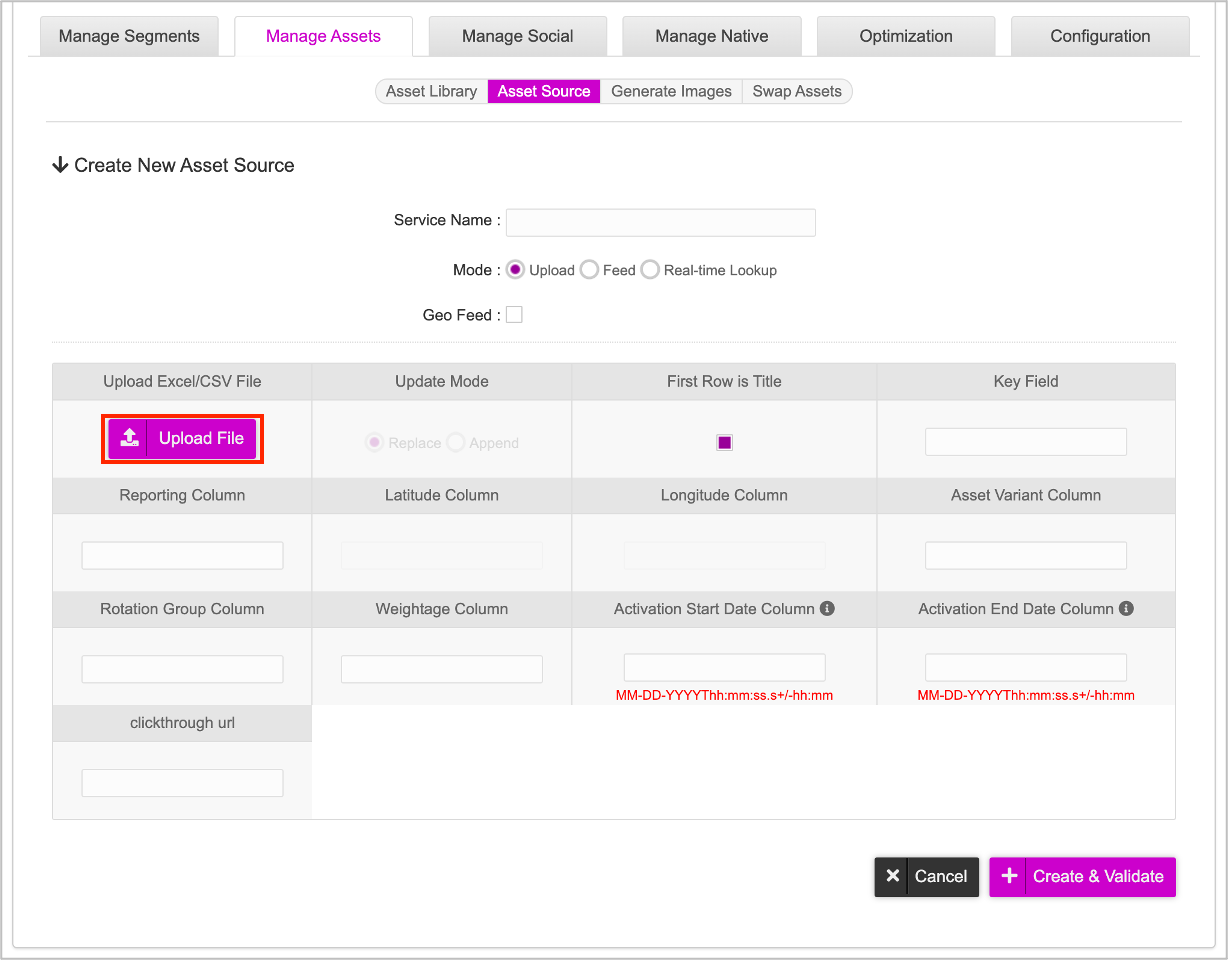
Here, click Upload File and upload the Asset Source from your local system. The Jivox IQ platform will then parse your file and display the columns it has found.
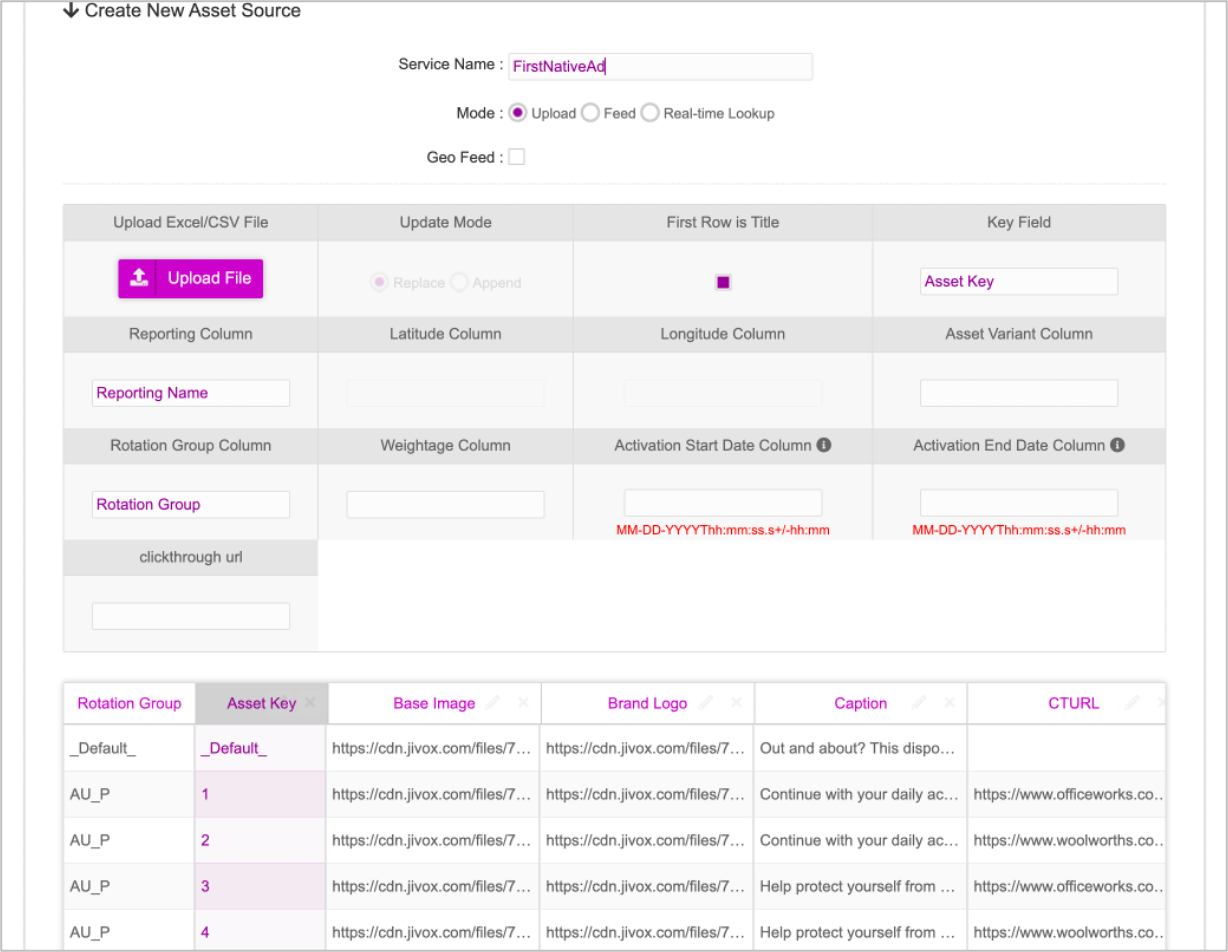
The Service Name column will be updated with the name of the Asset Source file by default. Here, we've changed as per the name of our Ad. Next, map the important Jivox columns such as:
Asset Key
Rotation Group
Reporting Name
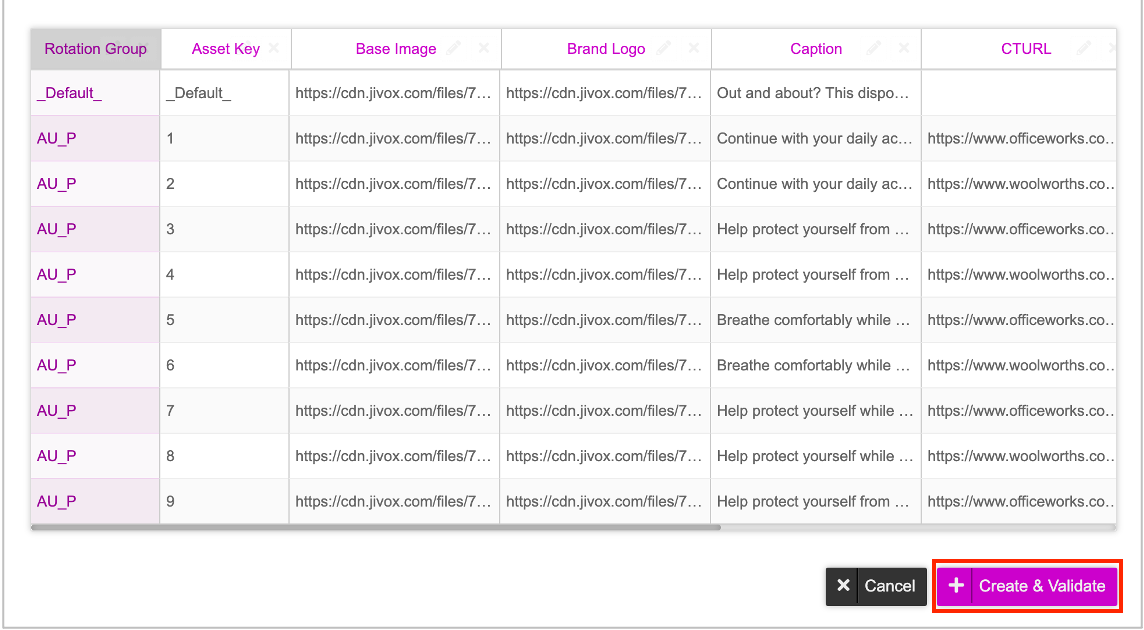
Once you've mapped all the columns, scroll down and click Create and Validate. The Asset Source will be added. You can click the pencil icon (highlighted in the image below) to further edit the Asset Source.
Now let's click the Manage Segments tab to go back and complete the campaign setup.