In this section we will cover detailed steps to generate conversion pixels.
Advertisers track conversion metrics using conversion pixels. For example, you can track conversions like product purchase or request for more information, after a user has clicked on an ad. This allows you to gather more information about conversions, such as average revenue per conversion or top converting products.
Let's start creating the retargeting pixel.
1- On the Data Pixels page, enter a unique Pixel Name in the text box as highlighted below. If you try to save a pixel configuration with a duplicate name, an error message is displayed.

2- Select Conversion as the Pixel Type.
3- Select the Pixel channel based on the campaign strategy. The following pixel channels are supported:
Generic: Use this option for campaigns other than E-commerce and Facebook domain.
E-Commerce: Use this option for the E-commerce advertising campaign. This type of pixel will list only select cookie groups specific to e-commerce events captured i.e. Complete Purchase.
4- Provide the details as required based on the option you selected. Click the hyperlinks to view individual sections for more information on the required details.
5- You also have an option to include GDPR Macros in the data pixels.
GDPR Consent: Enable the ‘GDPR Consent’ toggle button to insert ‘{{GDPR_CONSENT_294}}’ in the data pixel.
CCPA: Enable the ‘CCPA’ toggle button to insert ‘${US_PRIVACY}’ in the data pixel.
6- If you are generating a Javascript pixel, you can use custom JavaScript to organize and collect data so it can be used in a dynamic creative.
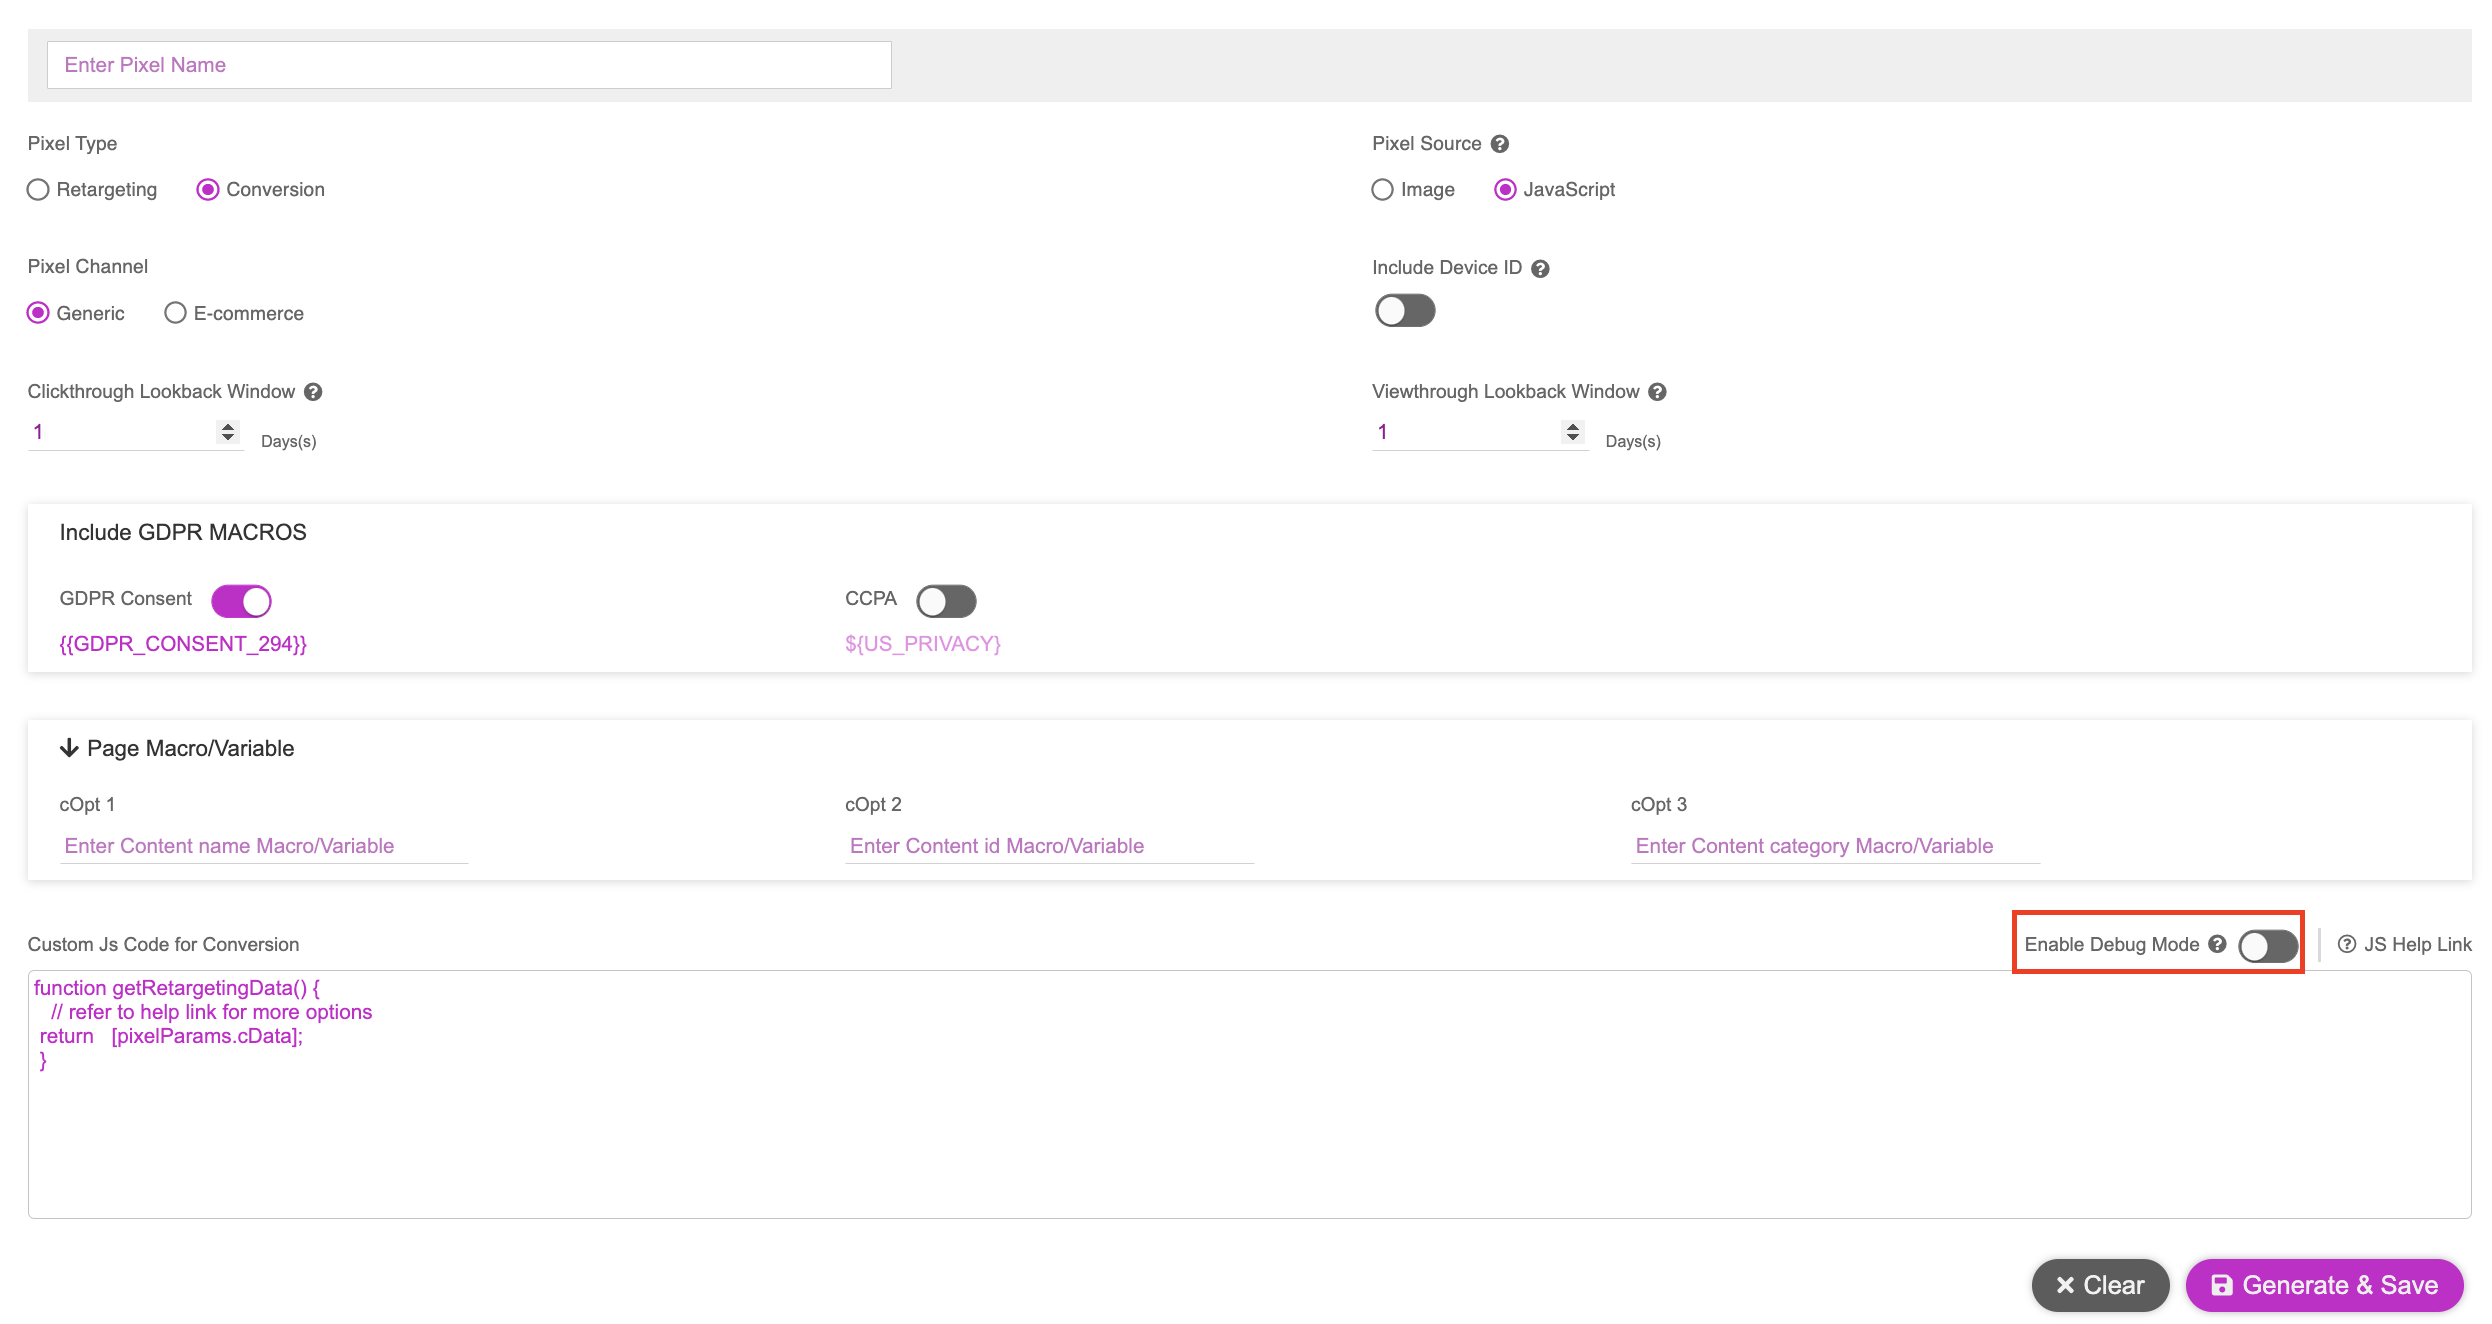
7- Click the Enable Debug Mode button if you want to allow console logging to help debug issues
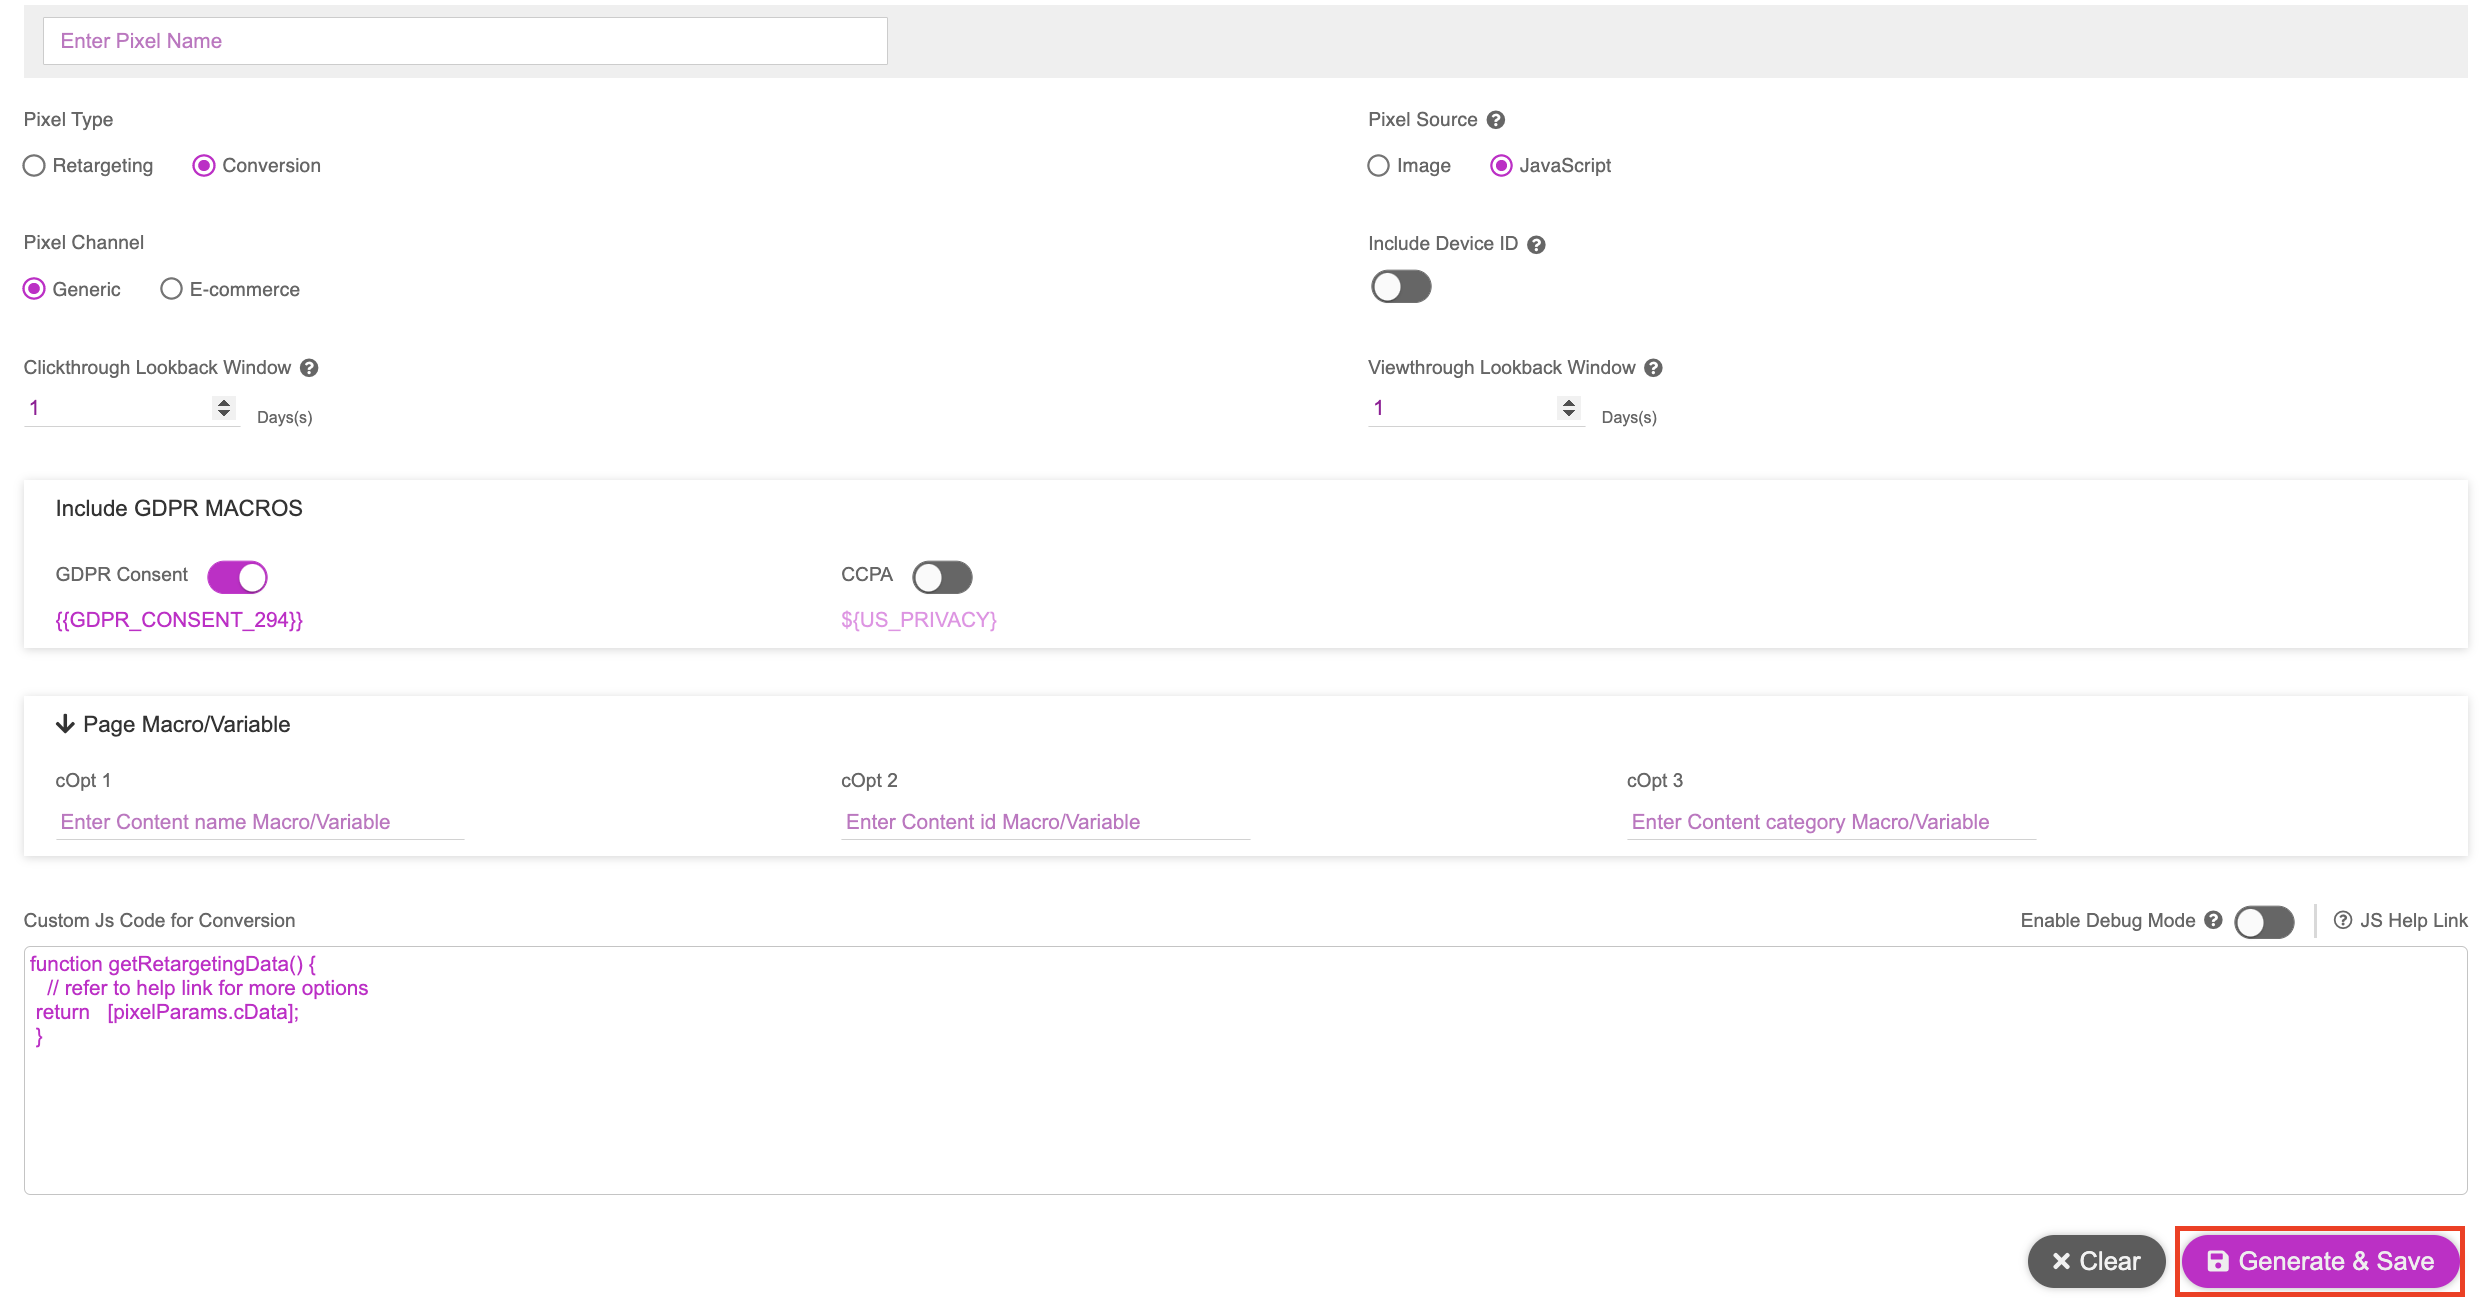
8- Click Generate and Save when you have entered all the configuration options.
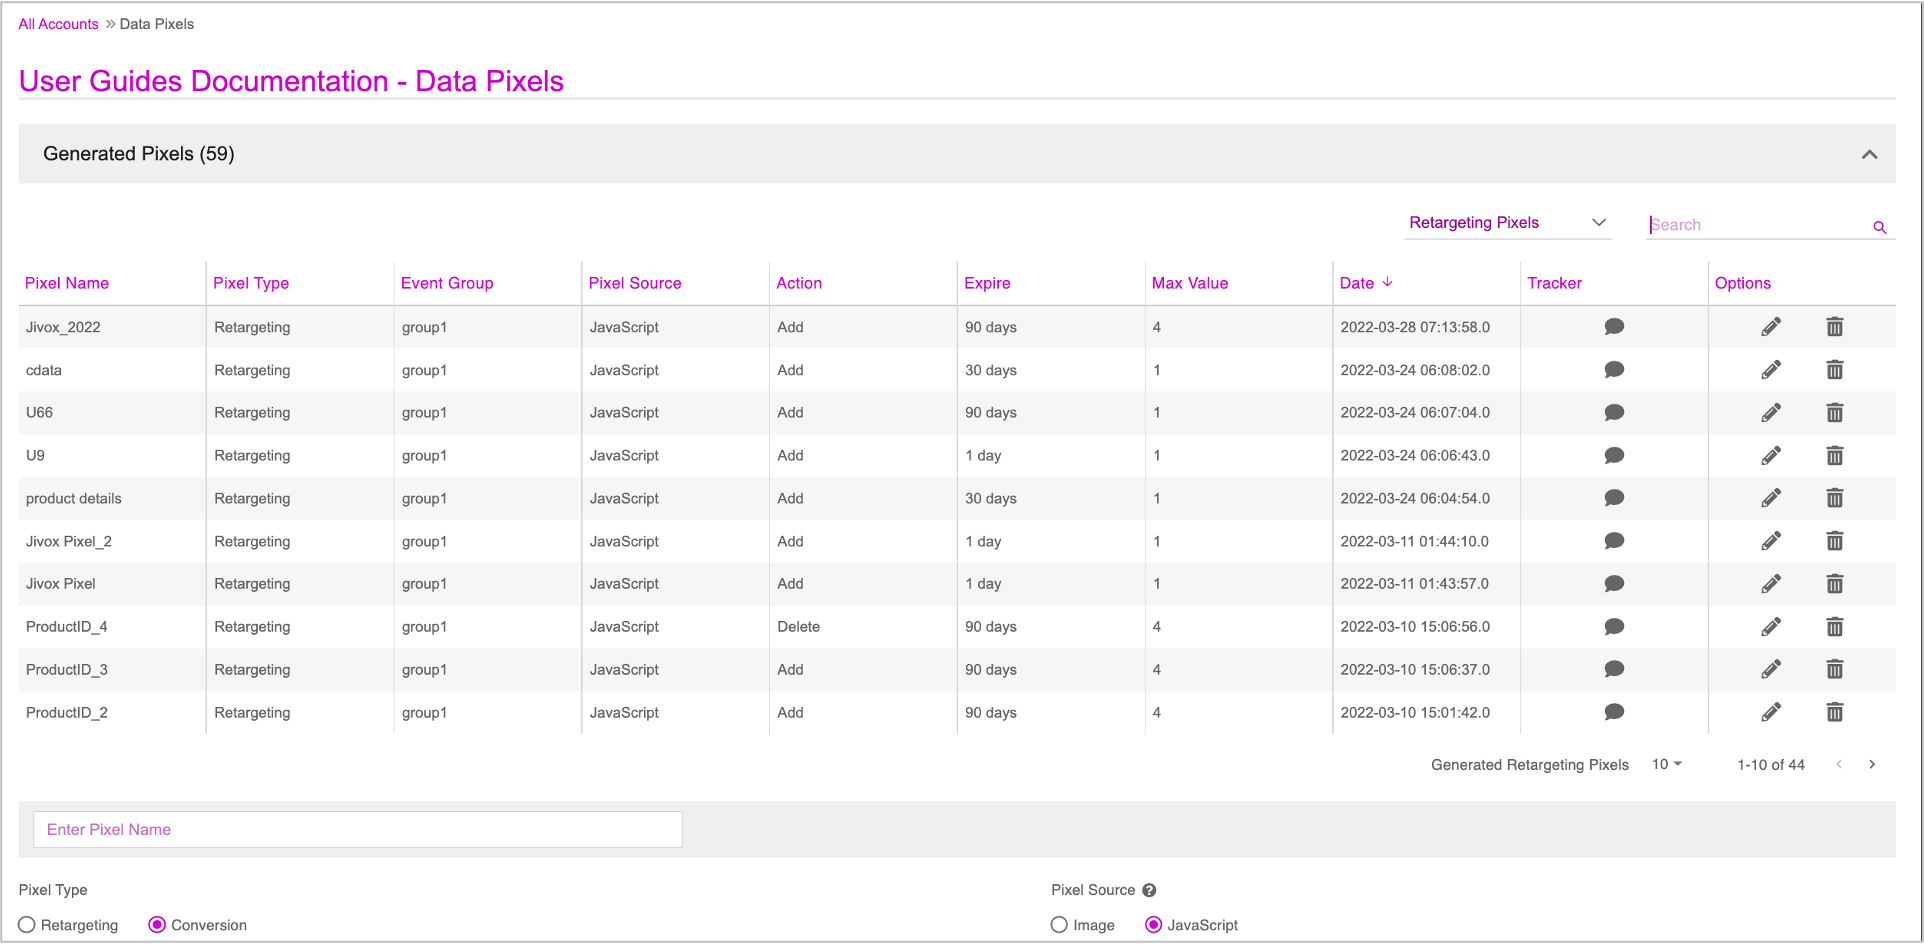
The generated pixel appears in the Generated Pixels panel.
9- To reset the pixel configuration to the default settings, click Clear.