Once the campaign is saved, we must configure the parameters for Youtube Setup. Let's proceed.
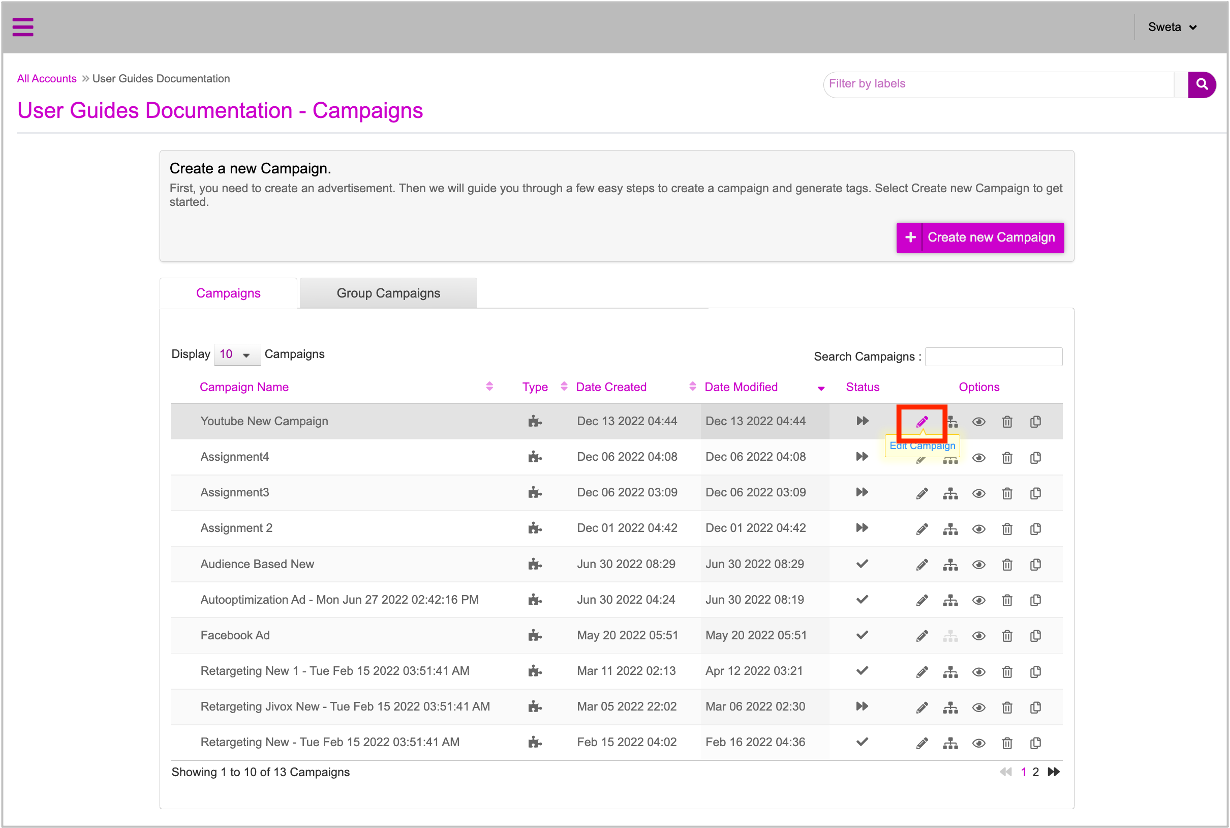
1- On the Campaigns Dashboard, let's click the pencil (Edit) icon next to the campaign that we just created.
2- On the Edit Campaigns page, let's click Manage Assets.
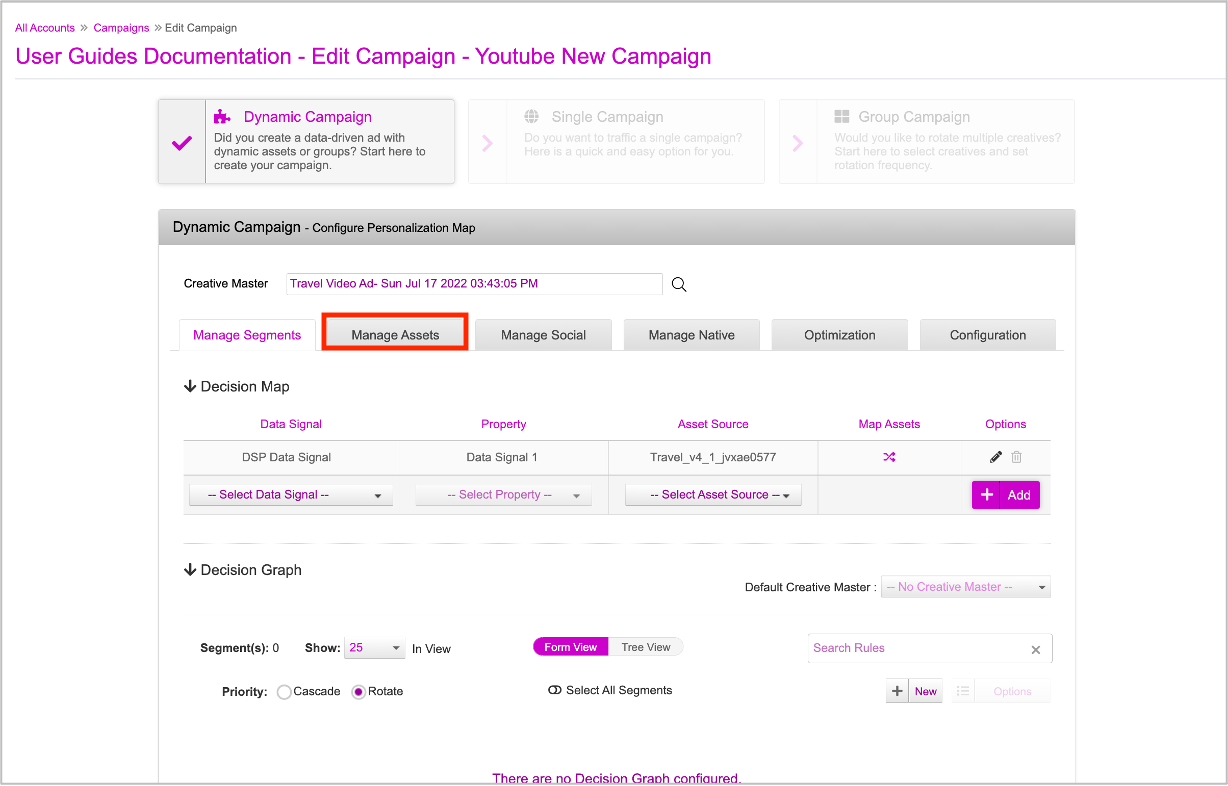
The Manage Assets section is displayed.
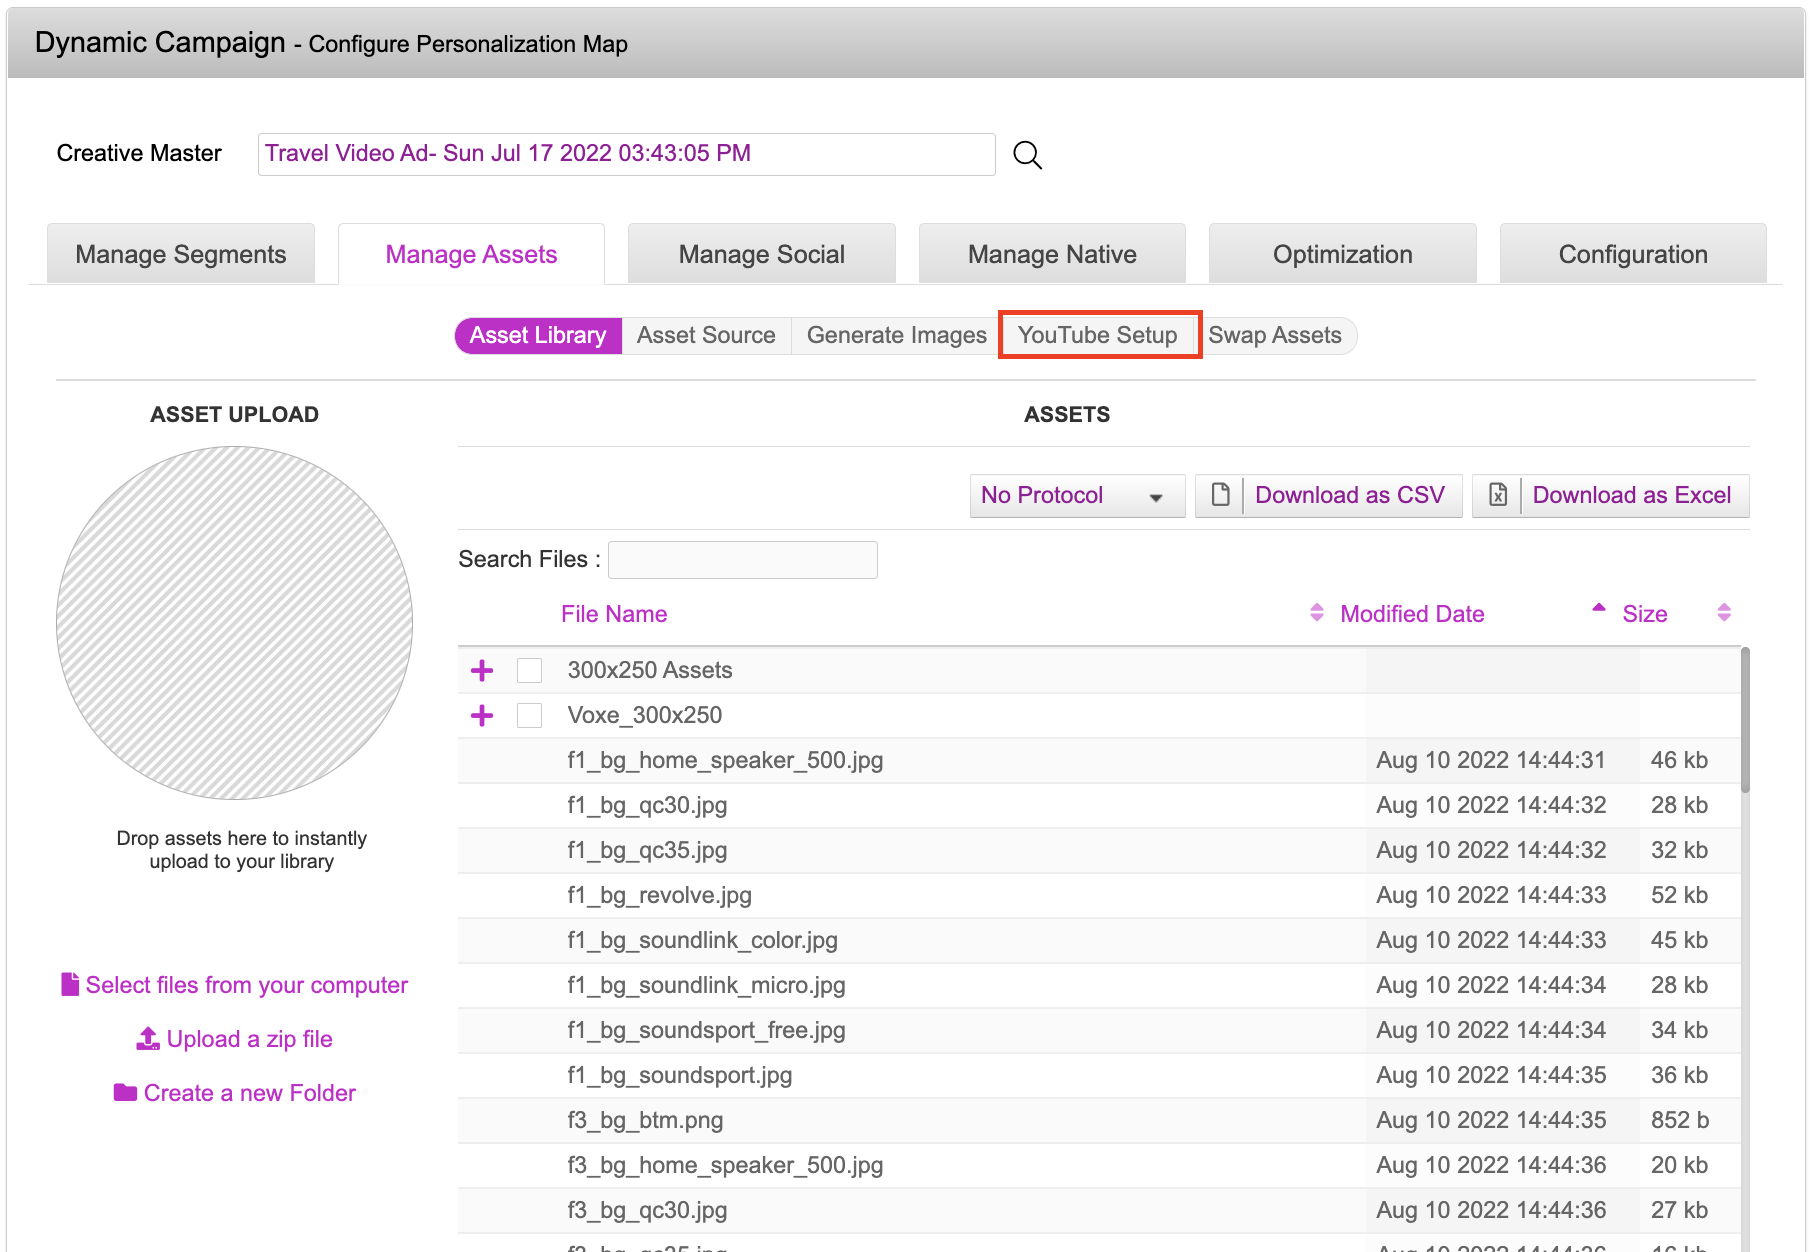
3- Let's click Youtube Setup. The Youtube Setup section is displayed.
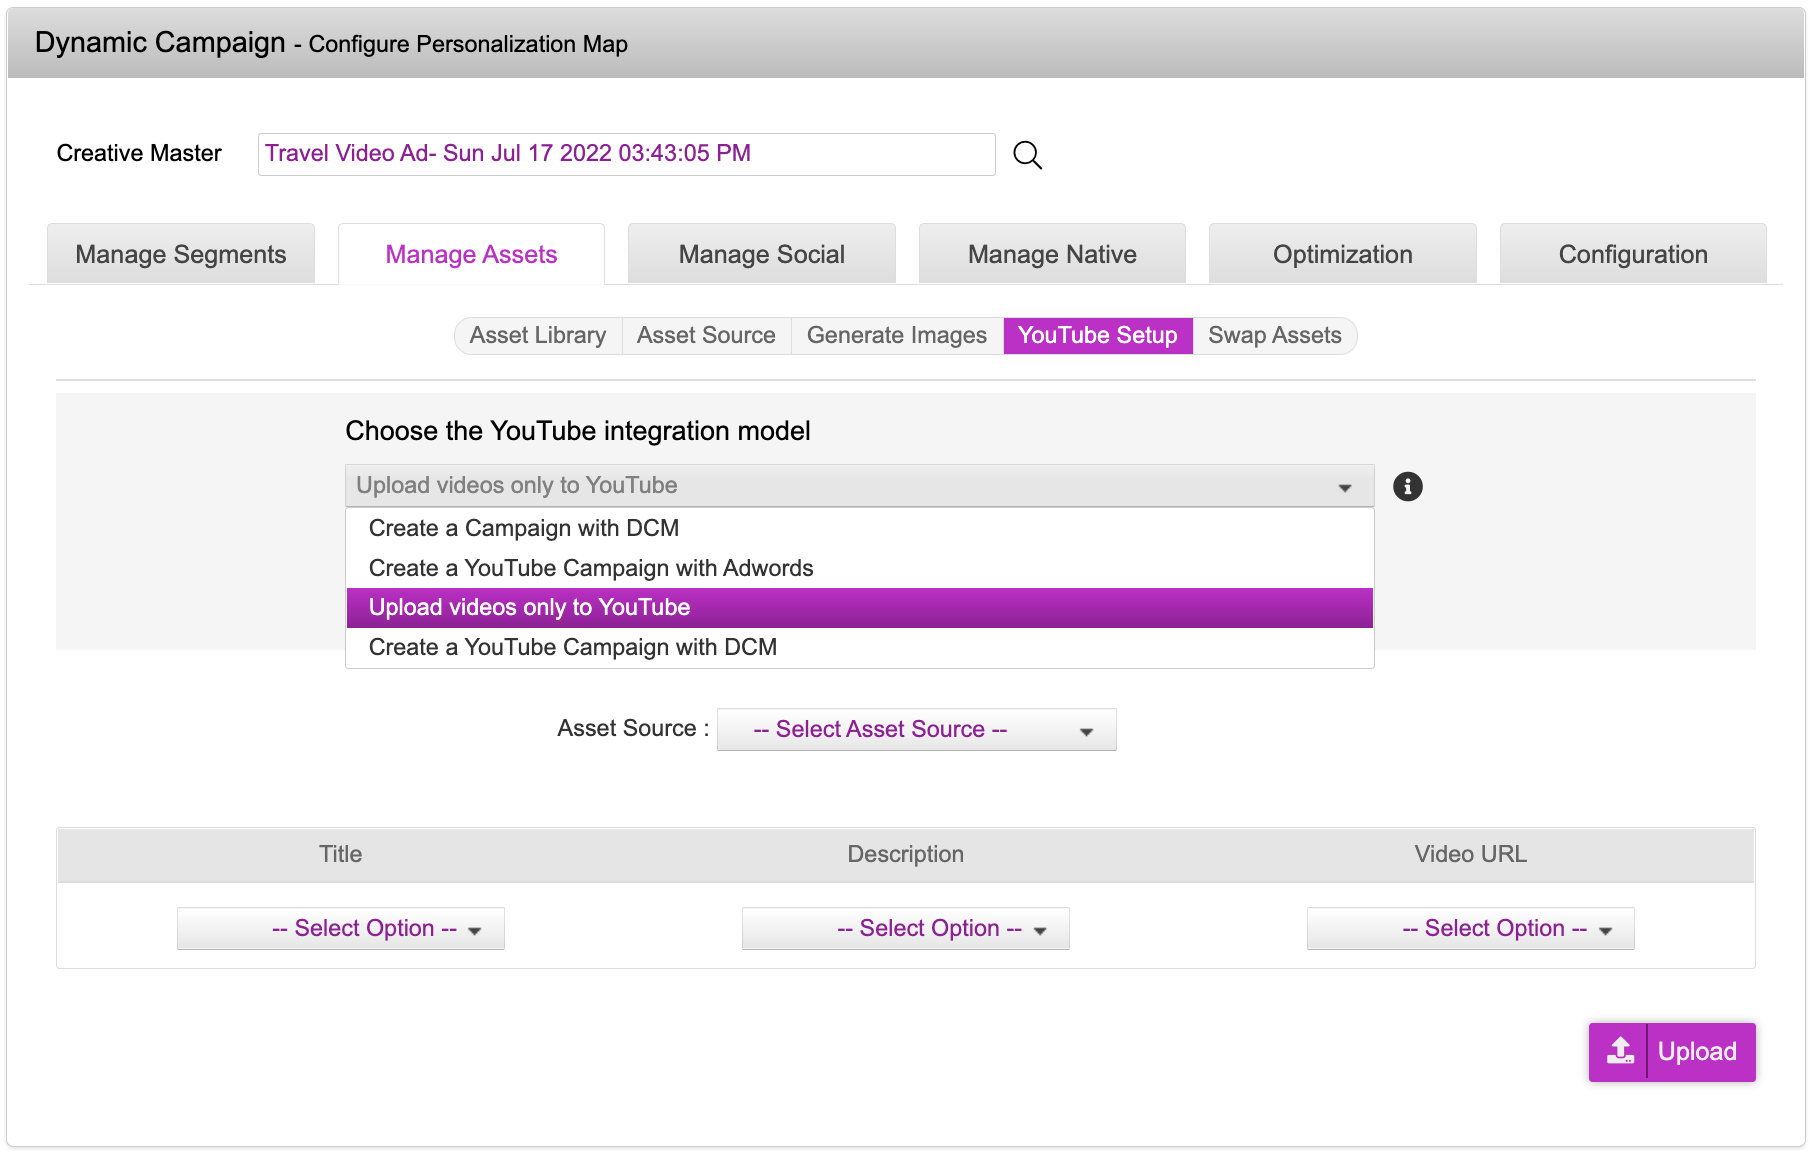
4- Let's select the appropriate Youtube integration model option from the drop-down list. Here are the available options:
Create a Campaign with DCM - Allows you to push creative variants via the platform and create a campaign on the DCM platform automatically.
Create a Youtube Campaign with Google Adwords - Allows you to push creative variants on Youtube and Adwords and create a campaign on Google Adwords automatically.
Upload videos only to Youtube - Allows you to push creative variants only to the brand Youtube channel
Create a Youtube Campaign with DCM - Allows you to push creative variants on Youtube, the DCM platform and create campaign on the DCM platform.
In this case, we'll select the Upload videos only to Youtube option.
5- Next we'll go ahead and select the appropriate Asset Source that was created while creating the Ad. Ensure that the system generated Asset Source is selected here.

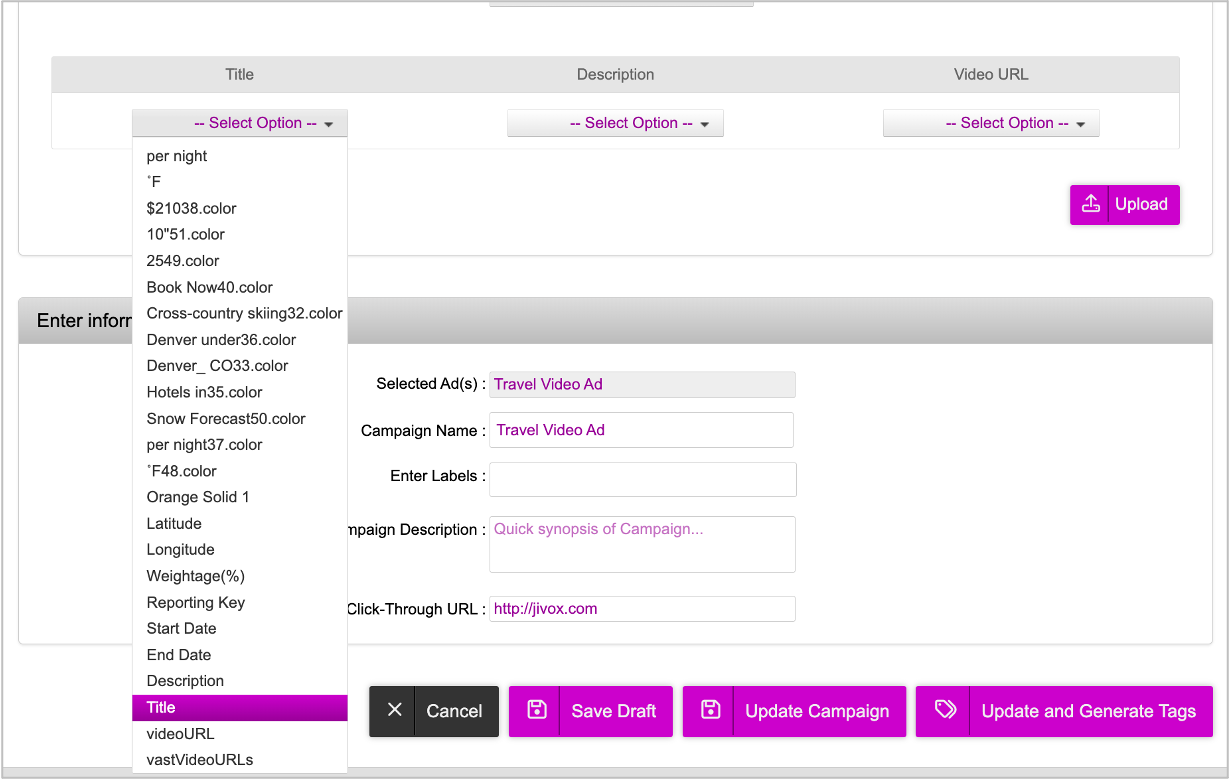
Now, we must map the columns in the Asset Source to the respective column headers here.
6- Click the drop-down icon under Title, and select the Title column from the list.
7- Similarly, click the drop-down icon under Description and select the Description column from the list.
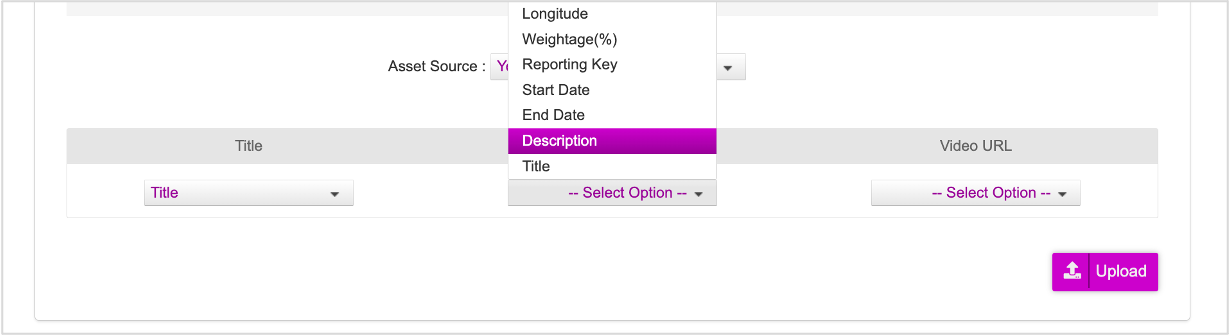
8- Next, under Video URL, click the drop-down icon and select videoURL from the list.

9- Now that we've mapped all the columns, let's go ahead and click Upload.
You will be redirected to your google account.
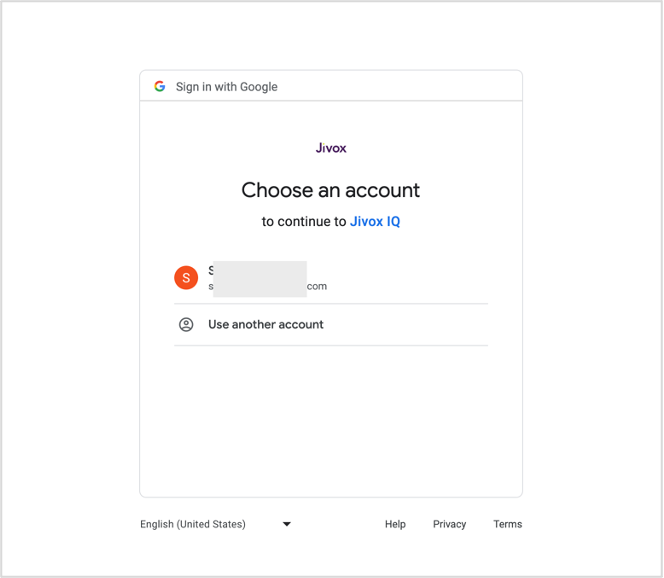
10- Choose the google account that you're going to use for uploading to youtube. You'll see the following .
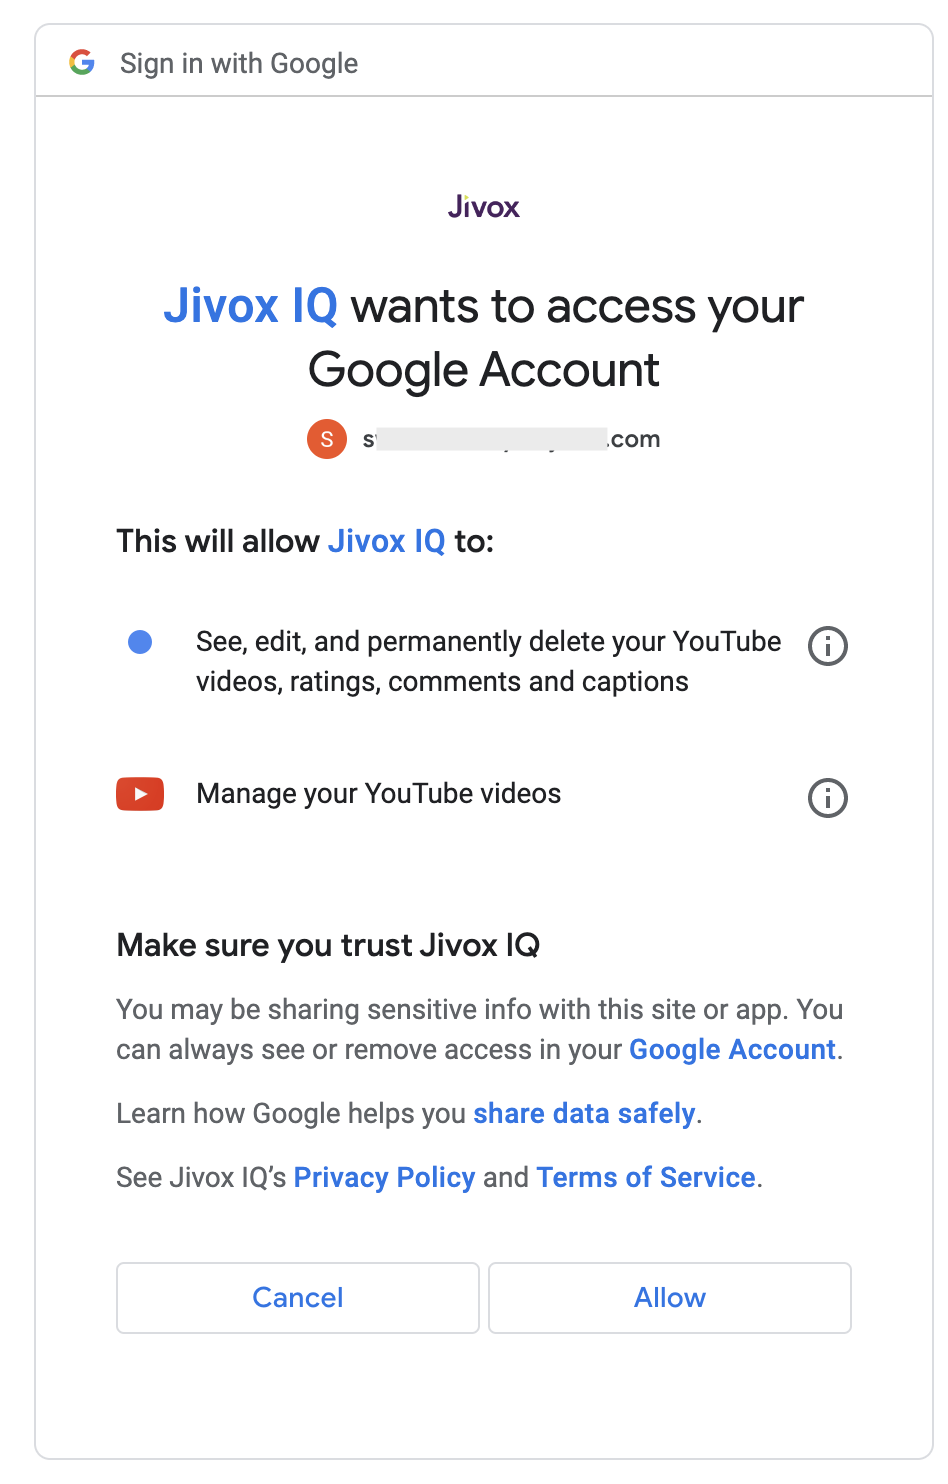
11- Click Allow to complete the authentication process. Once the authentication process is complete, the upload process will commence. (This might take upto a few minutes depending on the number of videos.)

12- You can click the Check Status button to check the status of the upload. You will see a list of all the videos.
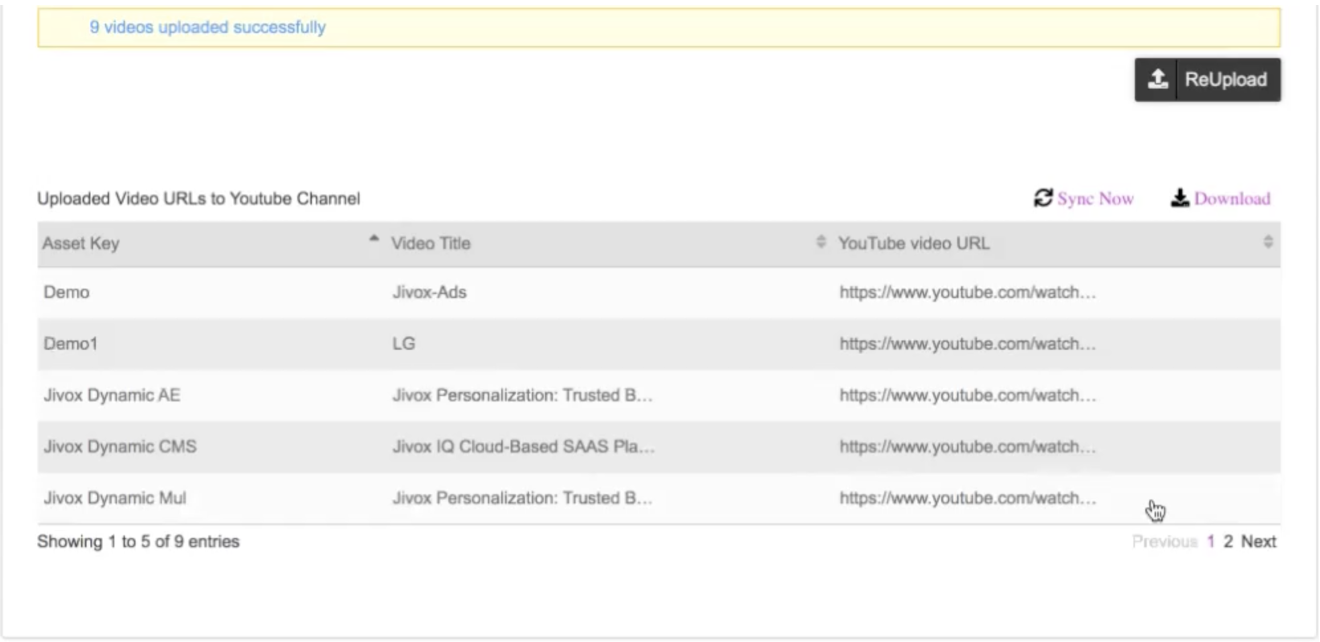
Once done, you can go ahead and save the campaign.
13- Scroll down and click Update Campaign to save the campaign details.
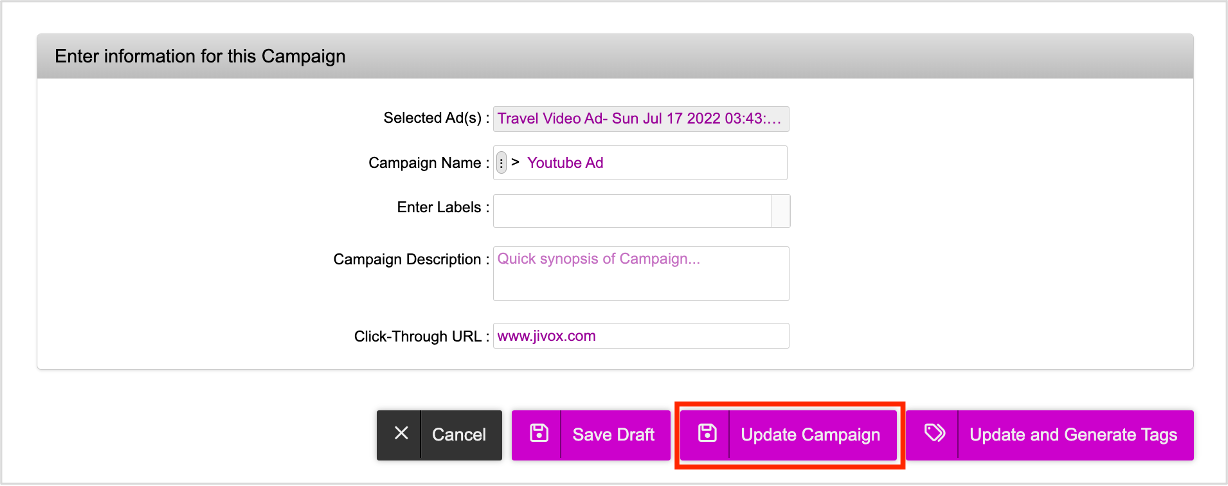
The campaign is saved and you will be redirected to the Campaigns dashboard page.

Next Steps
You can do the following:
Generate the Creative Preview and send it for approvals if required.
If you want to generate multiple tags at once, use the Bulk Tag Generation feature.