The users who have been added to a preview request as an Approver, will see the options to Approve/Reject the preview requests on the Campaign Approval page.
1- The user who is assigned to approve/reject the campaign previews
2- Cannot add/remove users on the preview
3- Does not have permission to edit the preview
The Approver can Approve/Reject all previews that are in In Progress status.
An approver can also access the preview approval requests by clicking the preview link received through the email notification.
Let's begin!
To Approve or Reject a Preview Request, follow these steps:
1- On the Campaign Approvals page, find the previews which have the In Progress status and click the Approve/Reject Preview icon (highlighted in the image below). You can use the search bar to search the previews by name.
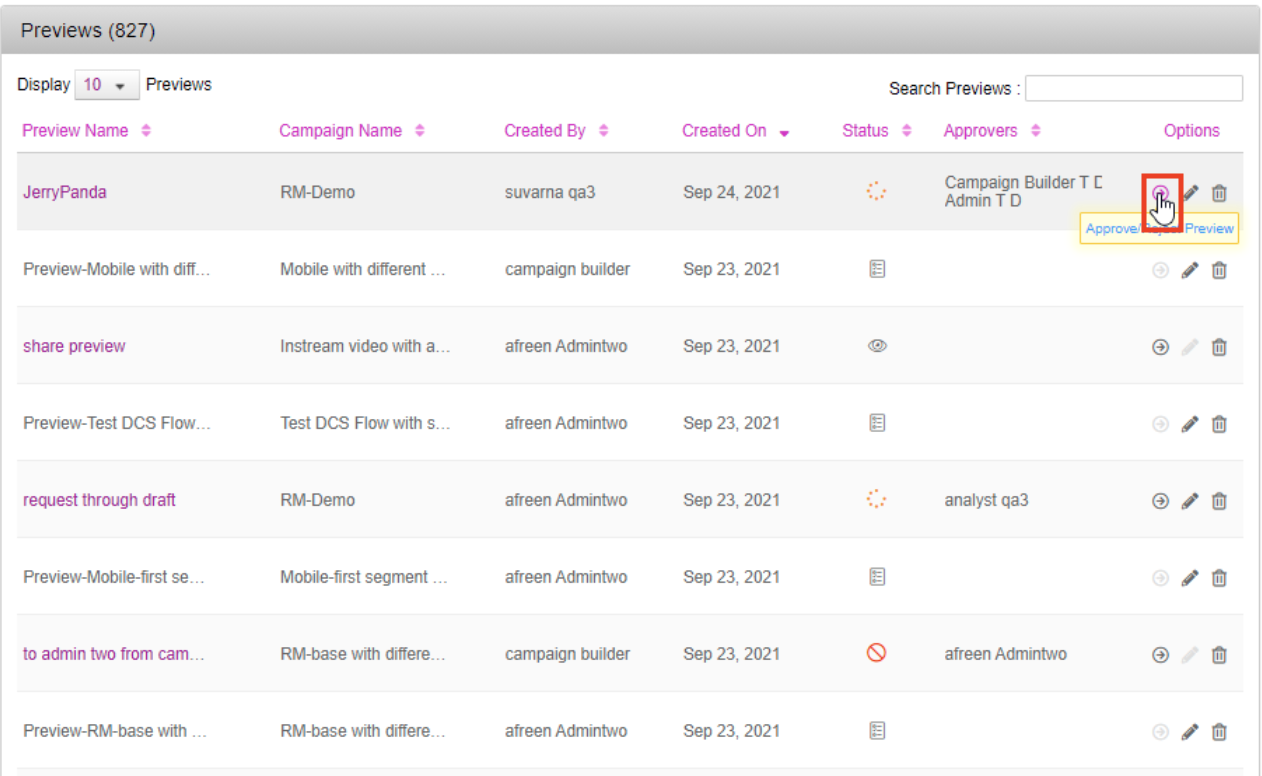
You can also click the preview name to access the preview request.
The ‘Preview for Approval’ screen is displayed.
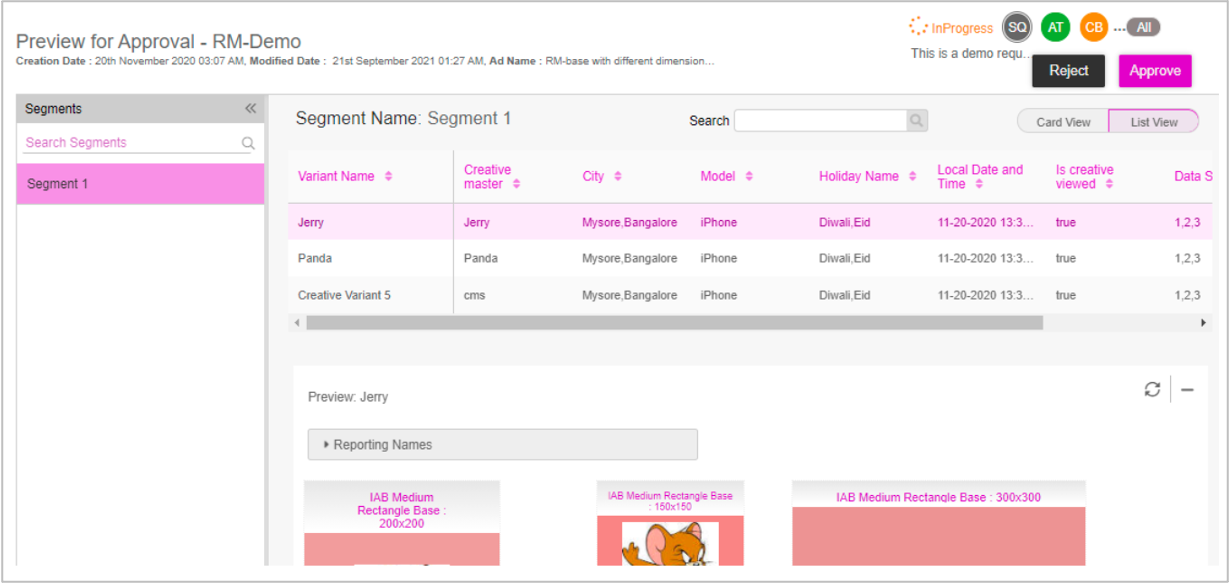
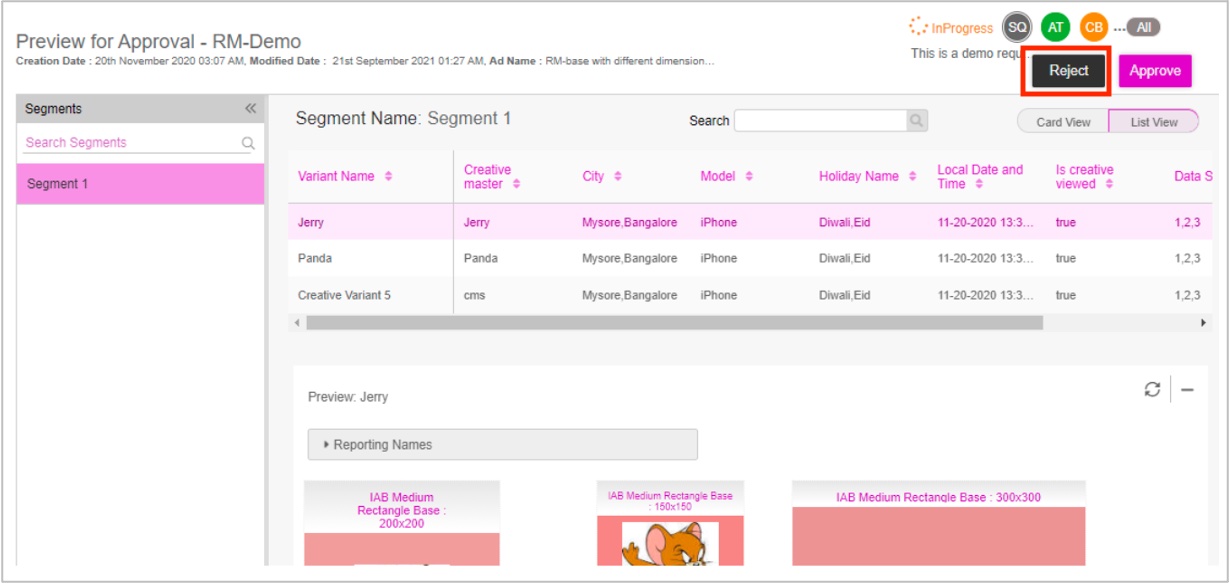
2- From the segments section, click on a segment to view all the creative variants associated with that segment and their corresponding previews. By default, the first segment is selected.
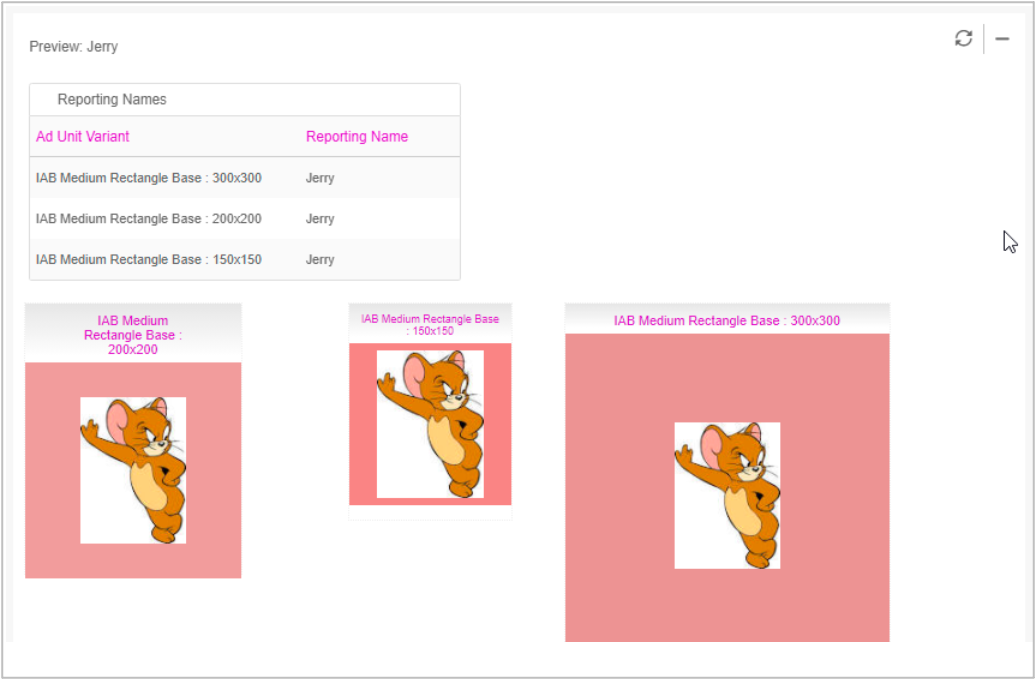
3- Click anywhere on a variant row to see the preview of the ads associated with that creative variant, in the Preview section below.
Once you have reviewed all the creative previews, you can either Approve or Reject the request.
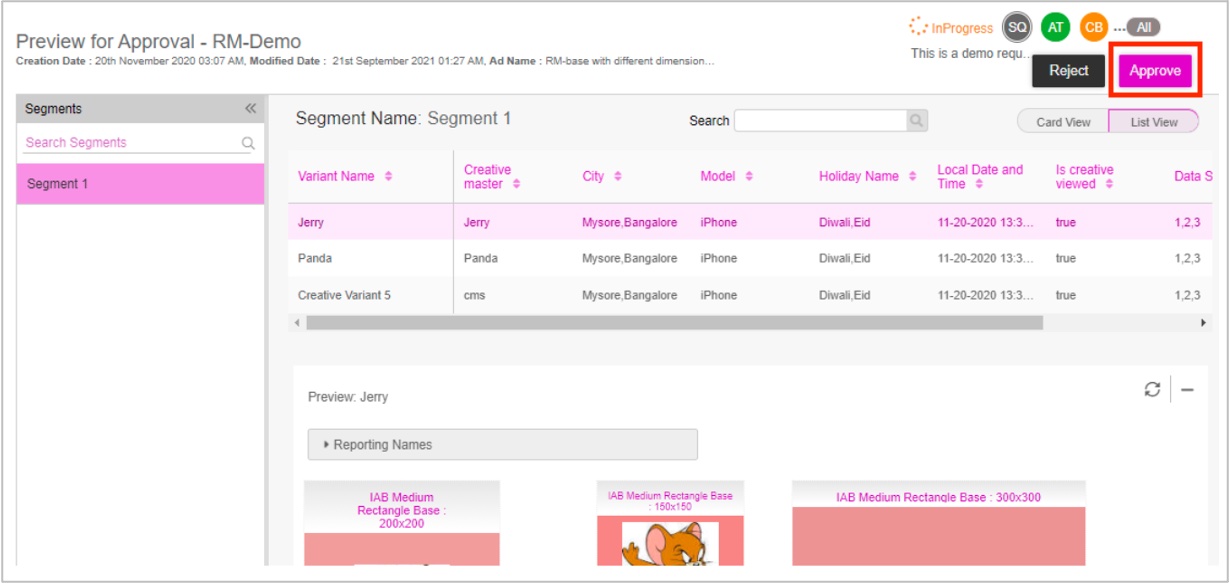
Approving a Preview Request
To approve the preview request, on the Preview for Approval page, click Approve.
The ‘Comments’ window is displayed.

Enter the approval comment and click Submit. You will see a confirmation message Approved on the Comments window.
If all the approvers assigned to the preview request approve it, then the status of the request changes to Approved in the Campaign Approval screen.
An email will be sent to the requester notifying that the preview request has been approved after all the approvers approve the request.
Rejecting a Preview Request
To reject the preview request, on the Preview for Approval page, click Reject.
The ‘Comments’ window is displayed.

Enter the rejection comment and click Submit. You will see a confirmation message “Rejected” on the ‘Comments’ window.
The status of the preview changes to ‘Rejected’ in the ‘Campaign Approval’ screen.
An email will be sent to the requester notifying that the preview request has been rejected after all the approvers approve the request.