You can map the data signal with the macro variable for all the placements under respective DSP(s). This configuration applies to all the placements defined under respective DSP(s).
After generating the tag, the DSP- Data signal mapping is included for the Macro Name in the tag. You can view the DSP- Data signal mapping in the generated tag.
Tag Variables
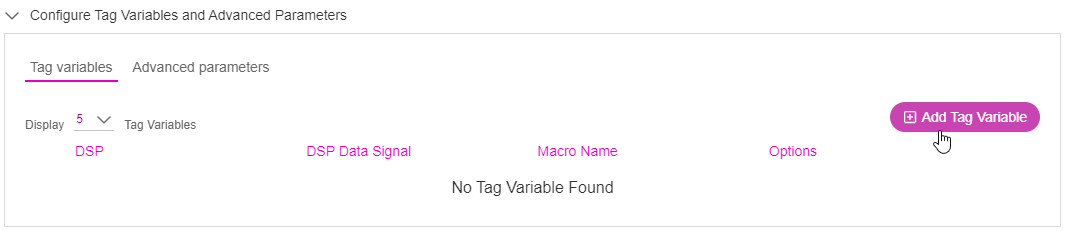
Now that we have created the media plan, let's configure the tag variables.
1- Click the Add Tag Variable button, to open the Add Tag Variable setup.
2- Select the DSP name, data signal, and macro name using the drop-down option. The Macro Name drop-down will list the supported macro variables depending on the DSP you select.
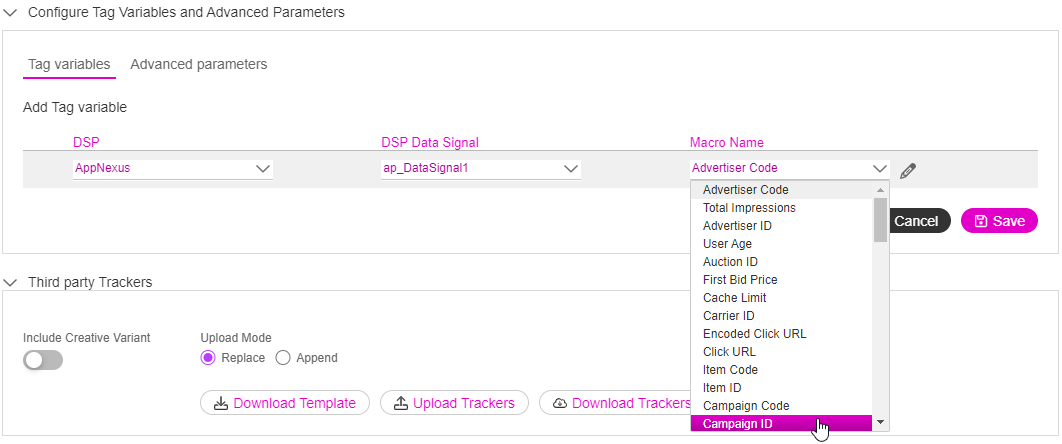
You can add customised macro names using the edit (pencil) icon next to the drop-down.
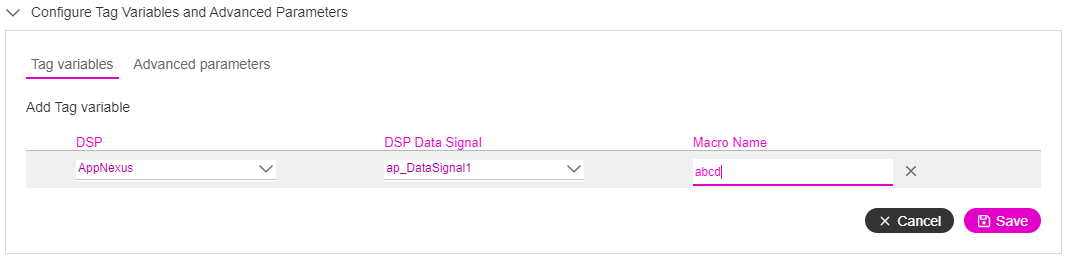
3- Click onto the Save button.

The tag variables will be saved. You can use the edit option to update the tag variables if required.
Advanced Parameters (Optional)
Next, we will update the advanced parameters. Follow these steps:
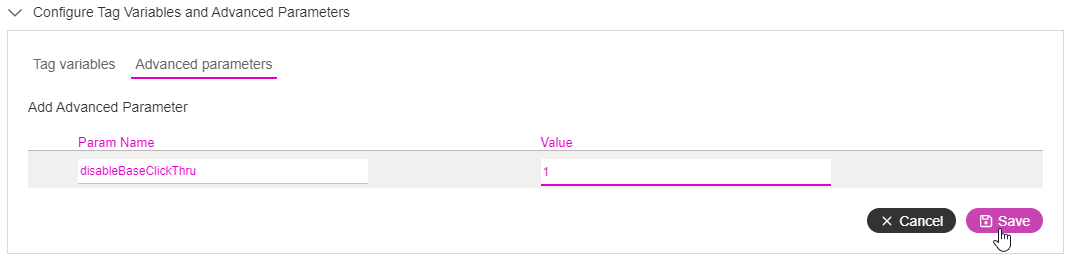
1- Switch to the Advanced parameters tab and then click on Add Advanced parameters button.
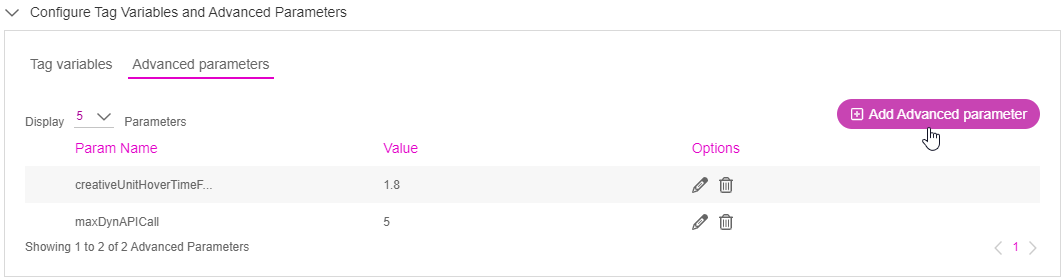
2- Enter the parameter name and Value that you would like to use and click Save.
Next Steps
Next, we must go ahead and configure the DSP Site and Placement.